Trapezuntine Byzantine vs Teutonic Order
The Byzantine army was made with the maximum elements of Lh, supported by RBwO, RCvO and a small Georgian ally corps (army list). The doctrine was to use the regular structure to control and coordinate the attacks, manouvering and feigned flight. The large number of LhS should have given somewhere on the battle line an opportunity to be used roll the enemy line.
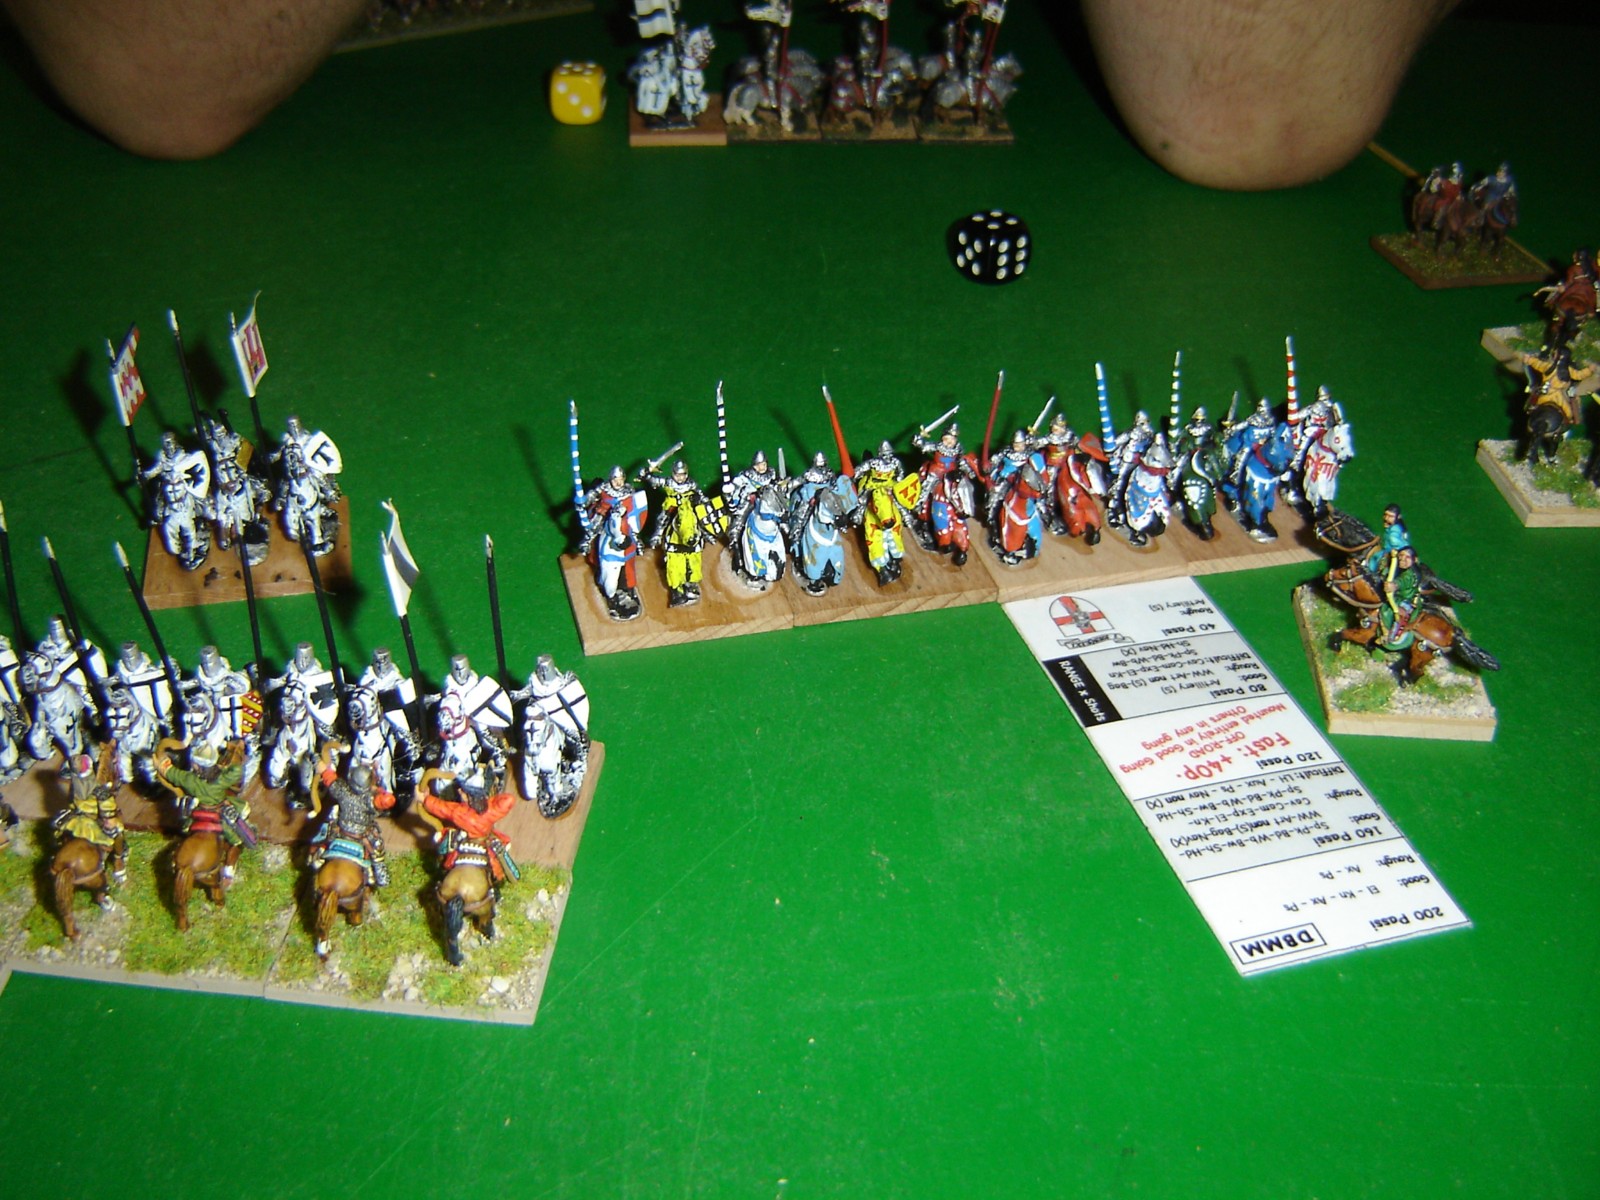
The Teutonic relied on the KnS charge. The army was all mounted, to swiftly approach and attack enemy
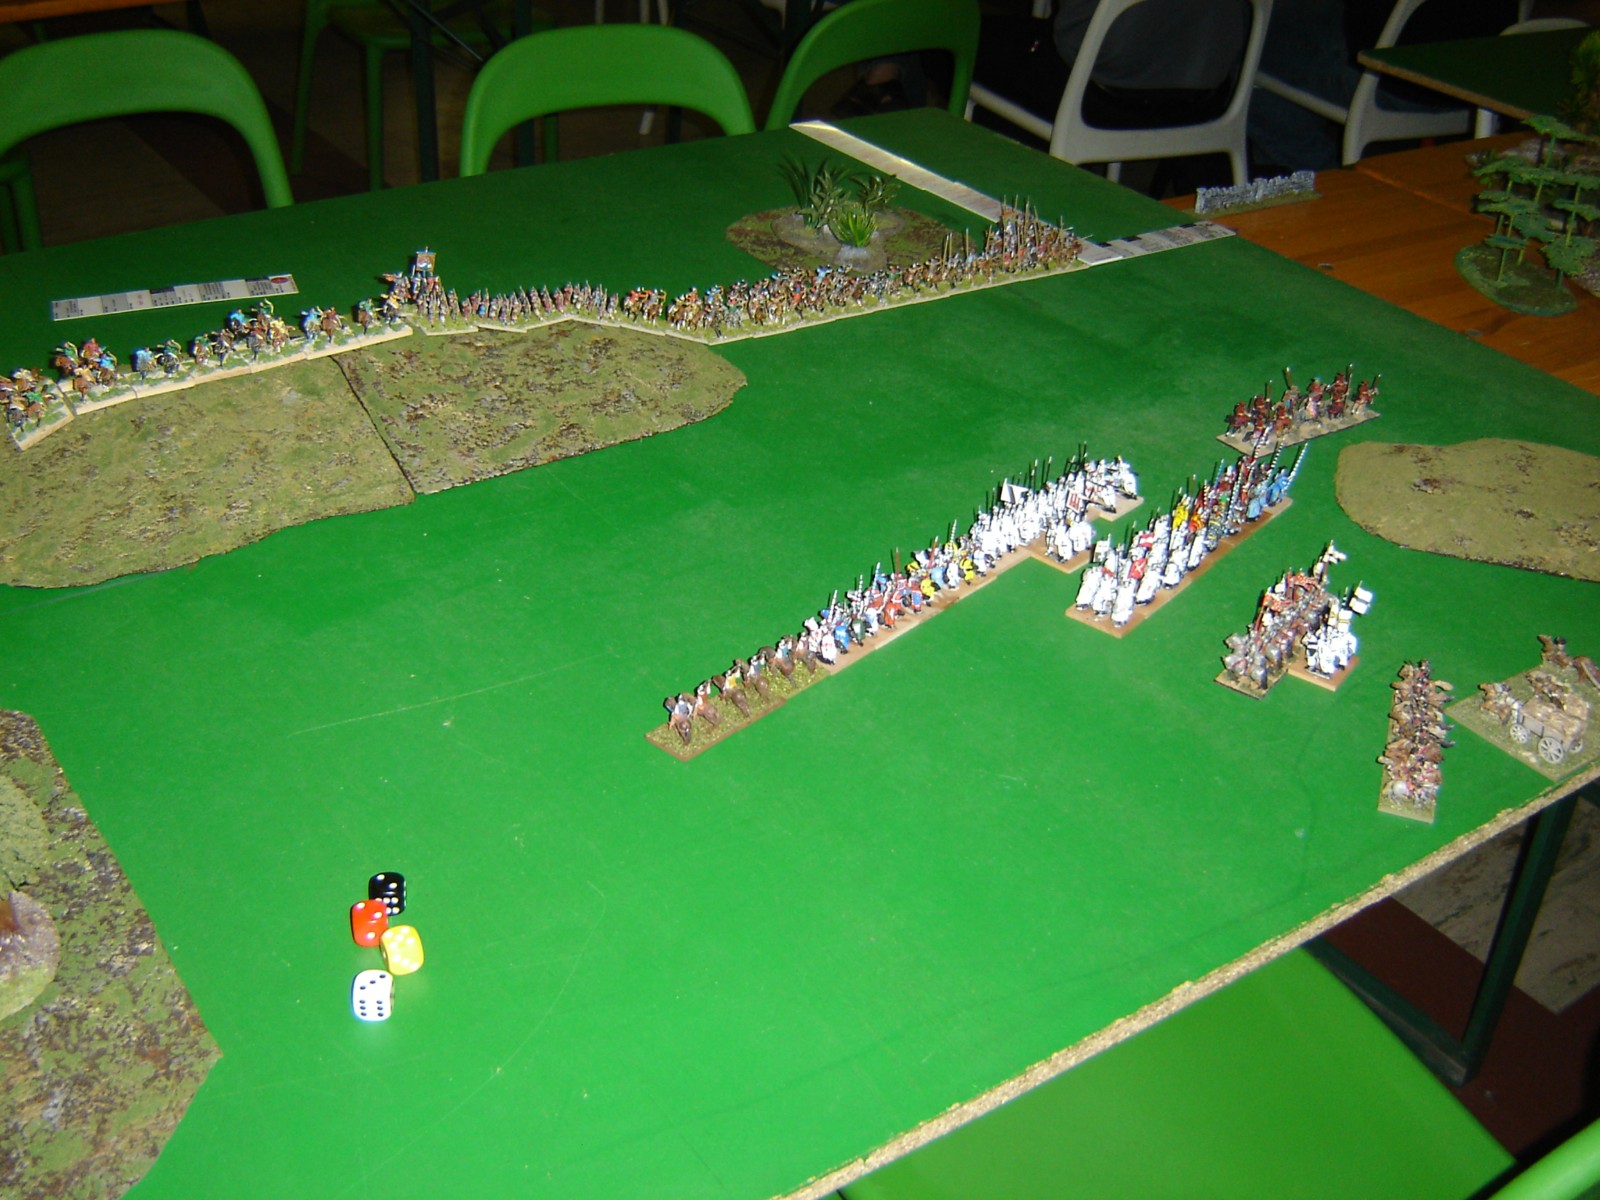
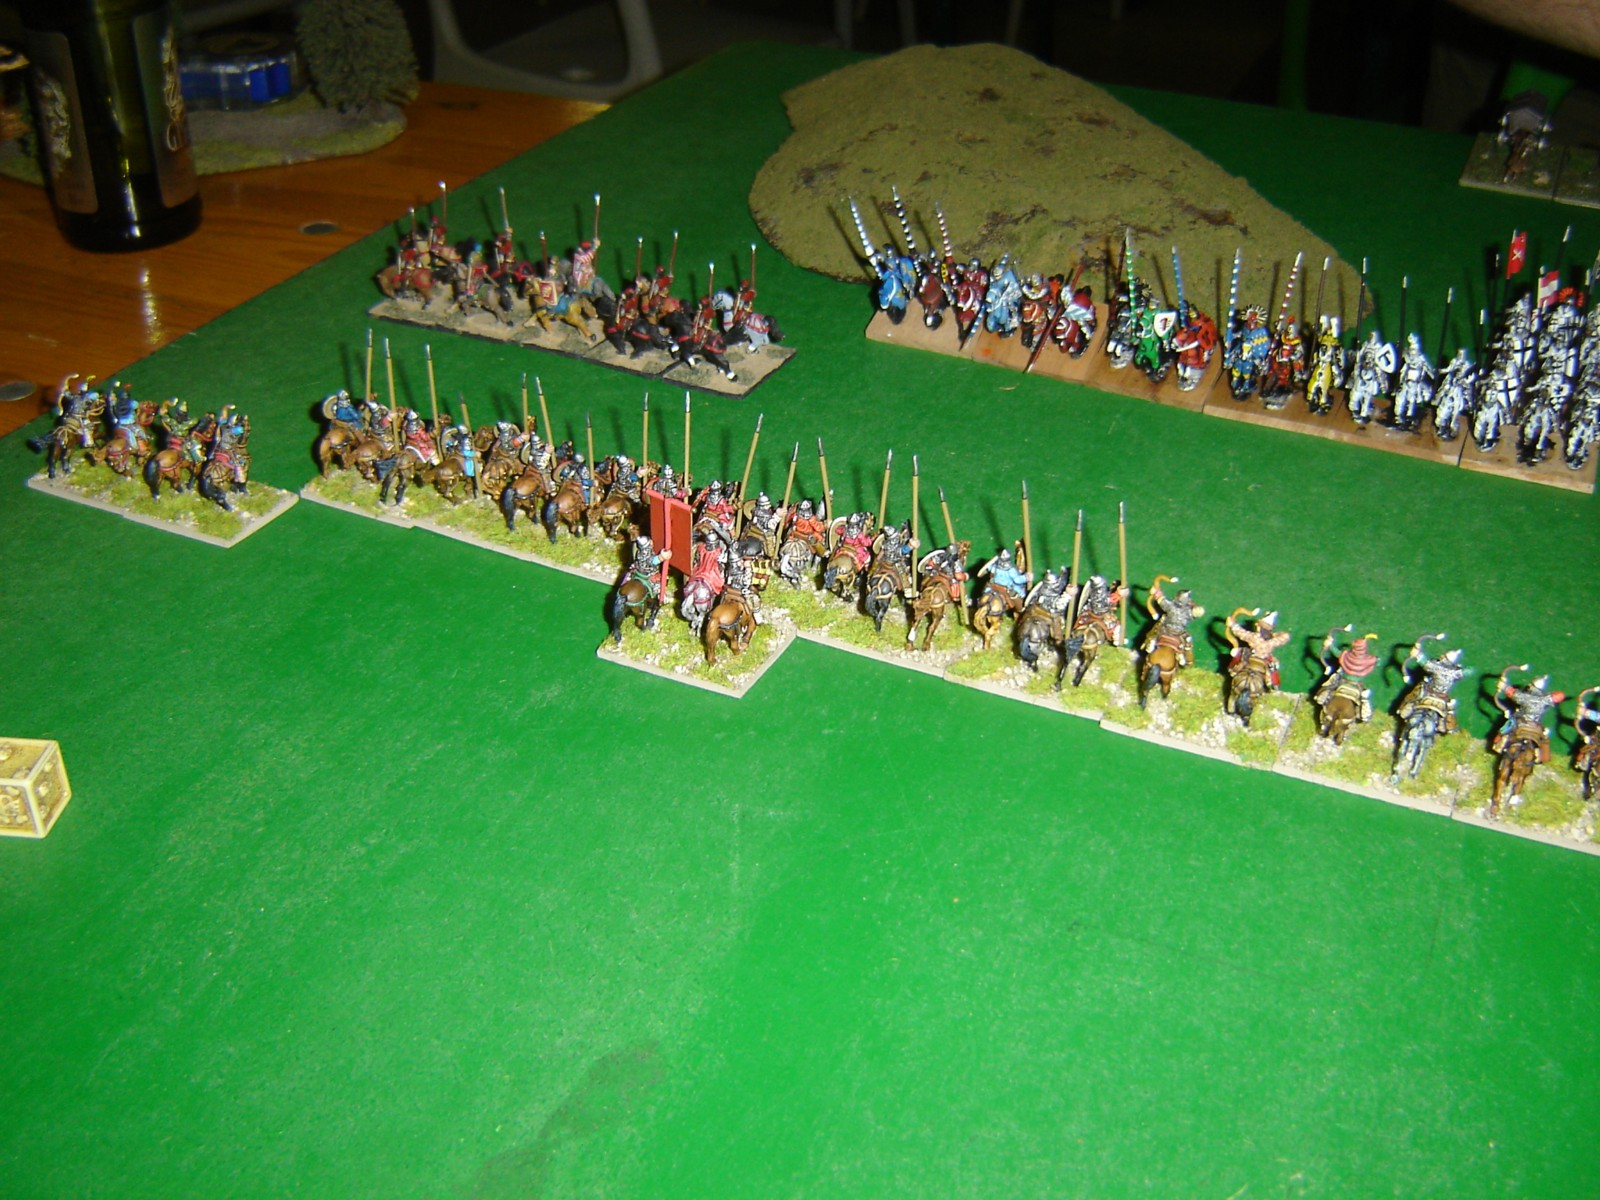
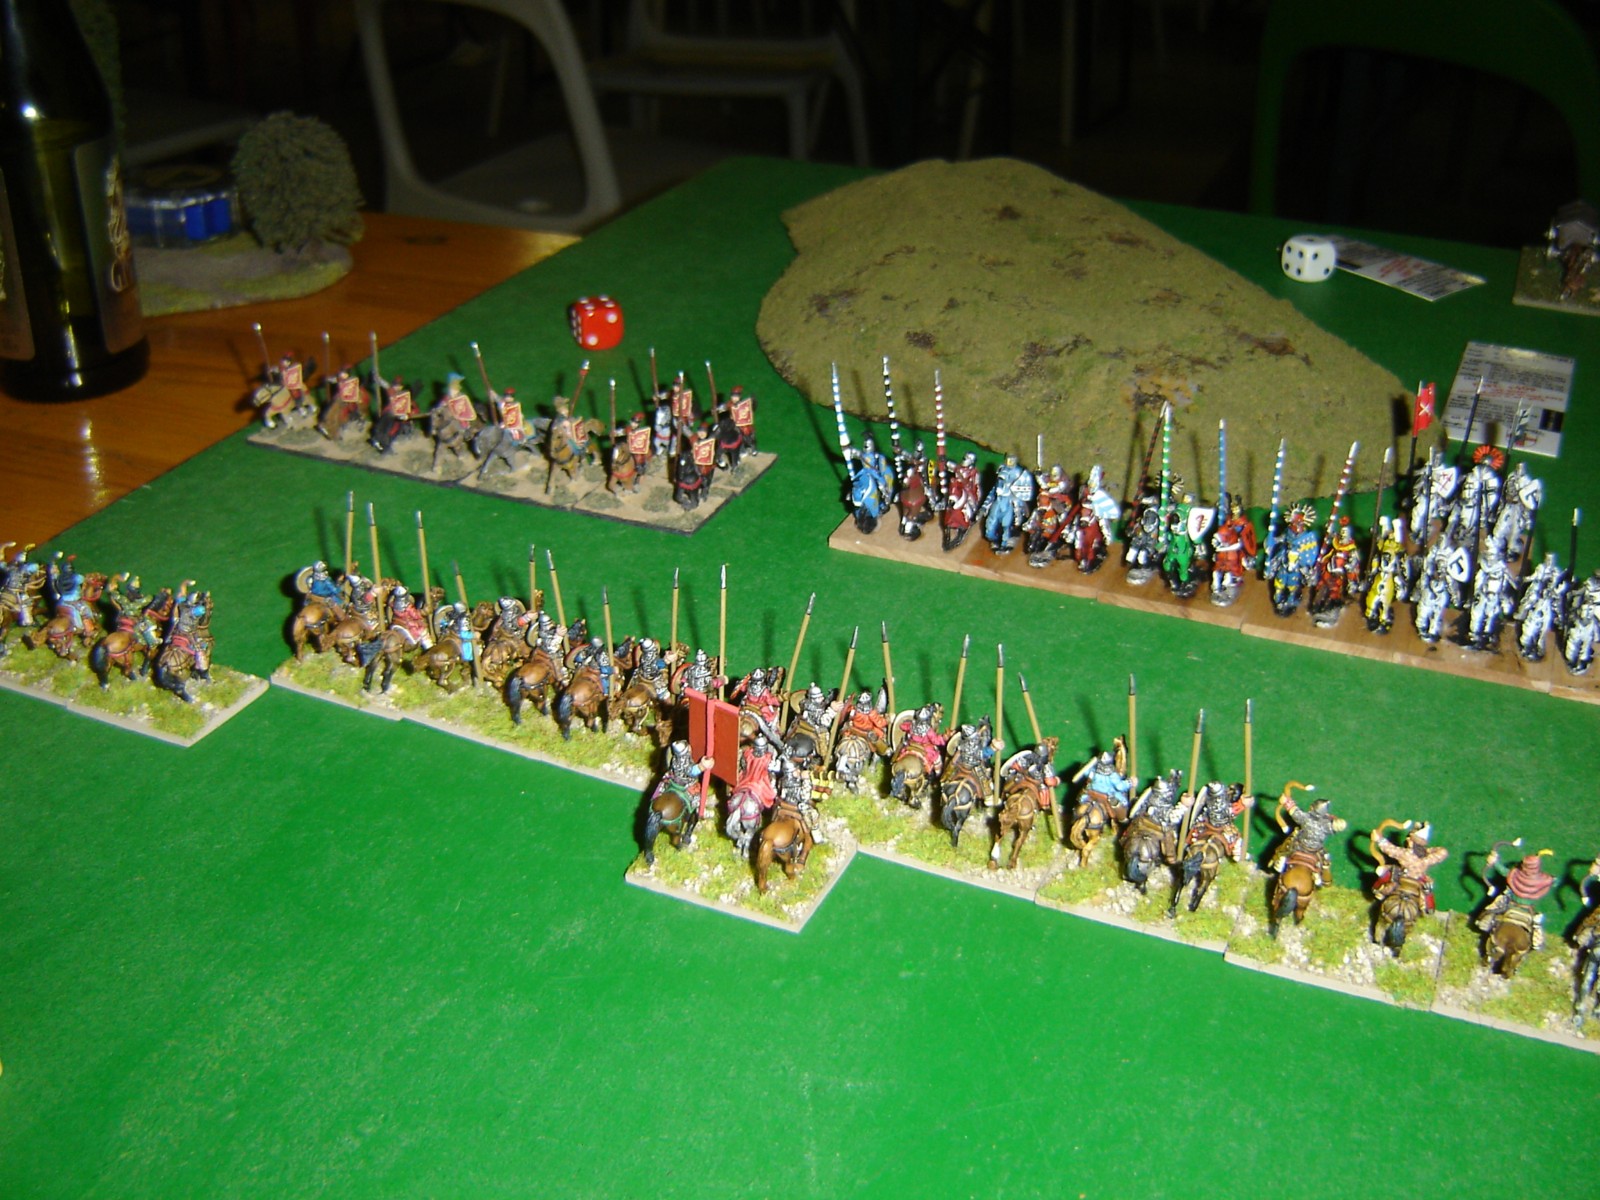
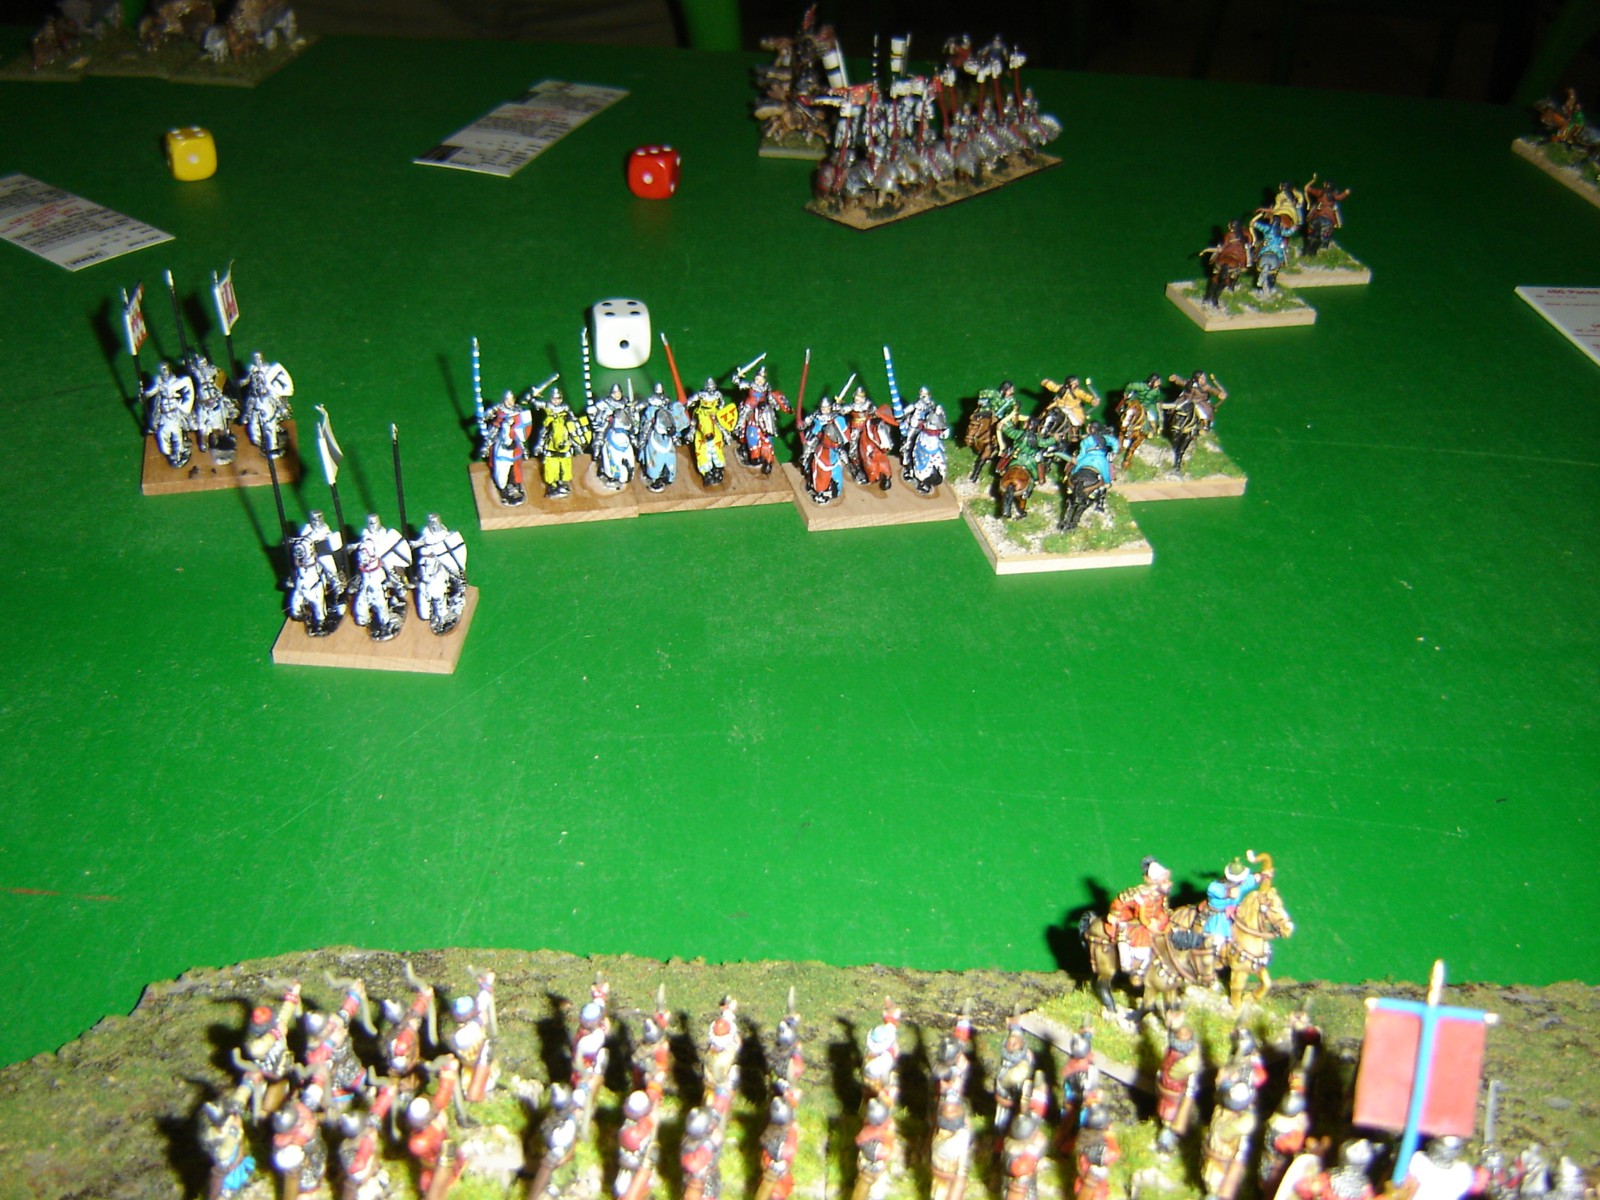
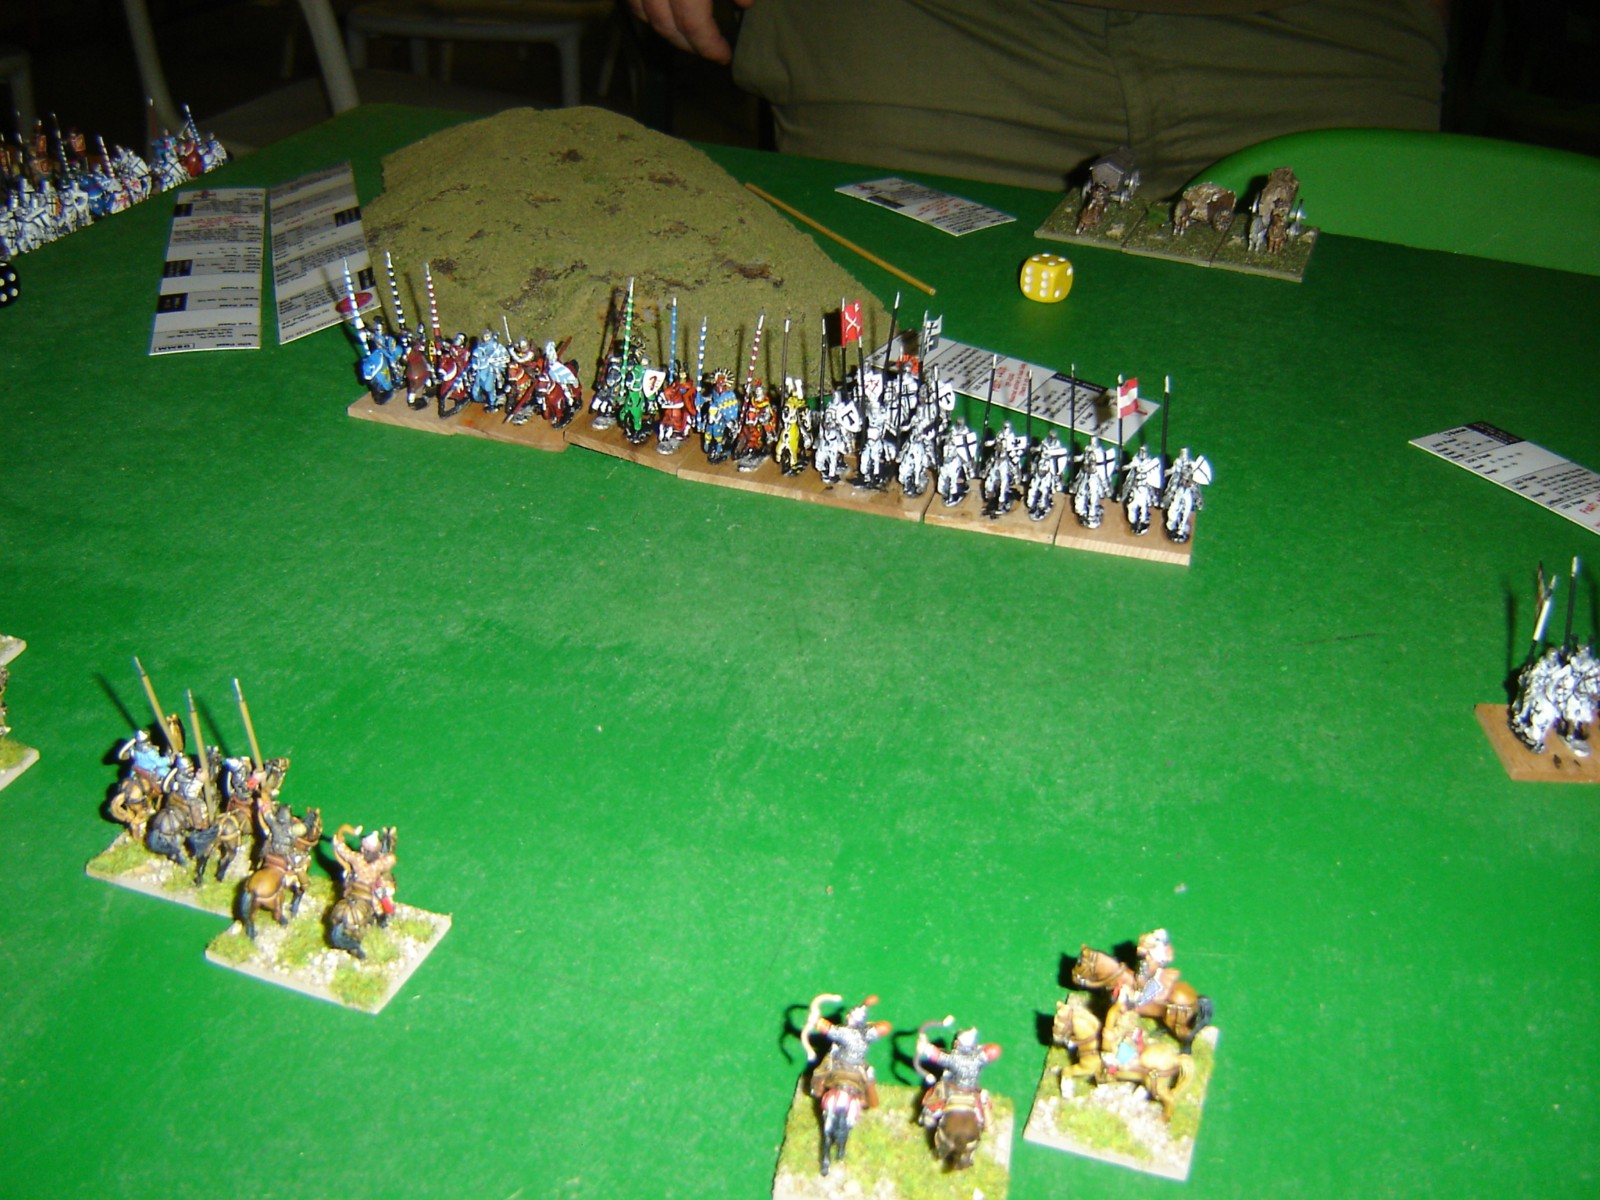
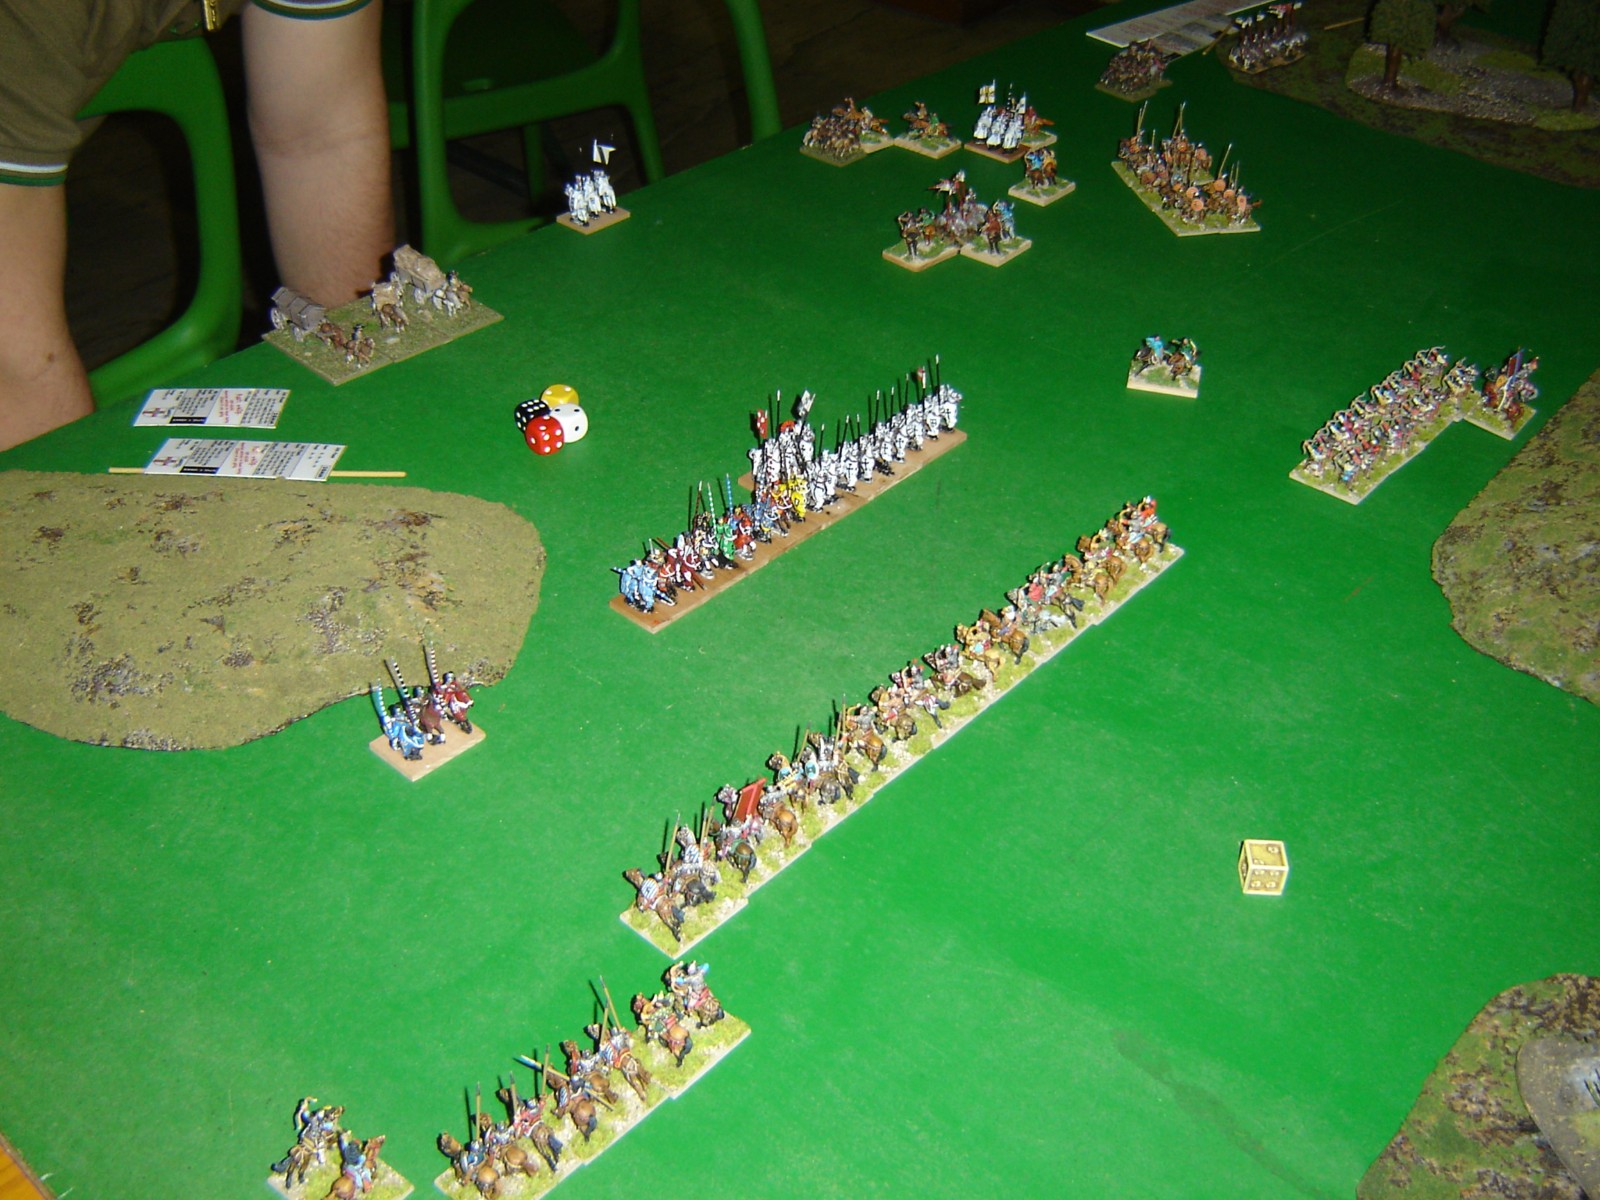
The terrain was quite good for the defending Byzantine. The big hill dominating the battlefield was rough, giving protection to the foot archers and hampering the Teutonic to deploy in a linear formation. On both flanks of the Teutonics host there were some difficult going. Hidden behind the RH there was the small Georgian corps, that had the task to outflank the Order left. The plans were quite logical. Teutonic need a frontal charge to rid down opponents, while Byzantine would have tried to outflank the enemy.
Note the Teutonic reserve under the CiC in the rear, and the troops in column to expand on the right. Byzantine planned to use the CvO on the far right where they likely would meet enemy Lh.
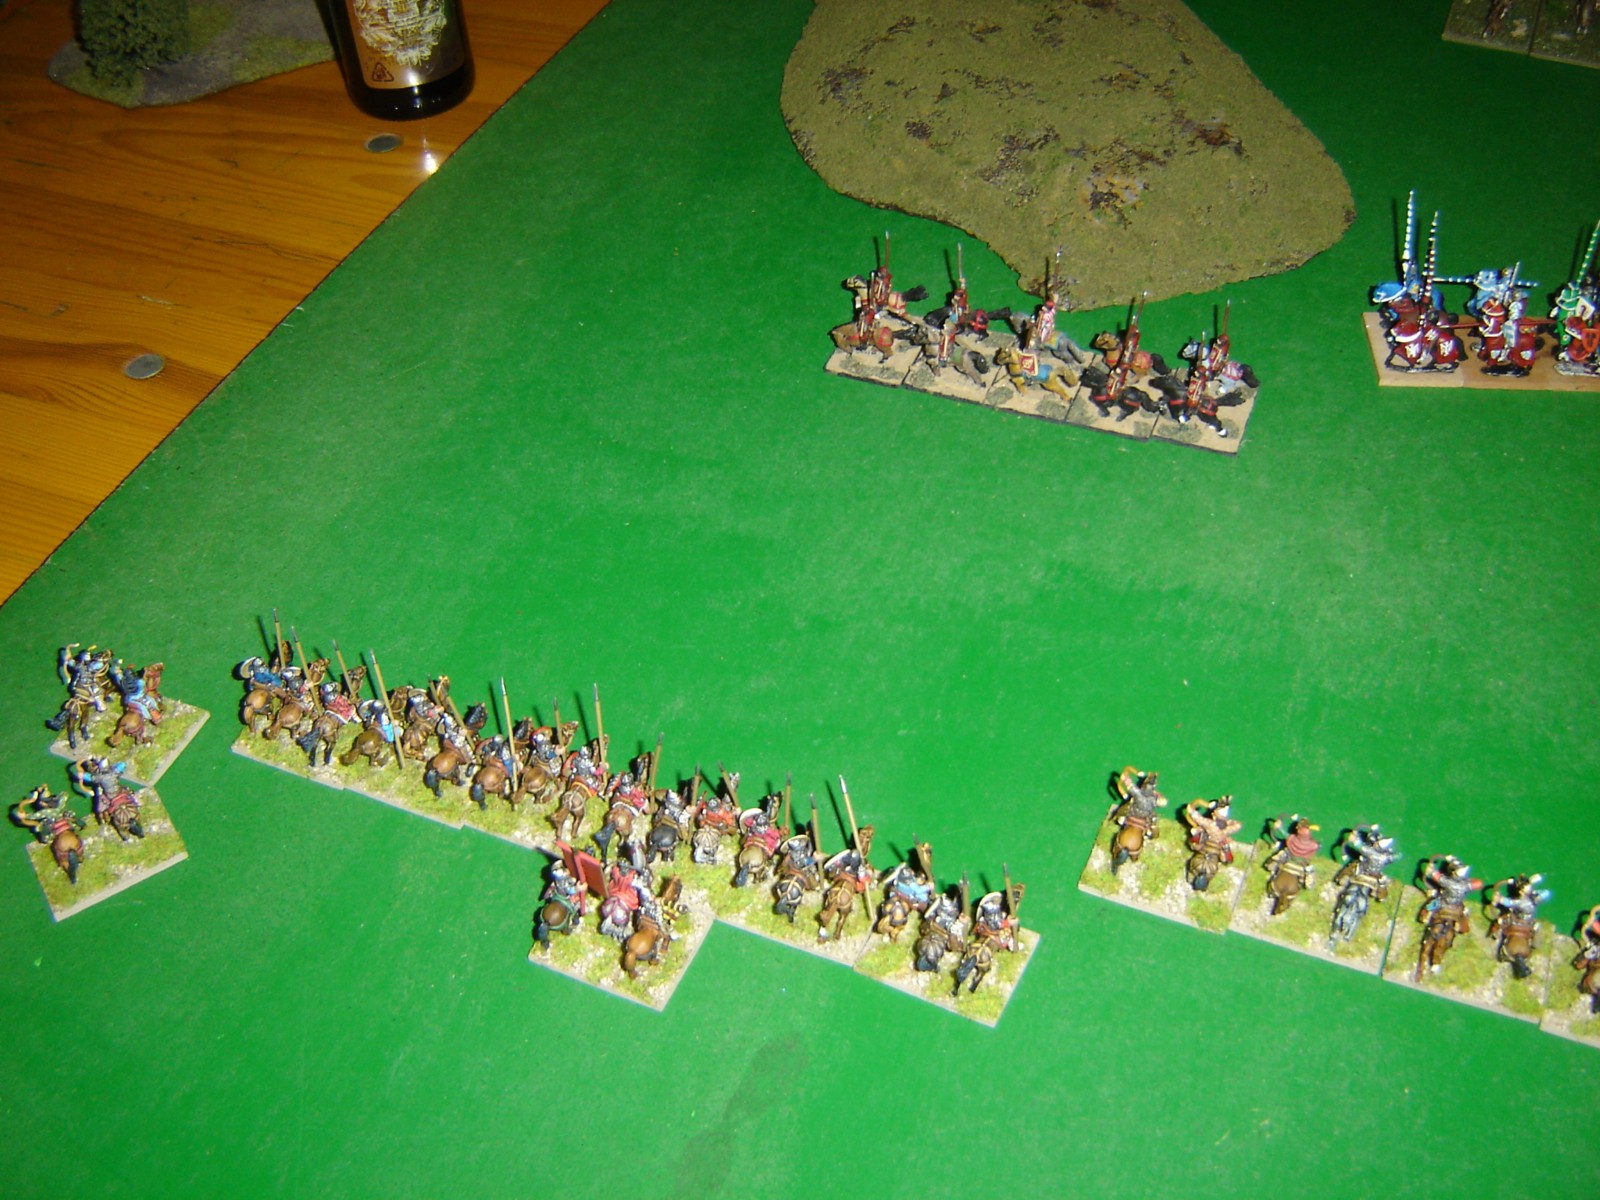
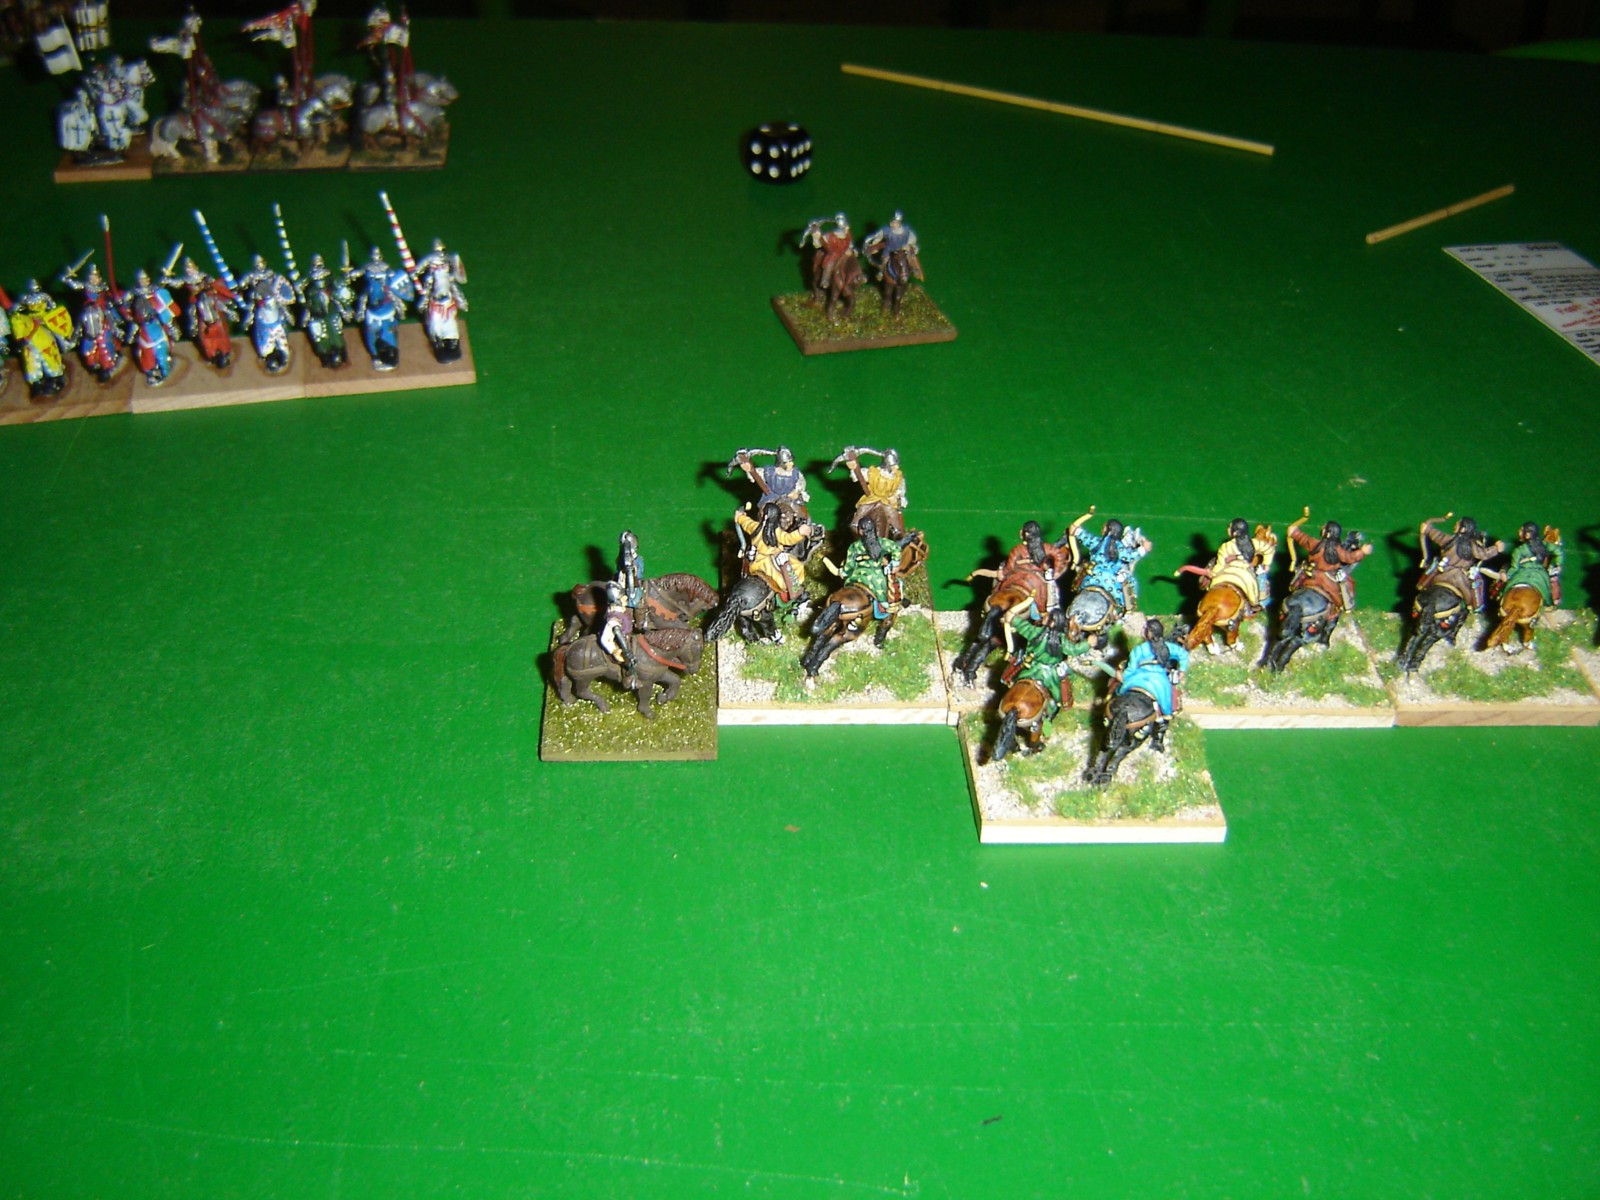
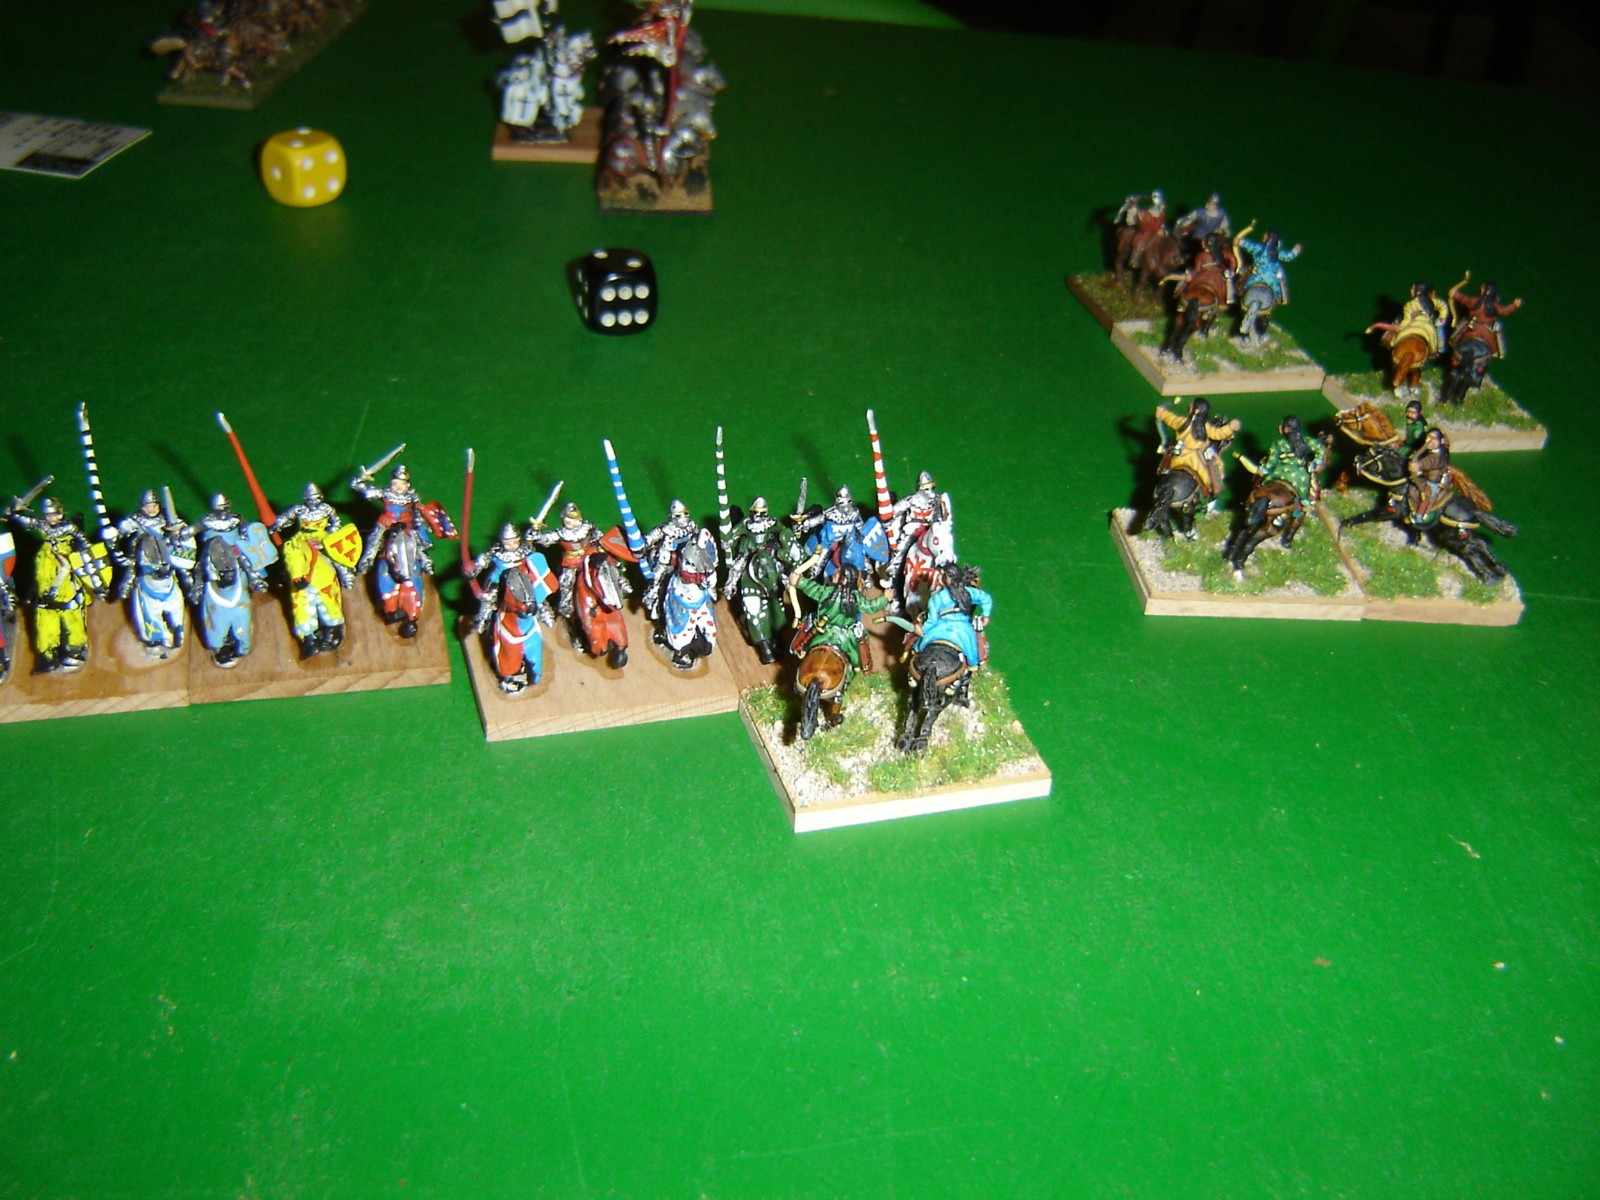
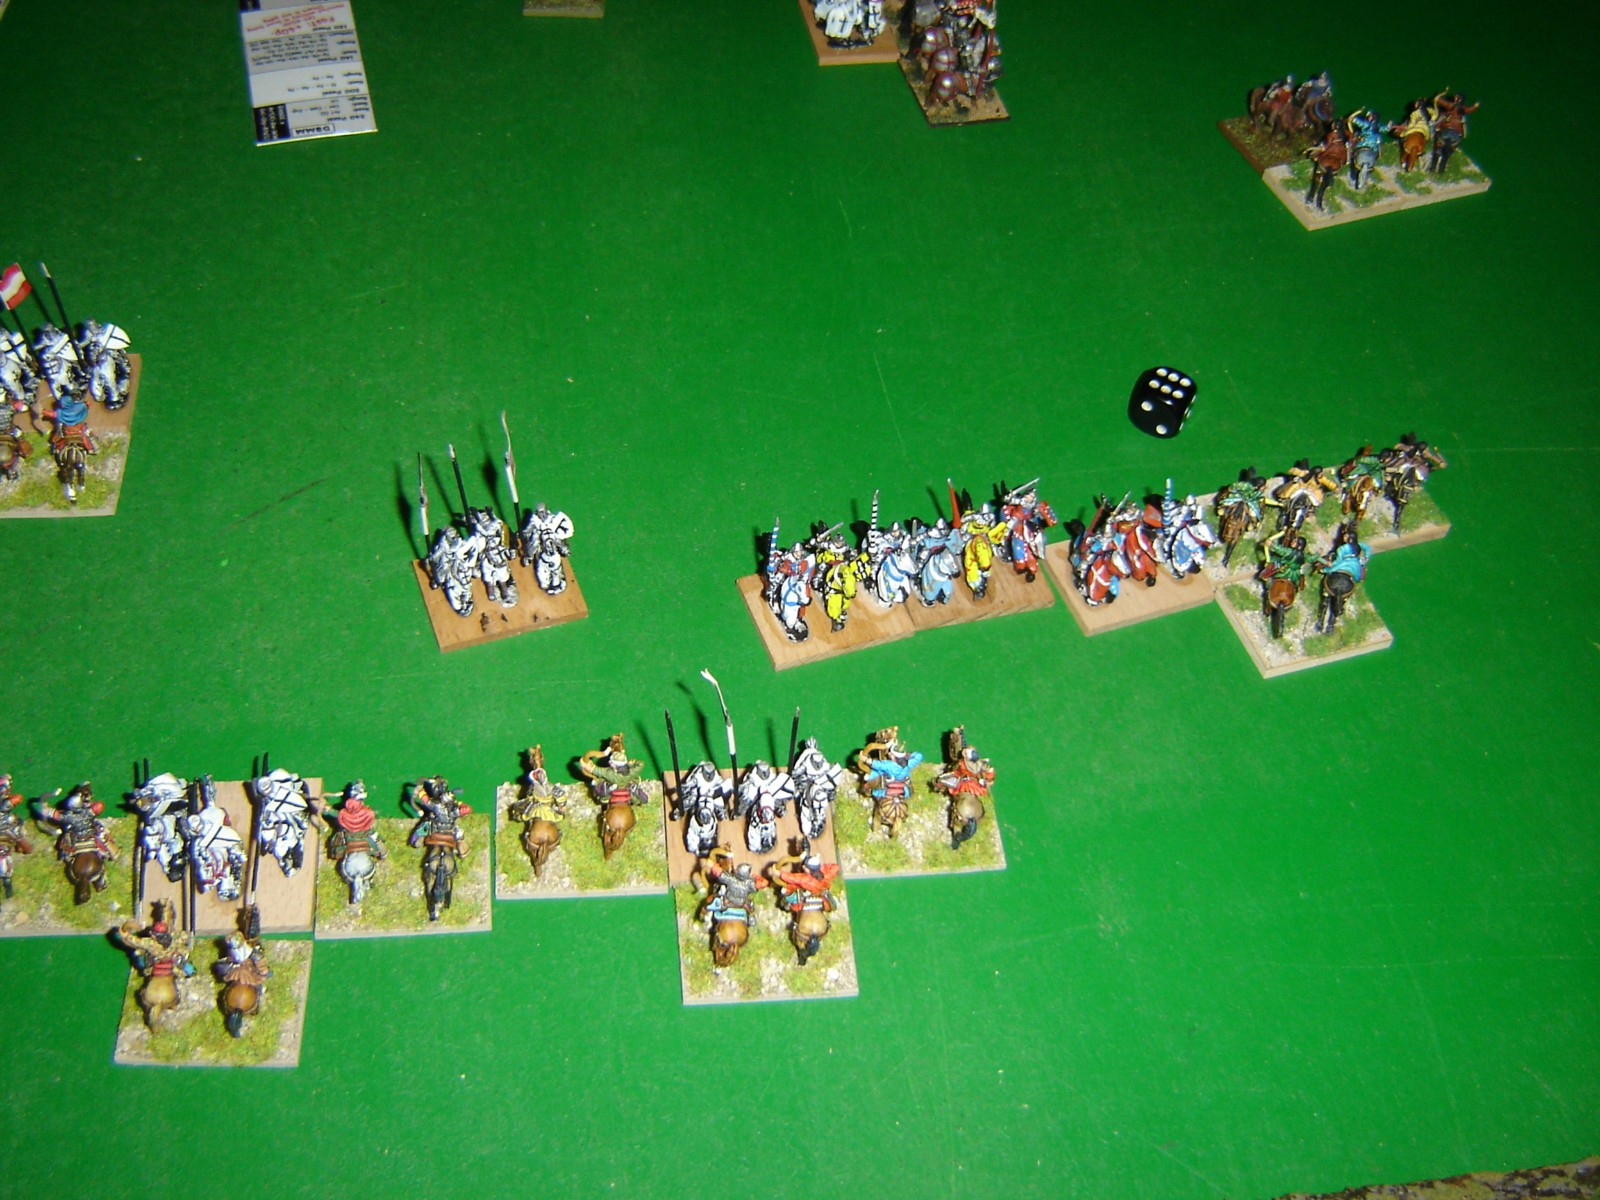
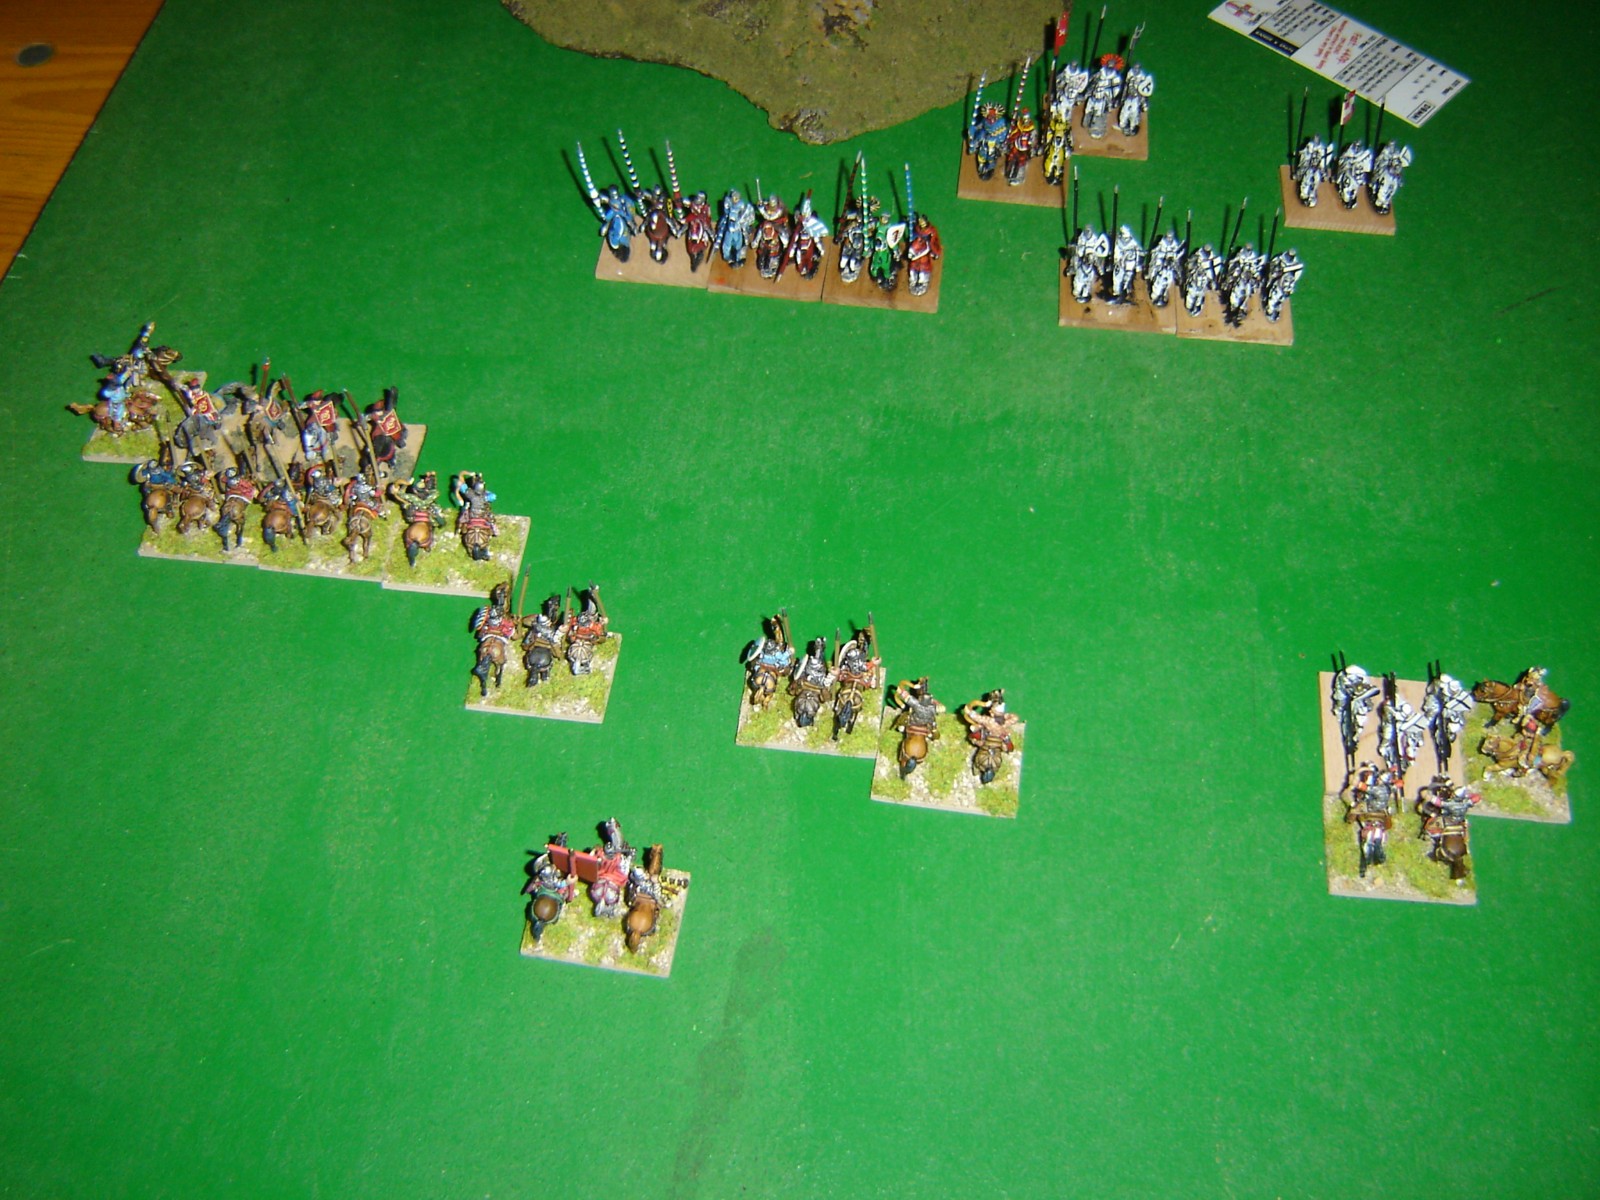
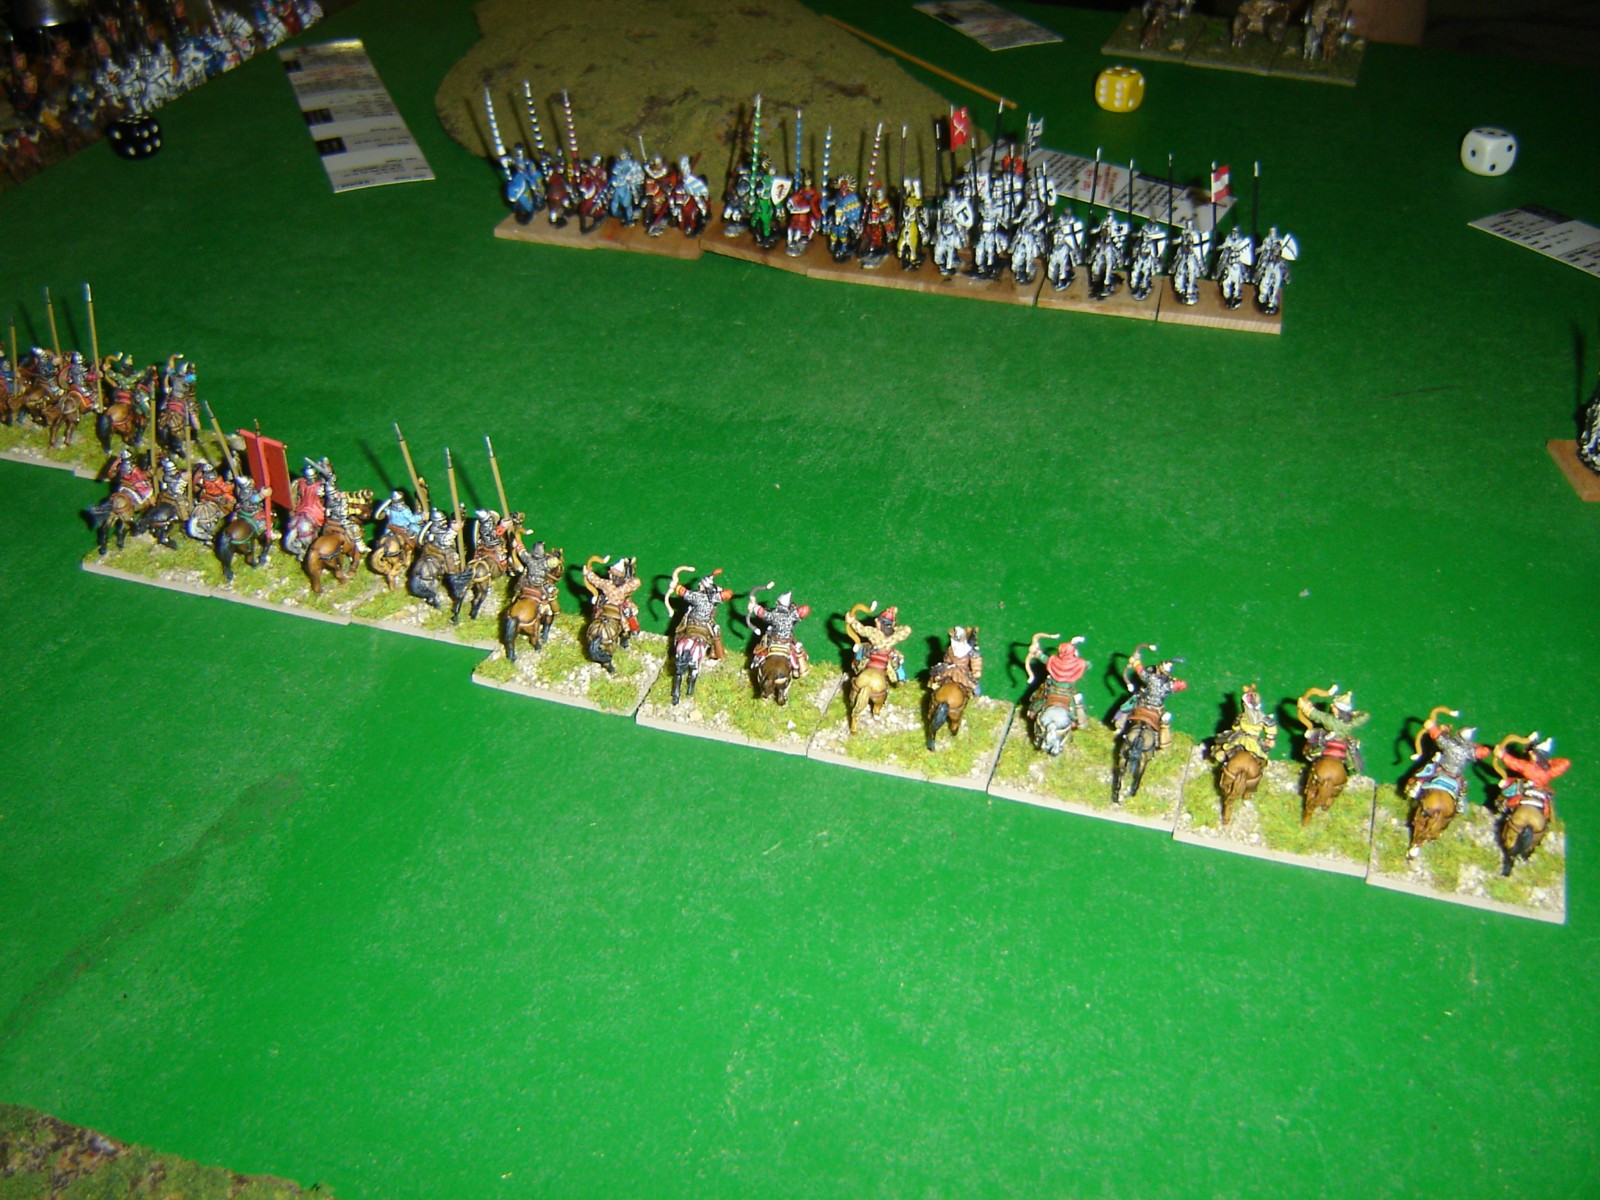
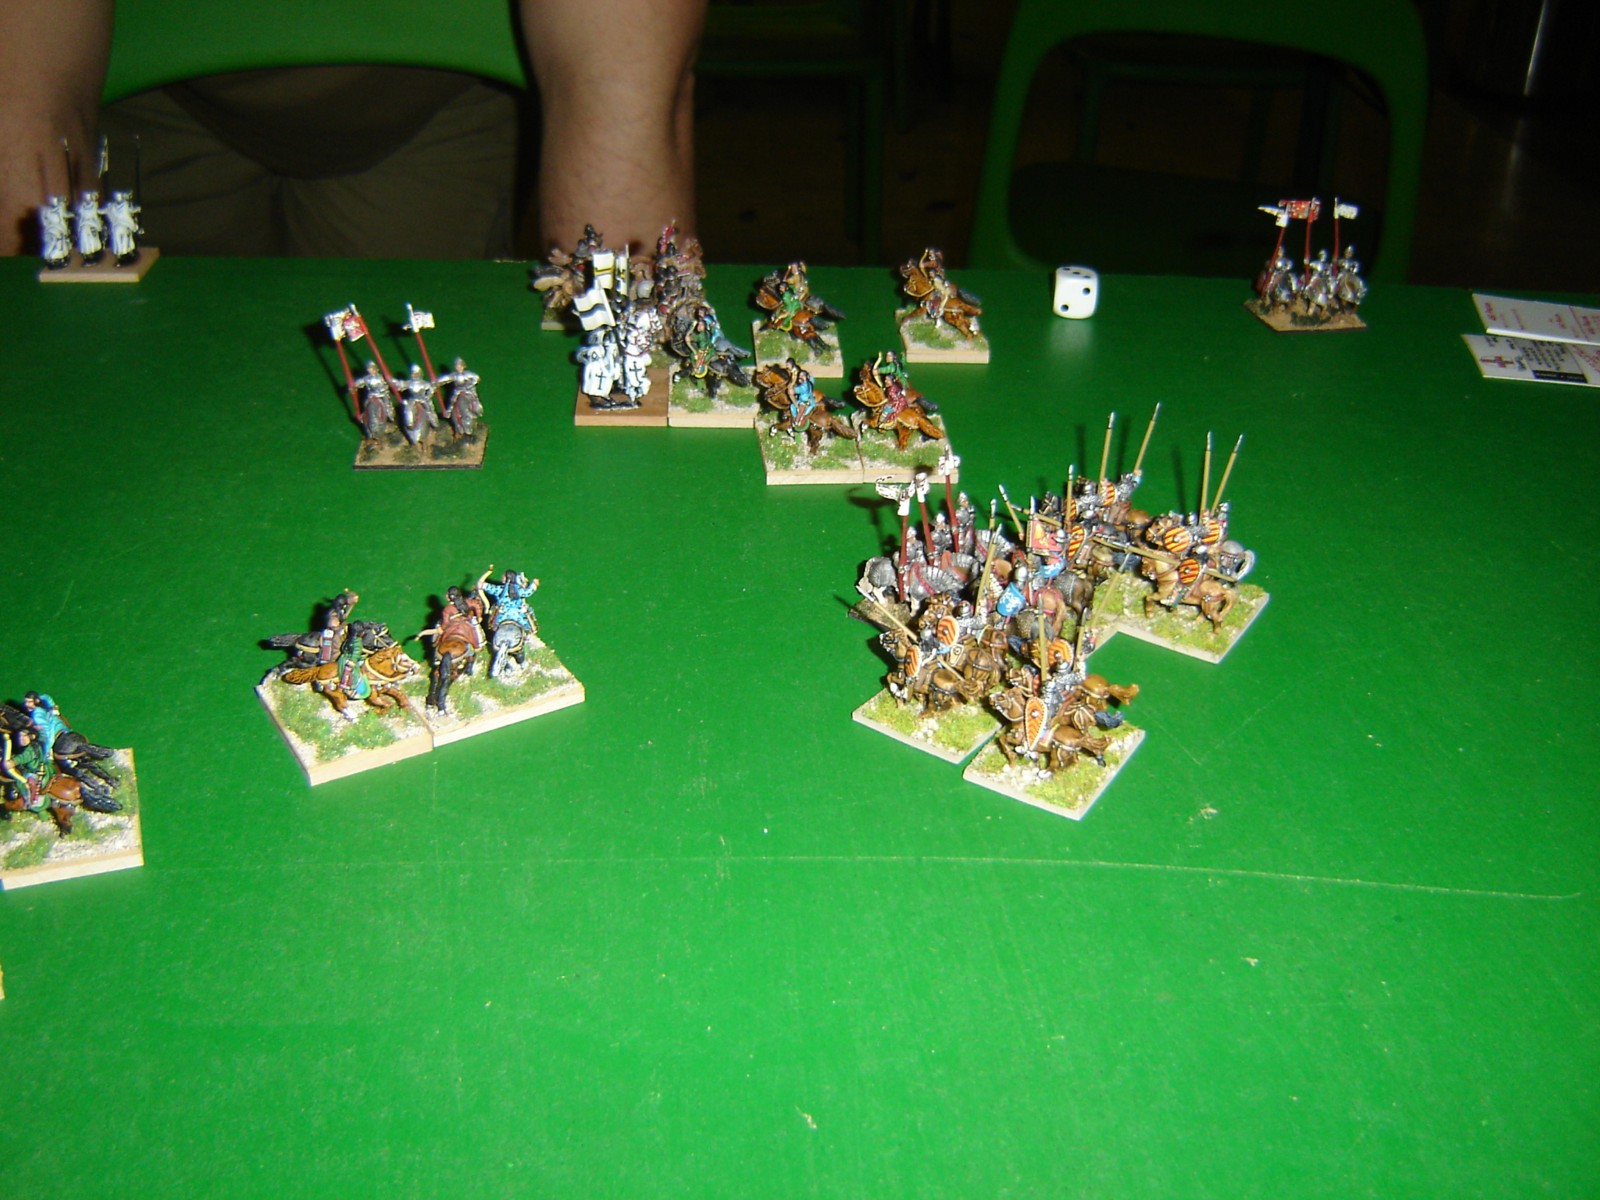
On turn 1 turks LhS left the hill and went for the open flank
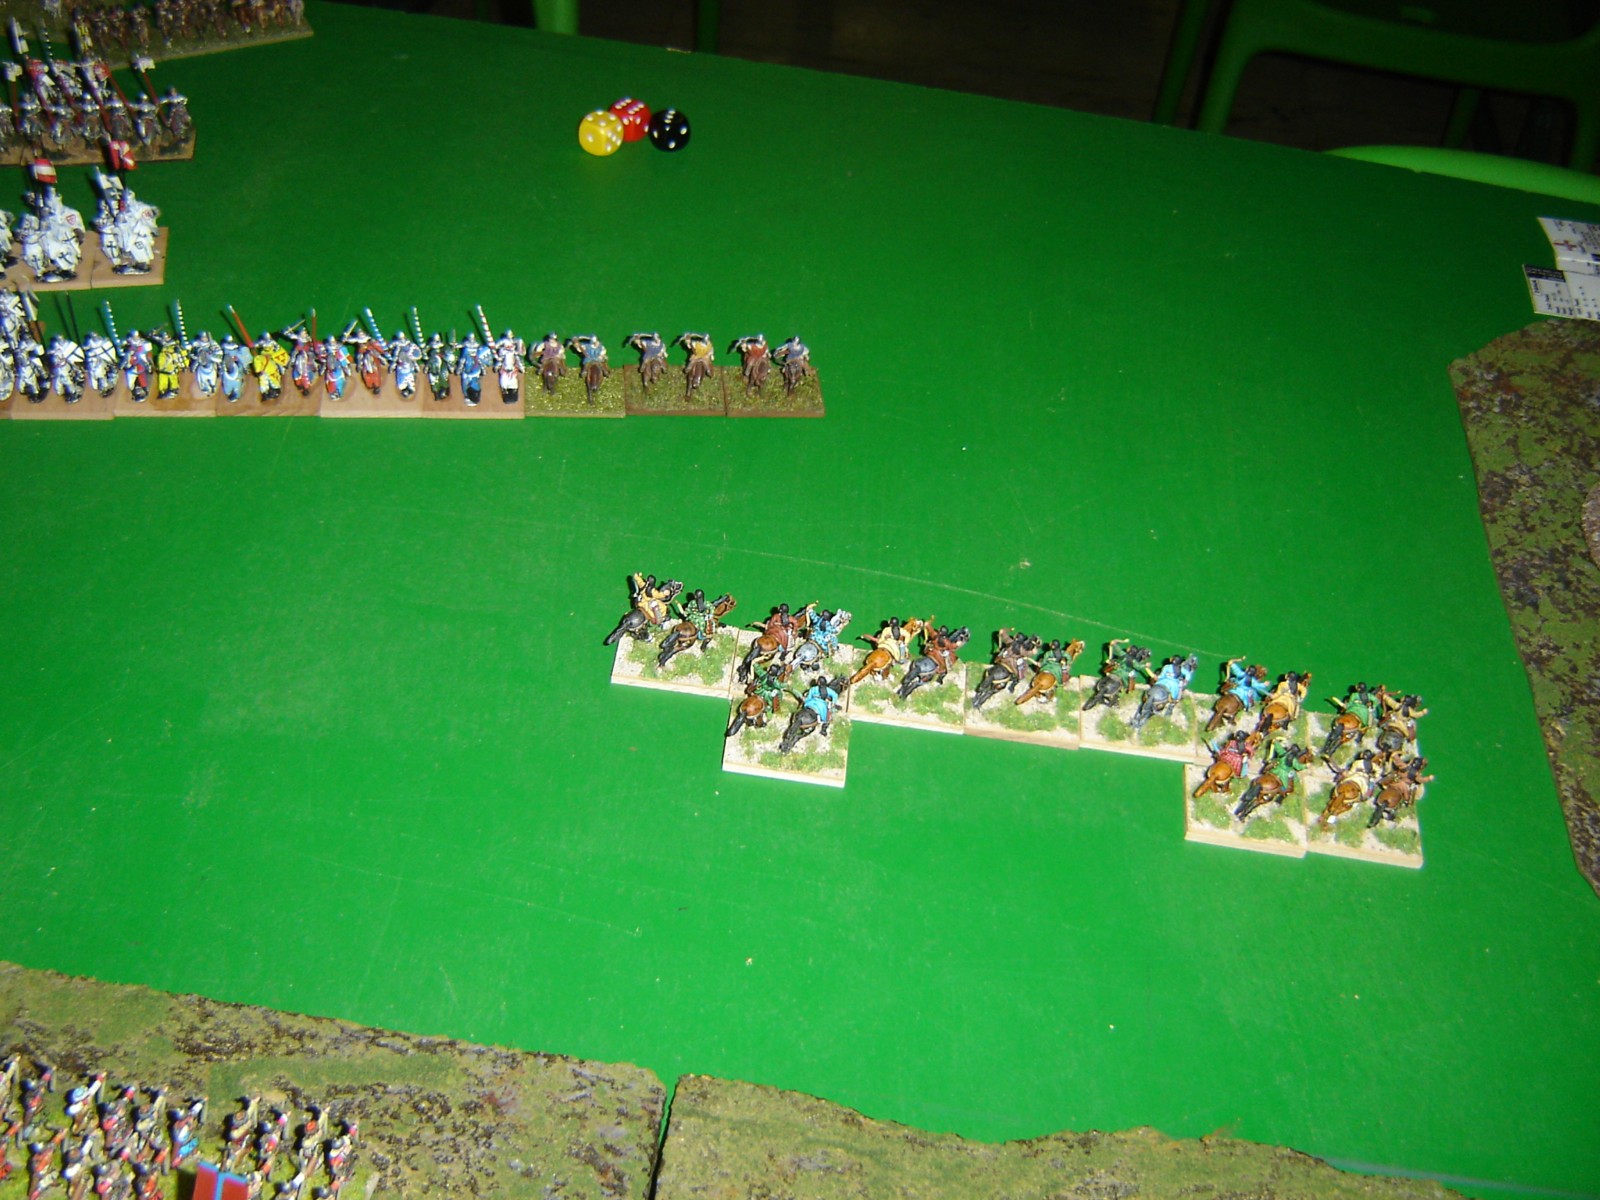
On the left RLhS sprinted forward to pin enemy while CvO manouvered and expande to intercept enemy LhO.

Georgians appeared and started the outflanking manouver, while the small byzantine pip dump corps made by Ps went to take a difficult area.
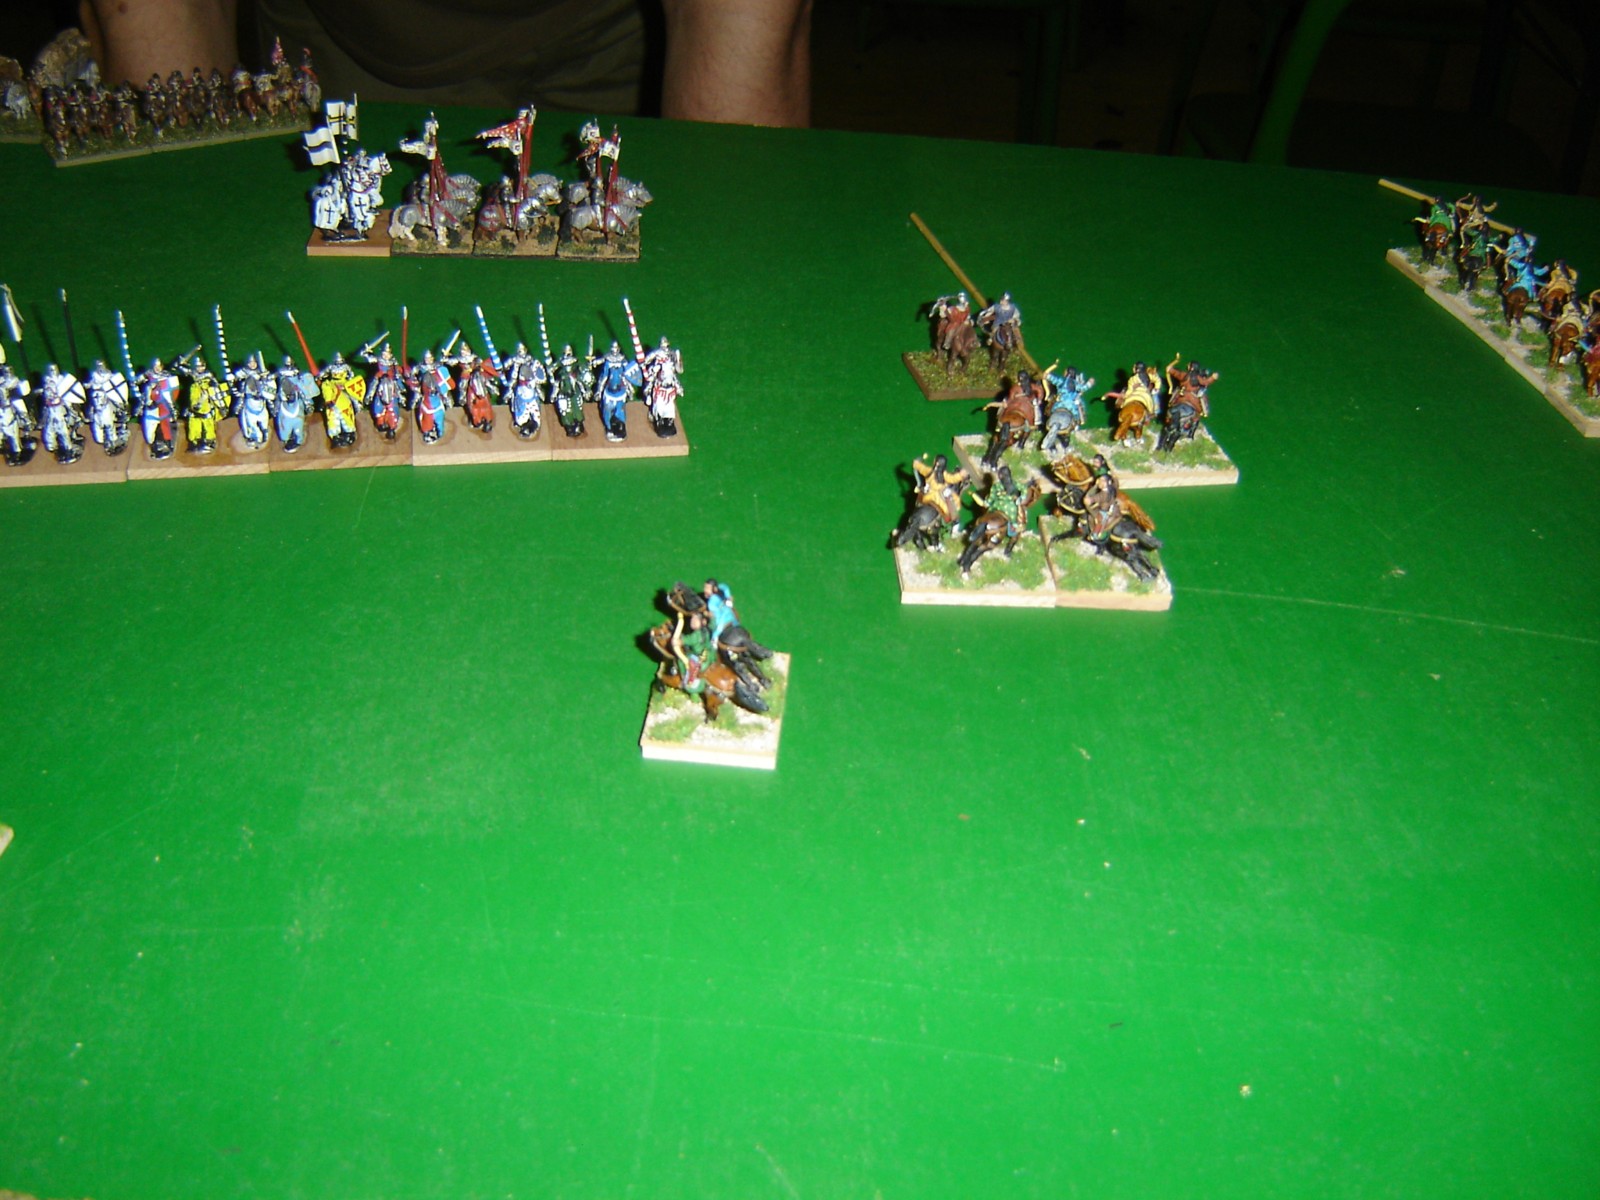
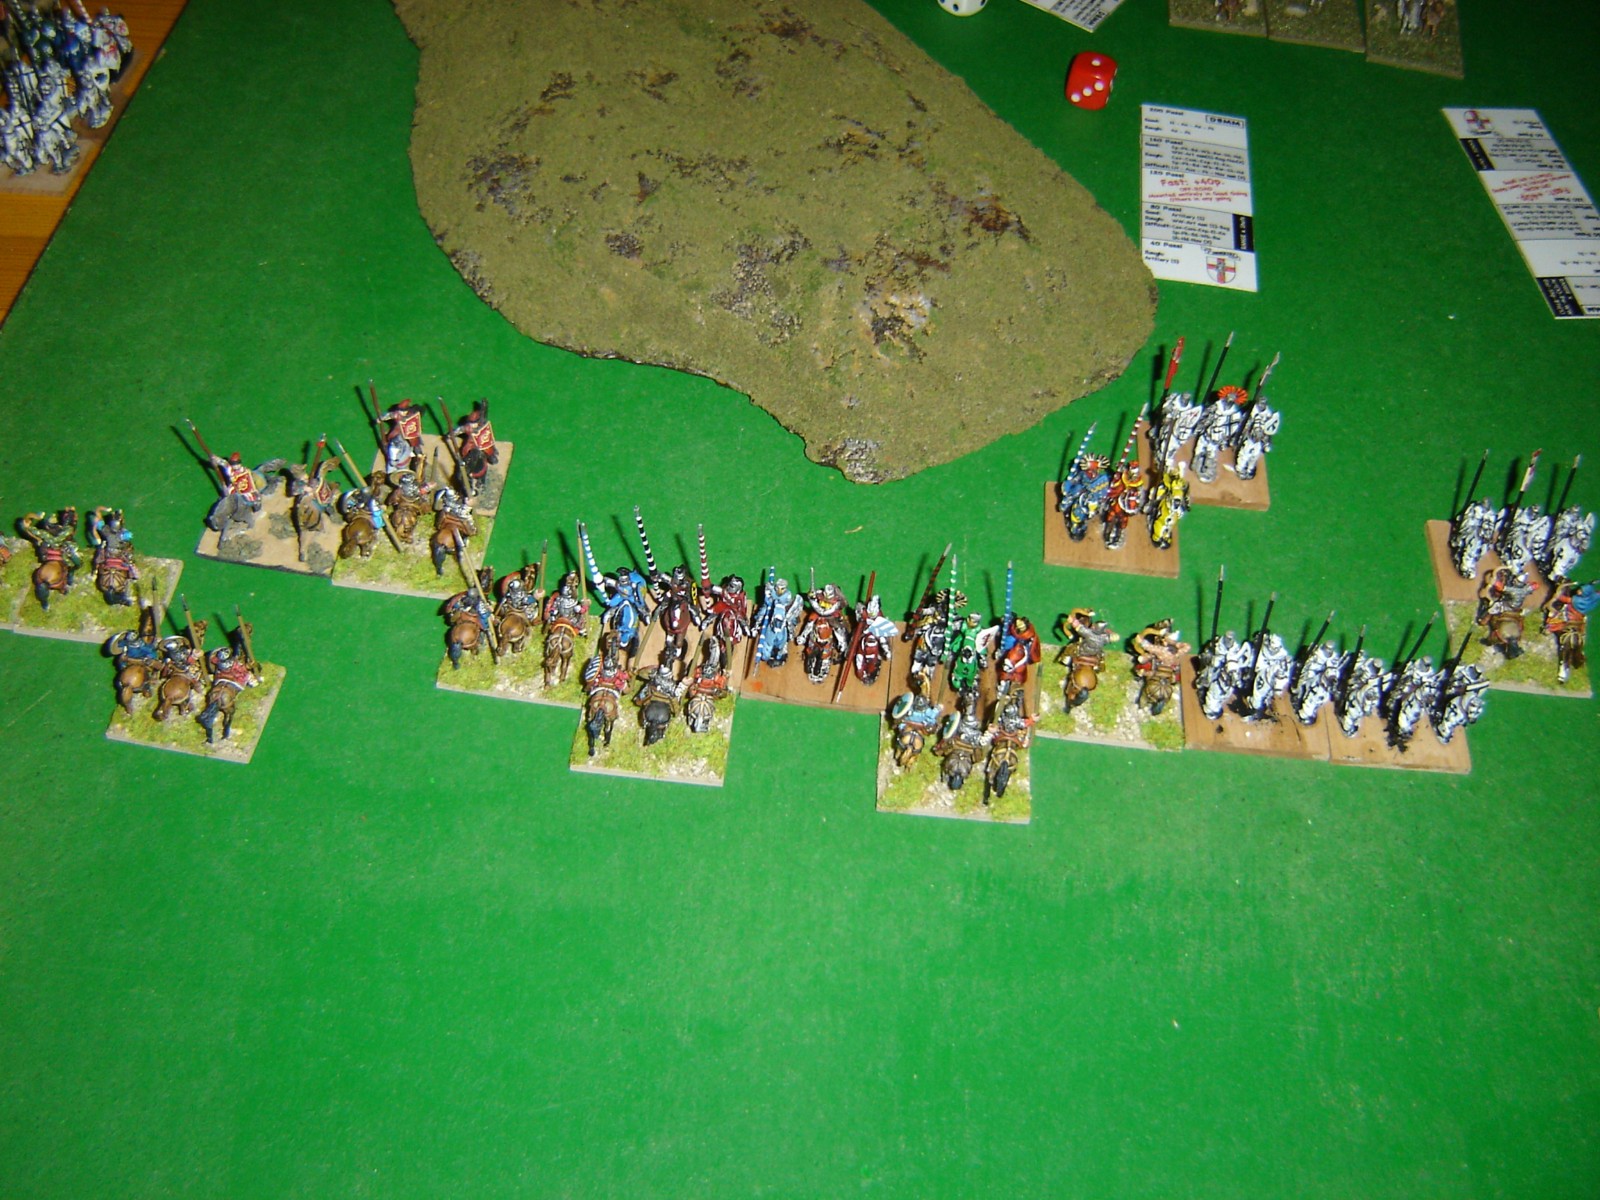
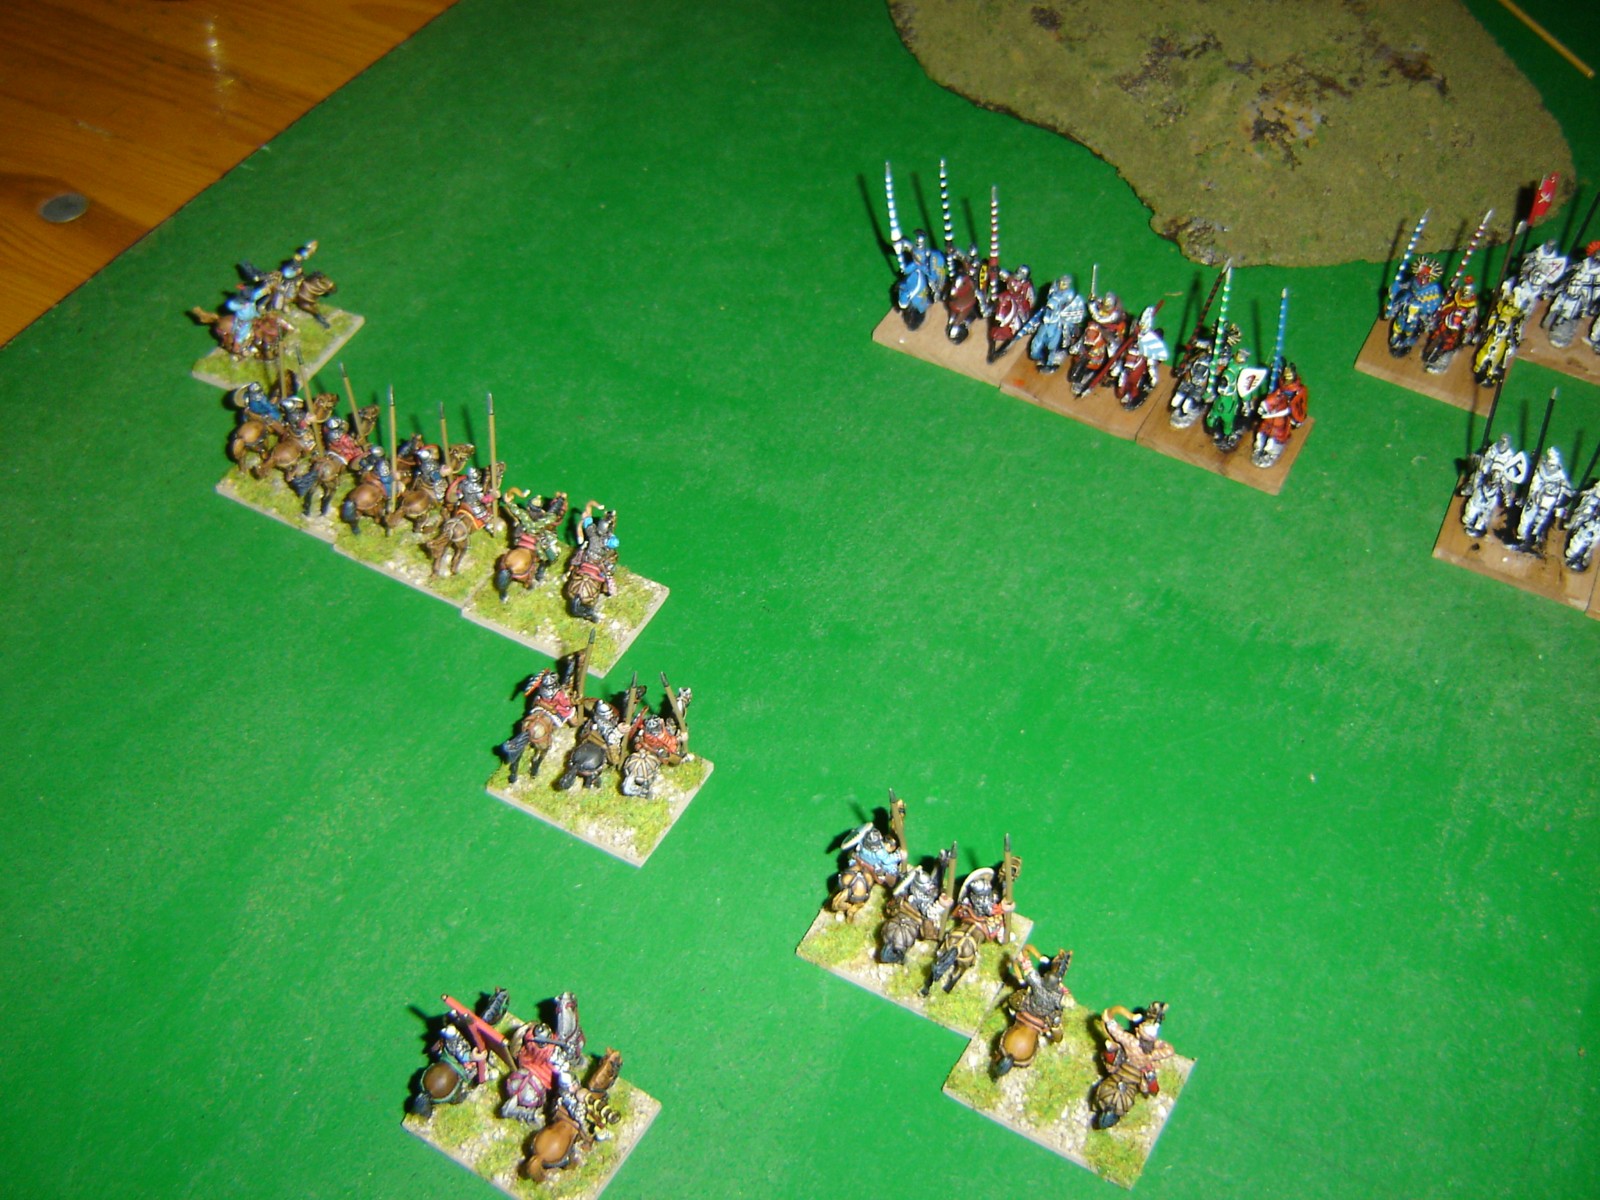
On the left the Teutonic planned manouver is executed
On the right the Teutonis sees the danger and took a flank attack opportunity with his Lh
The Byzantine left pressed forward
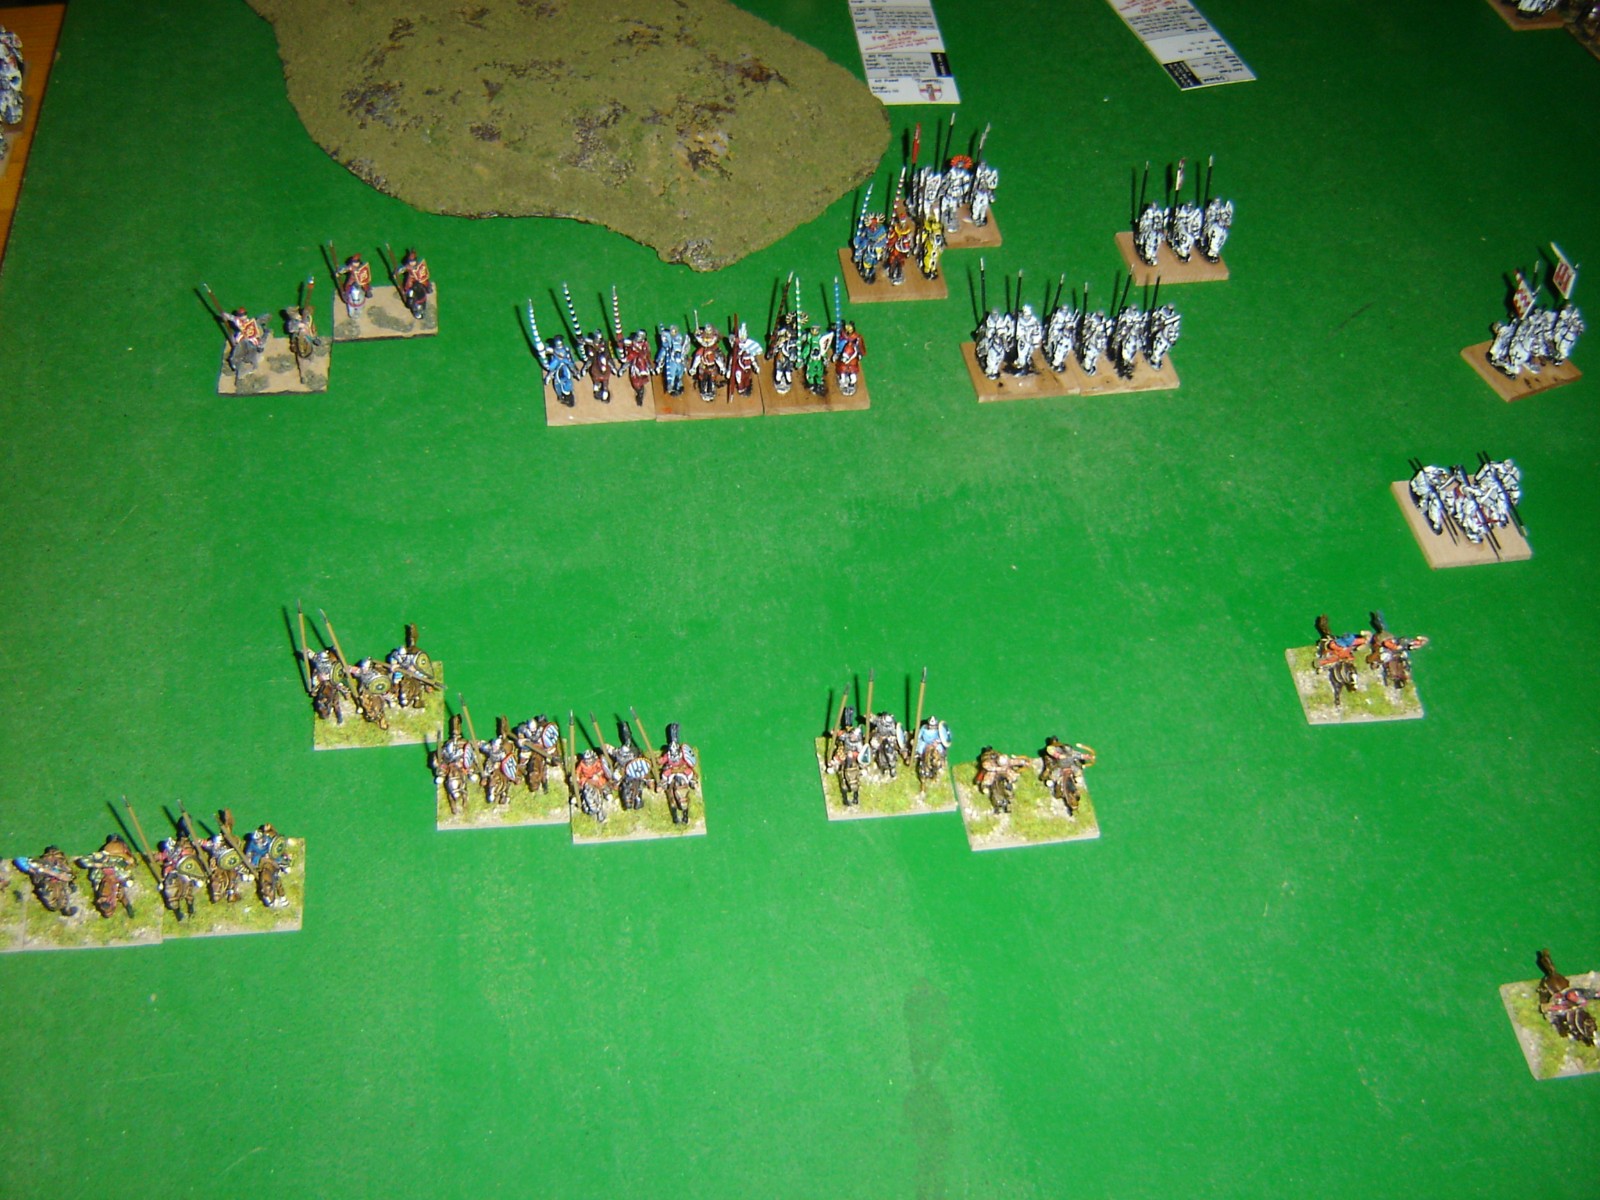
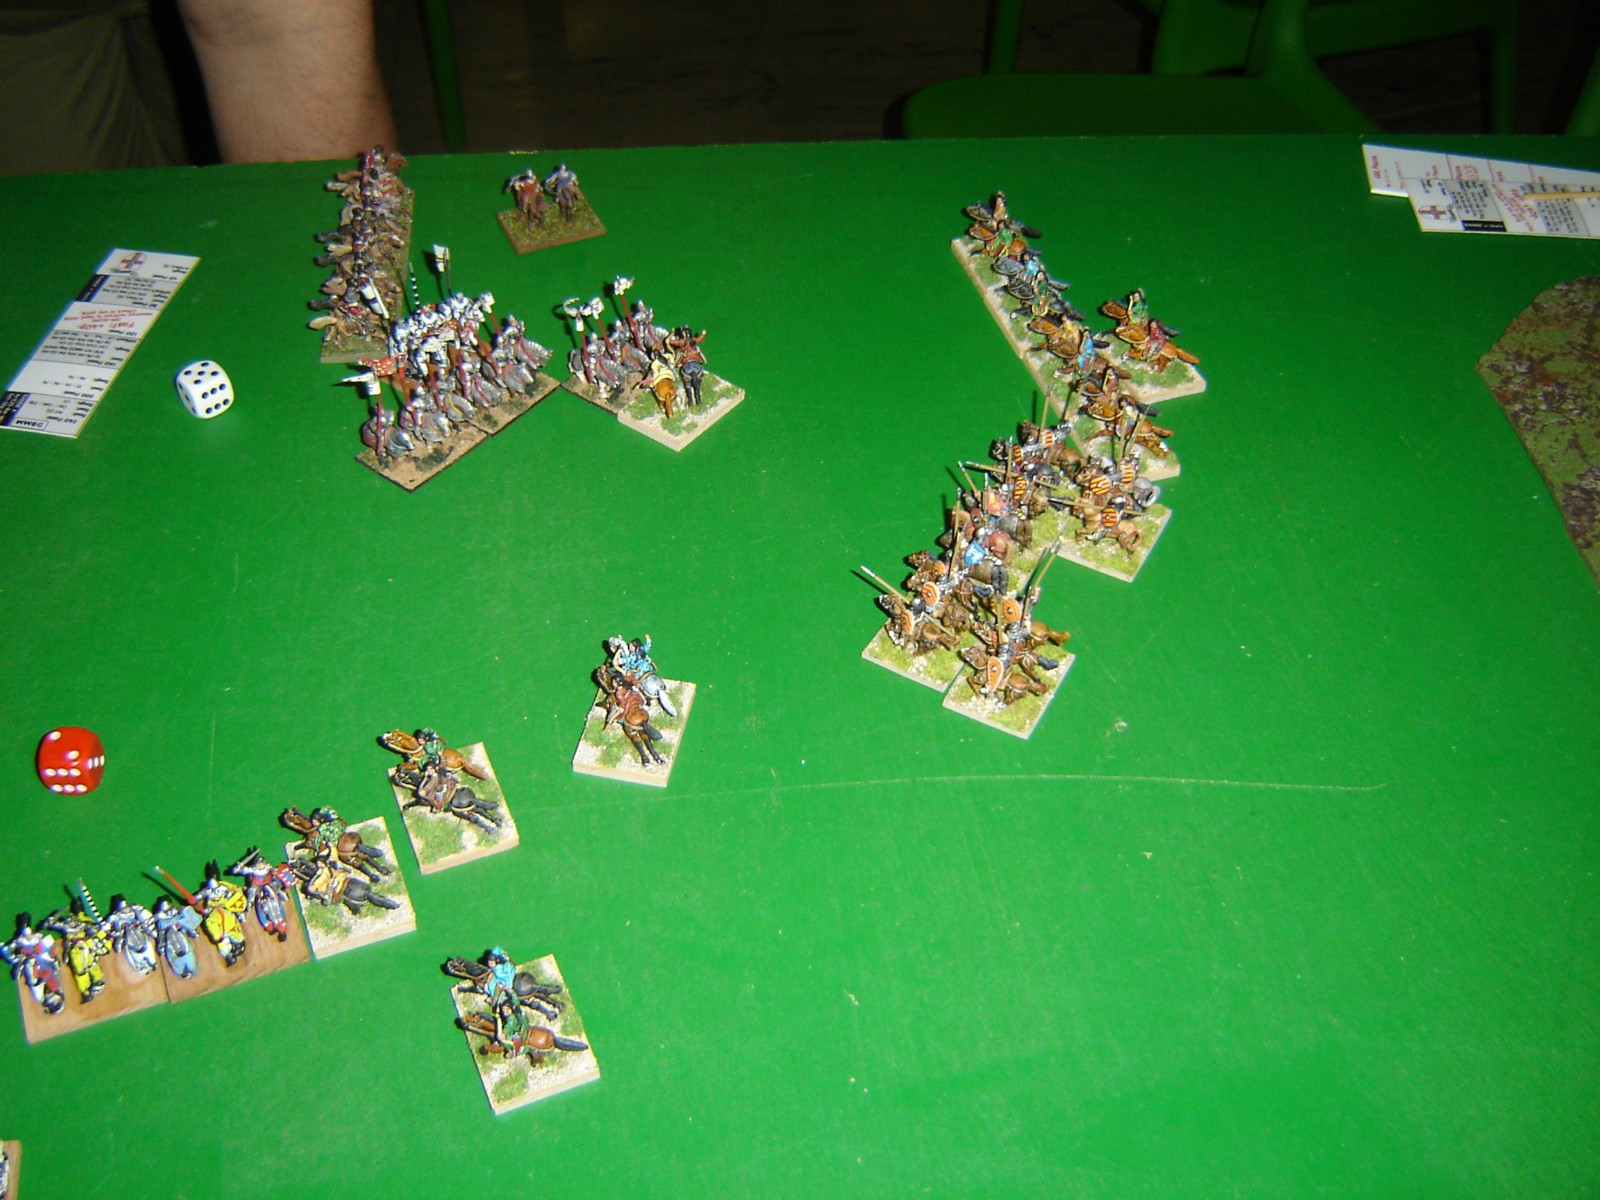
The turks counterattacked and destroyed the enemy Lh. A column tryed to move deep in the Order right flank before the reserves could arrive.
The teutonic saw the menace on the right, and thought the more time Byzantine had, the worst the outflanking would be. He decided to attack as hard as possible.
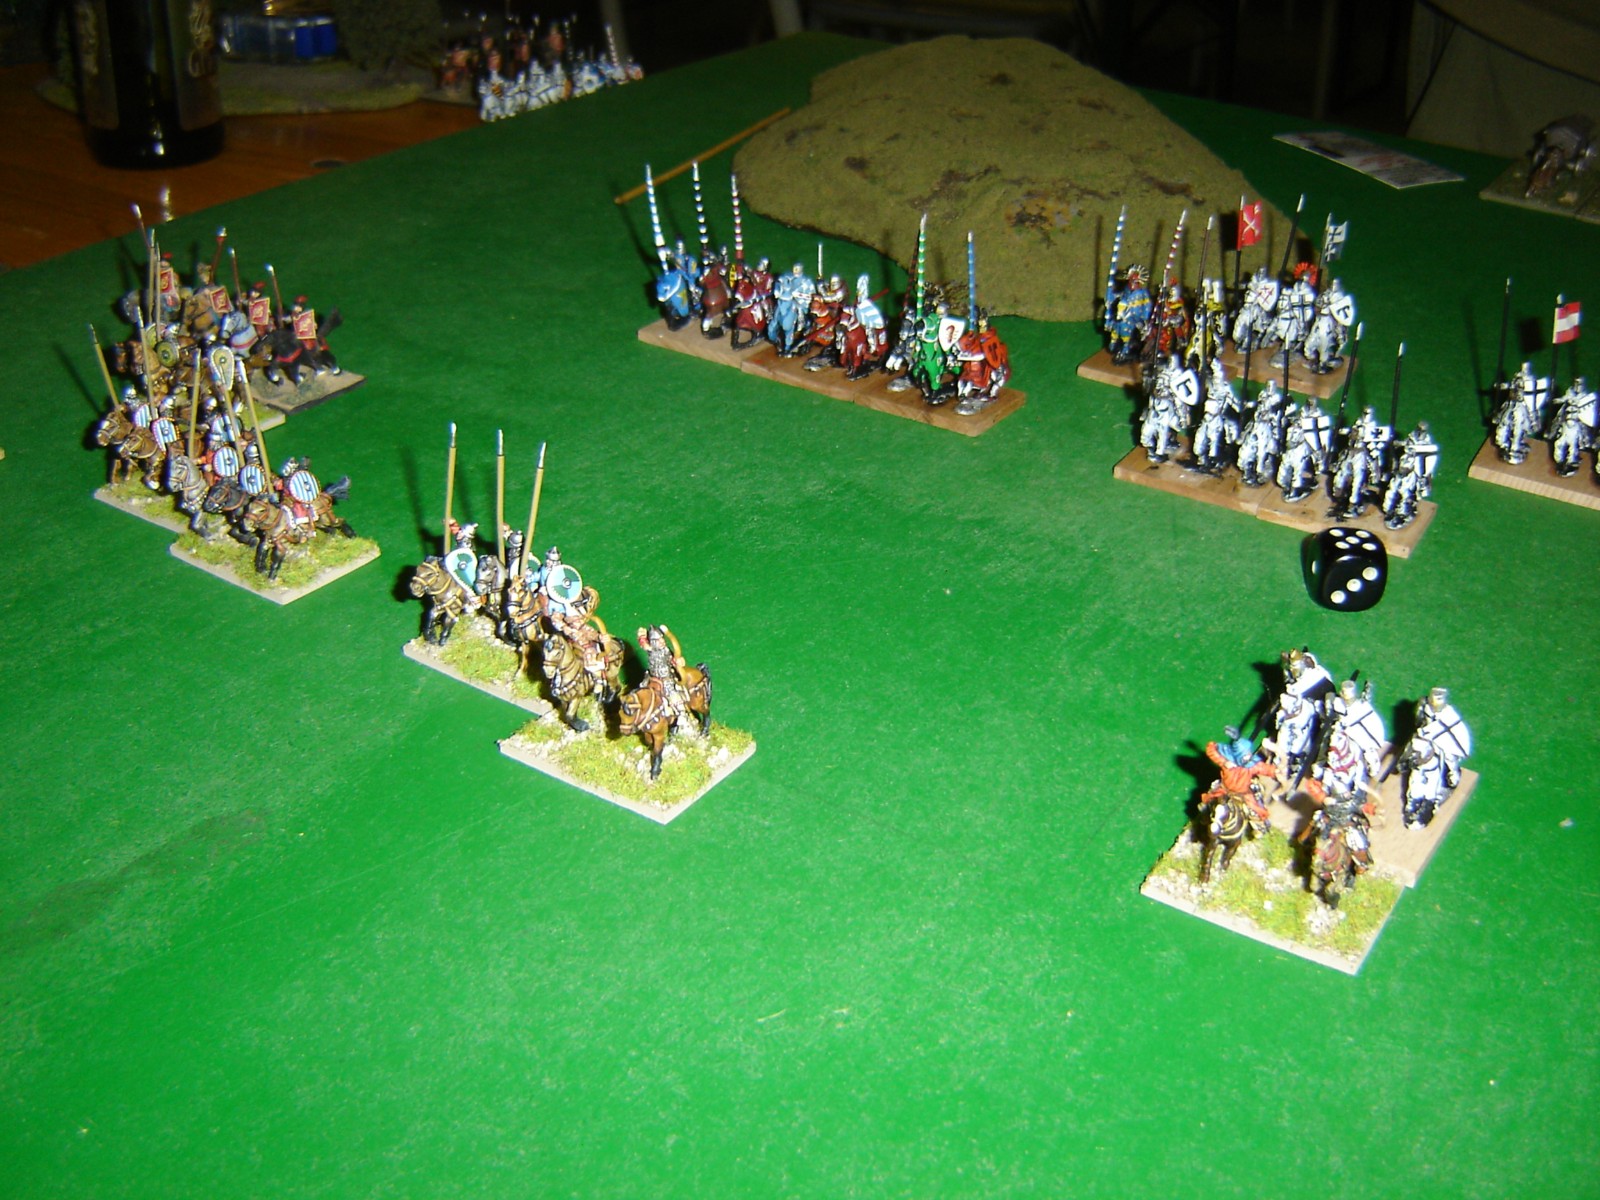
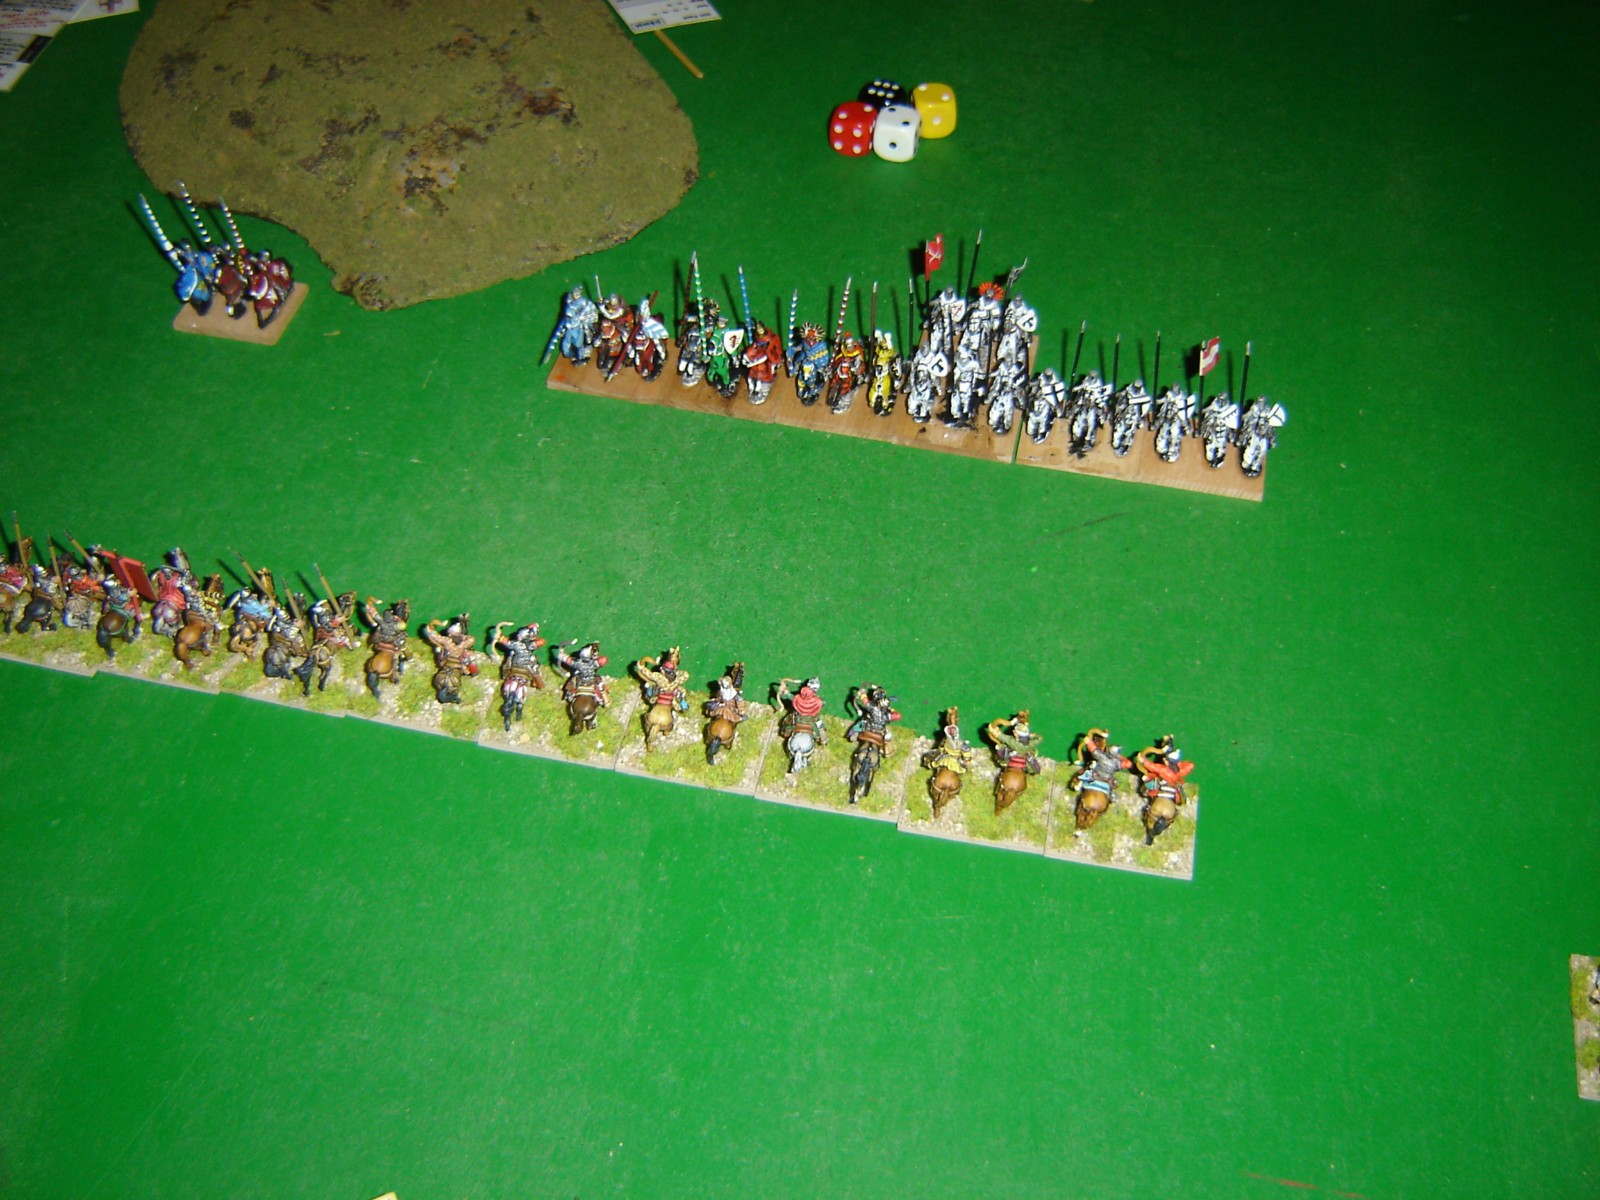
The center advanced to contact
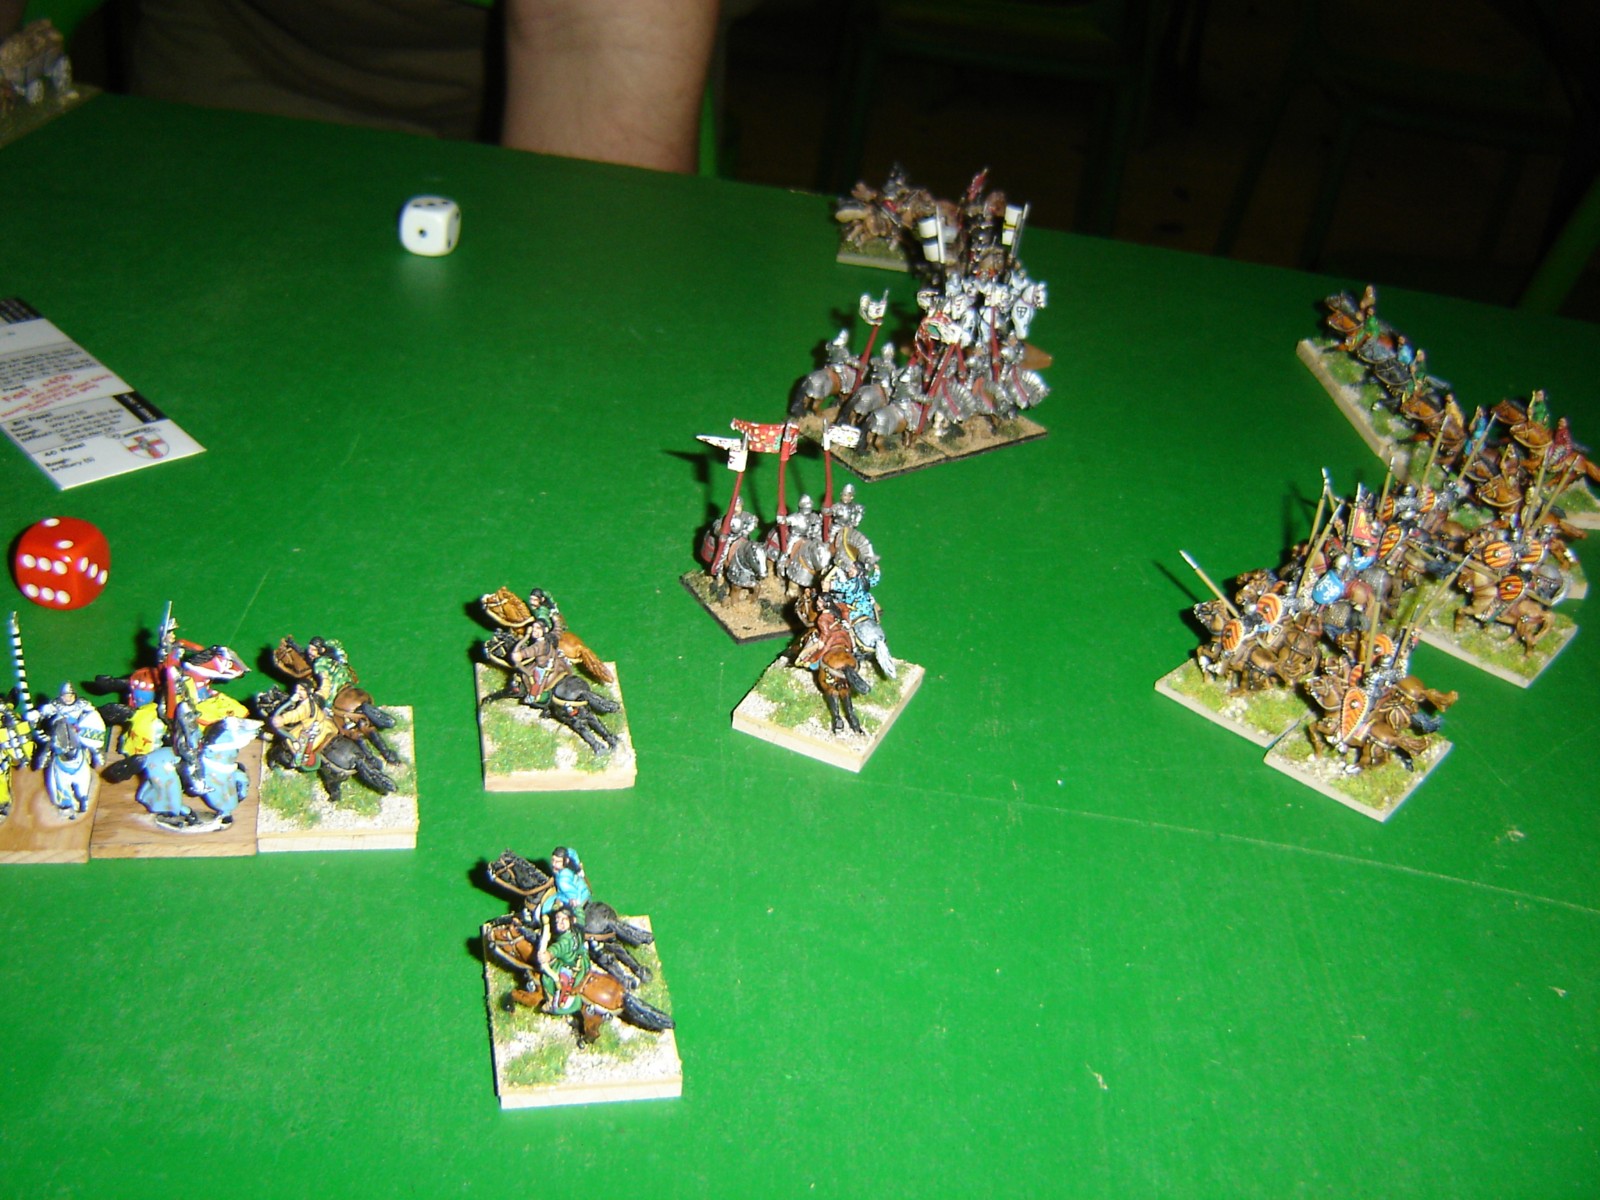
Three RKnS are activated again and marched to contact.
Another march to contact by mercenary KnO
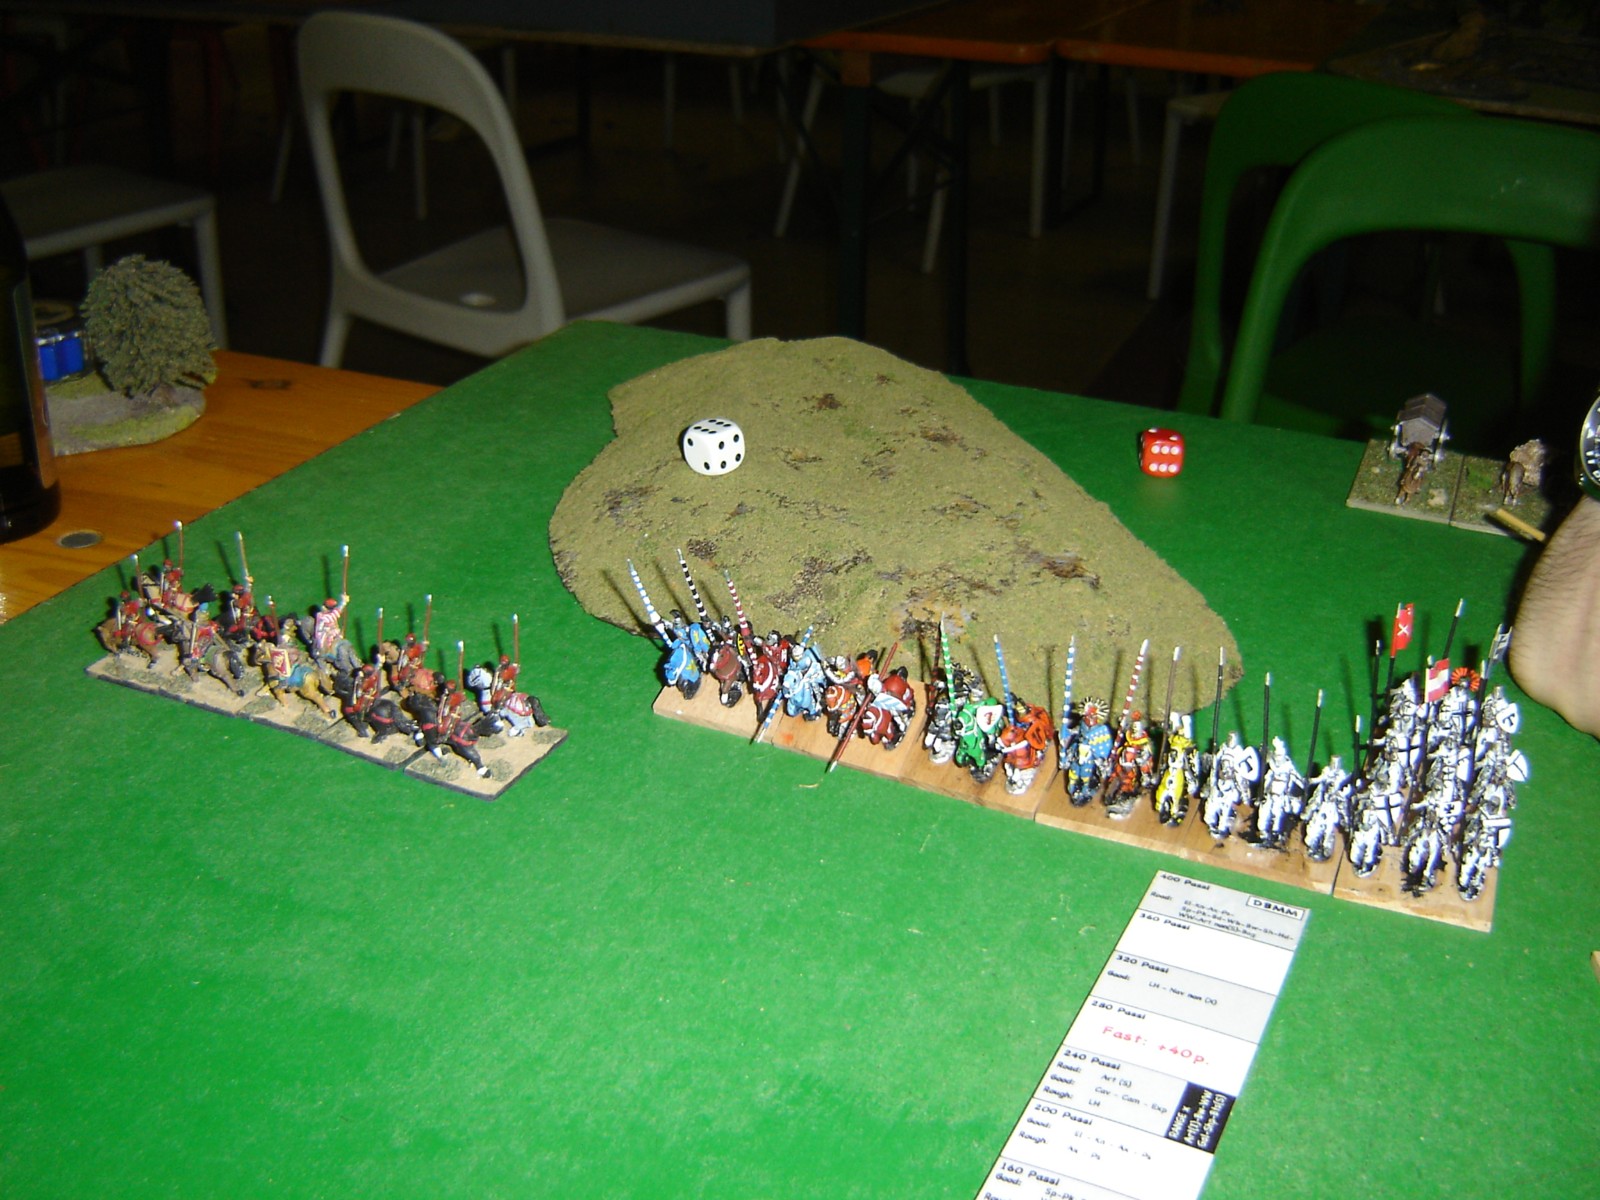
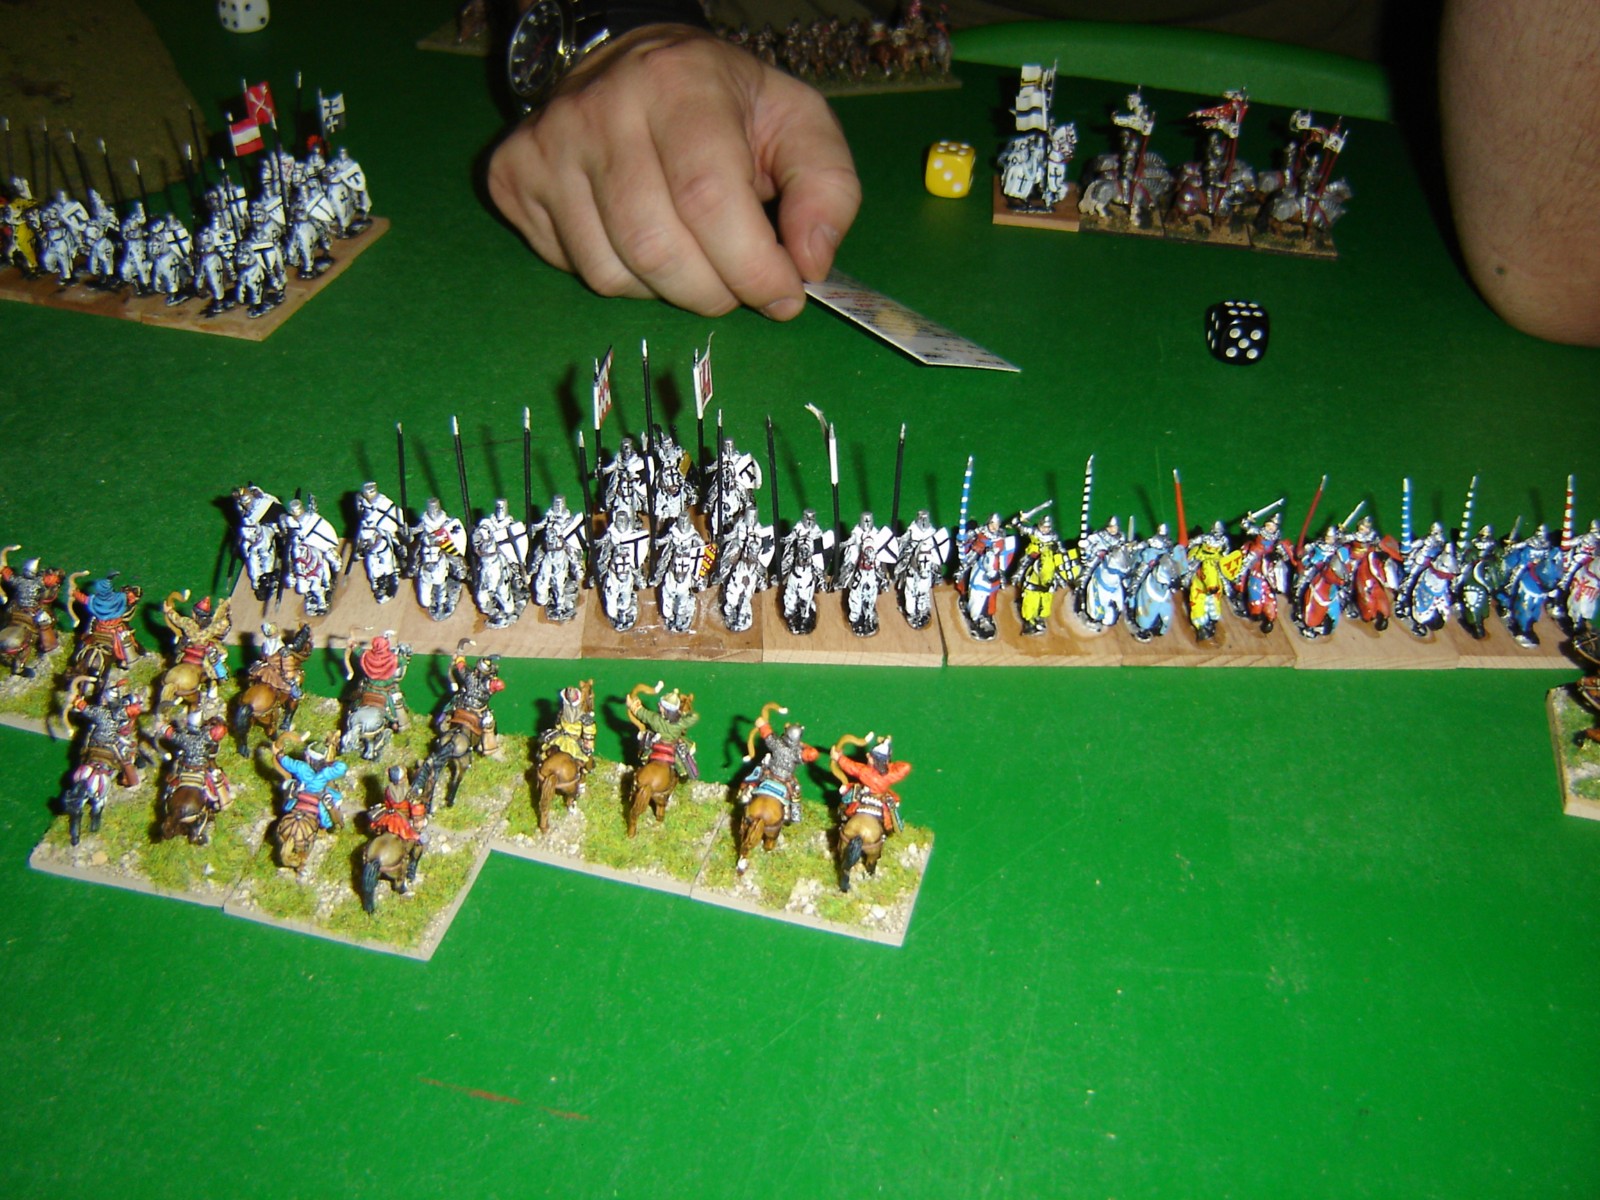
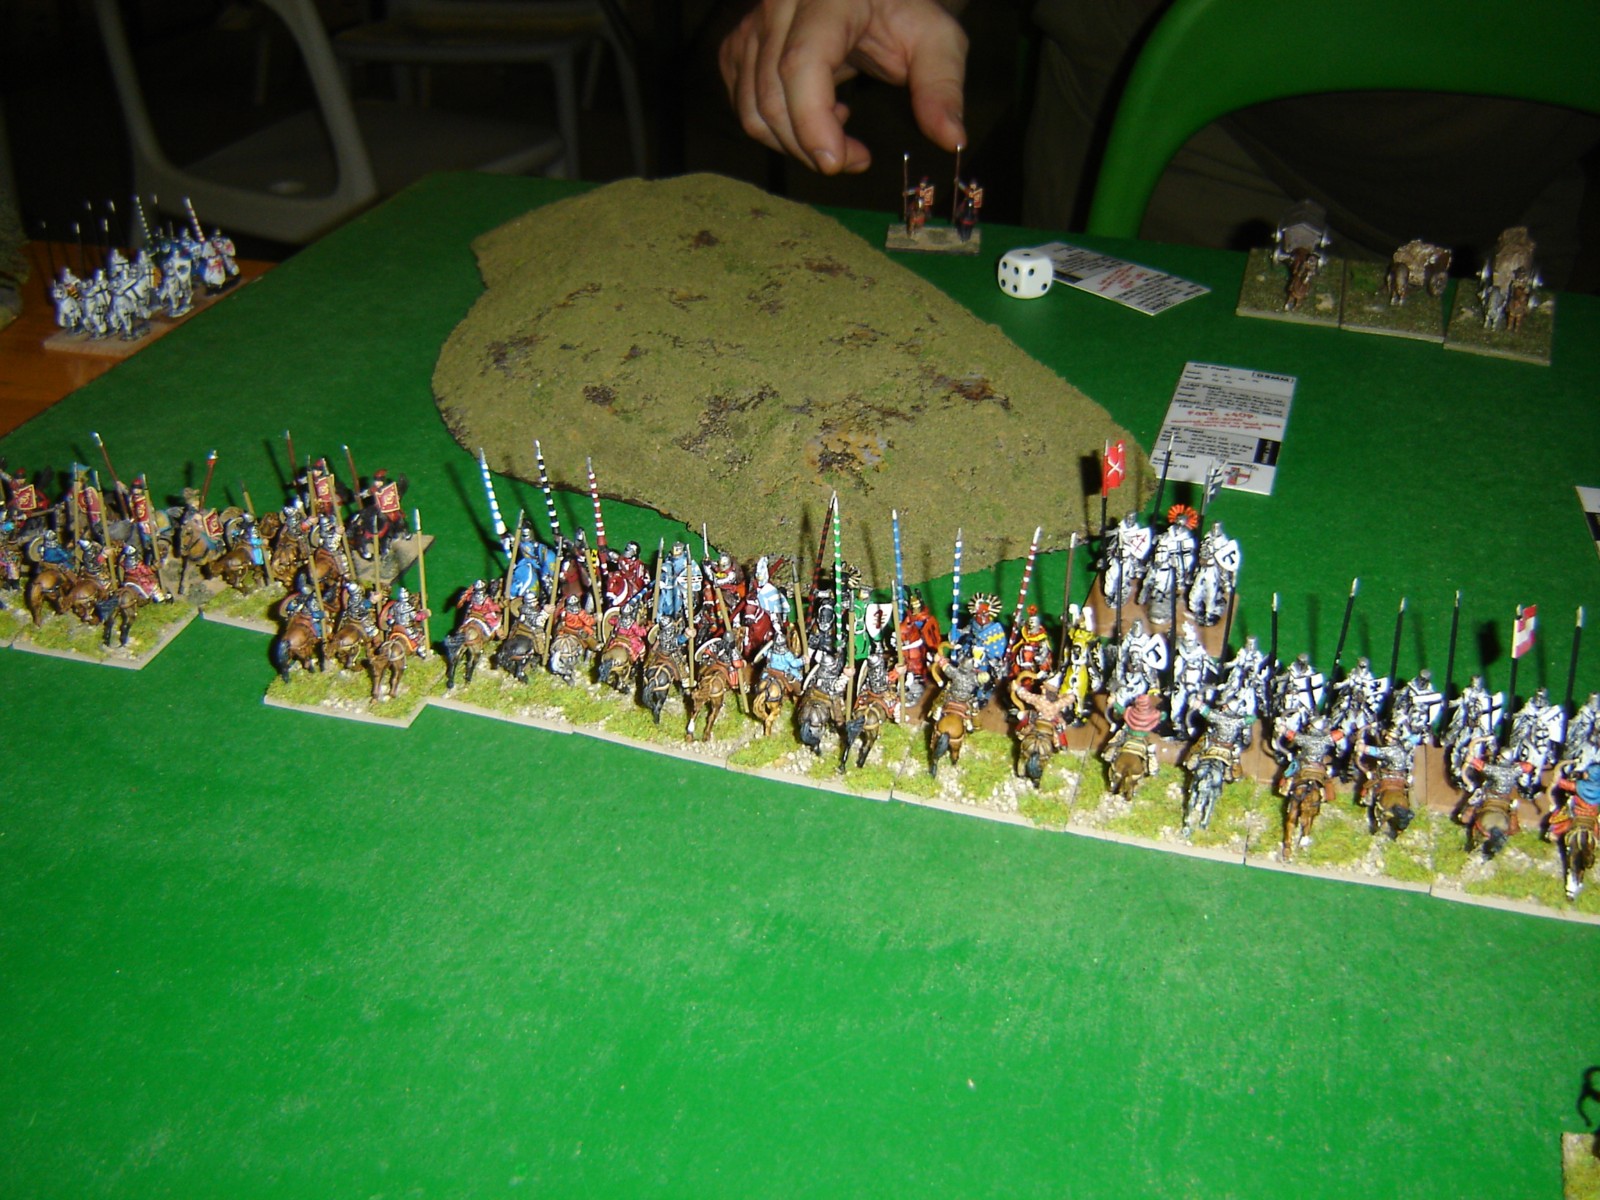
On the left Order troops were ready for the fight. Teutonic has been able to put some KnO in charge reach of enemy kavallarioi

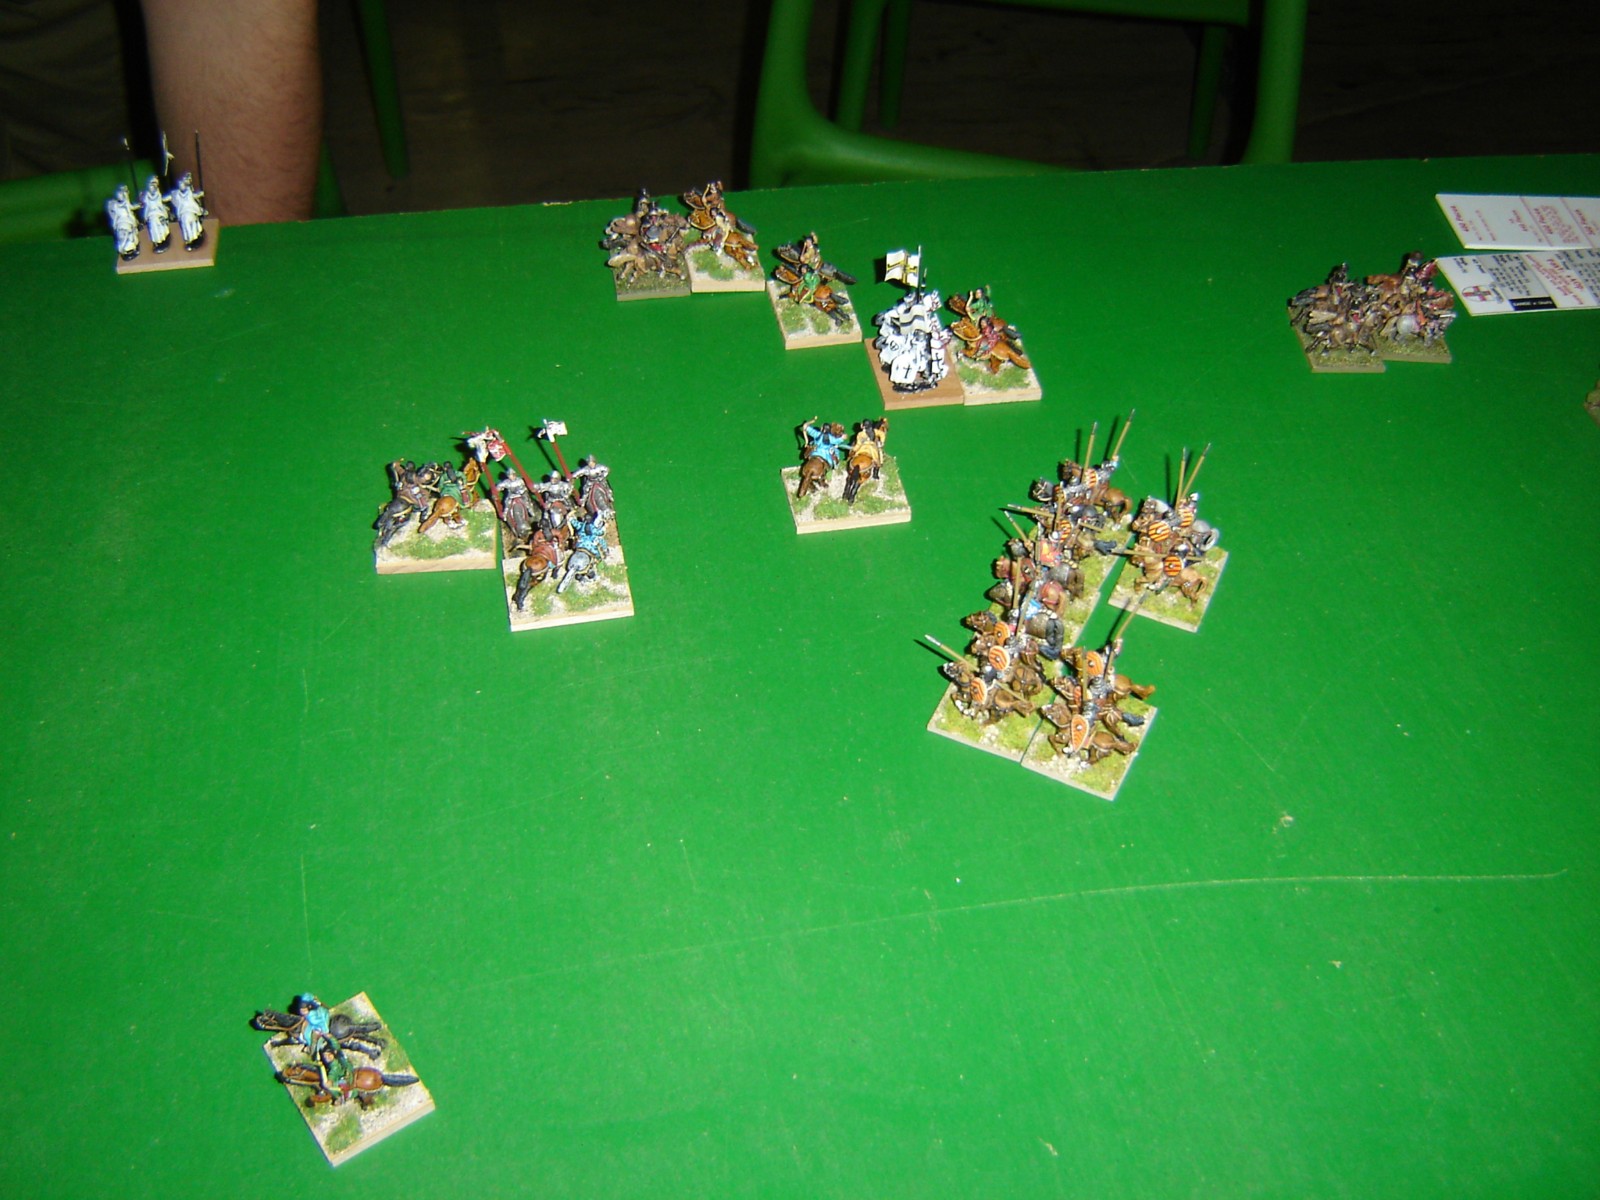
The situation after the combat rolls: disaster for the Teutonic, that lost two RKnS.
The byzantine charged on the left.
Trapezuntne LhS exploited the gaps in the enemy line.
Here can be seen the result of the left charge. Teutonics payback
The byzantine activated a feigned flight and tryed disorder the enemy by pursuit.
The Teutonic controlled his army, sending in pursuit just those elements that could hit the enemy rear
The Kn kept their position, avoiding an uphill charge in RGo vs enemy bowmen, while the reserve arrived.
Byzantine troops hit in the rear are destroyed. Now the pursuers are in trouble, countercharged by the byzantines

Finally Turks and Georgian were ready to attack on the right
Teutonic left wing exposed and without reserves. The situation was critical
Teutonic centre broke under Turks flank attacks
The Order left wing is reorganised. It used the DH as flank and rear protection.
Reserve troops countercharged, while CvI arrived and deployed
Fihting lull on the left. Trapezuntines reorganized too.
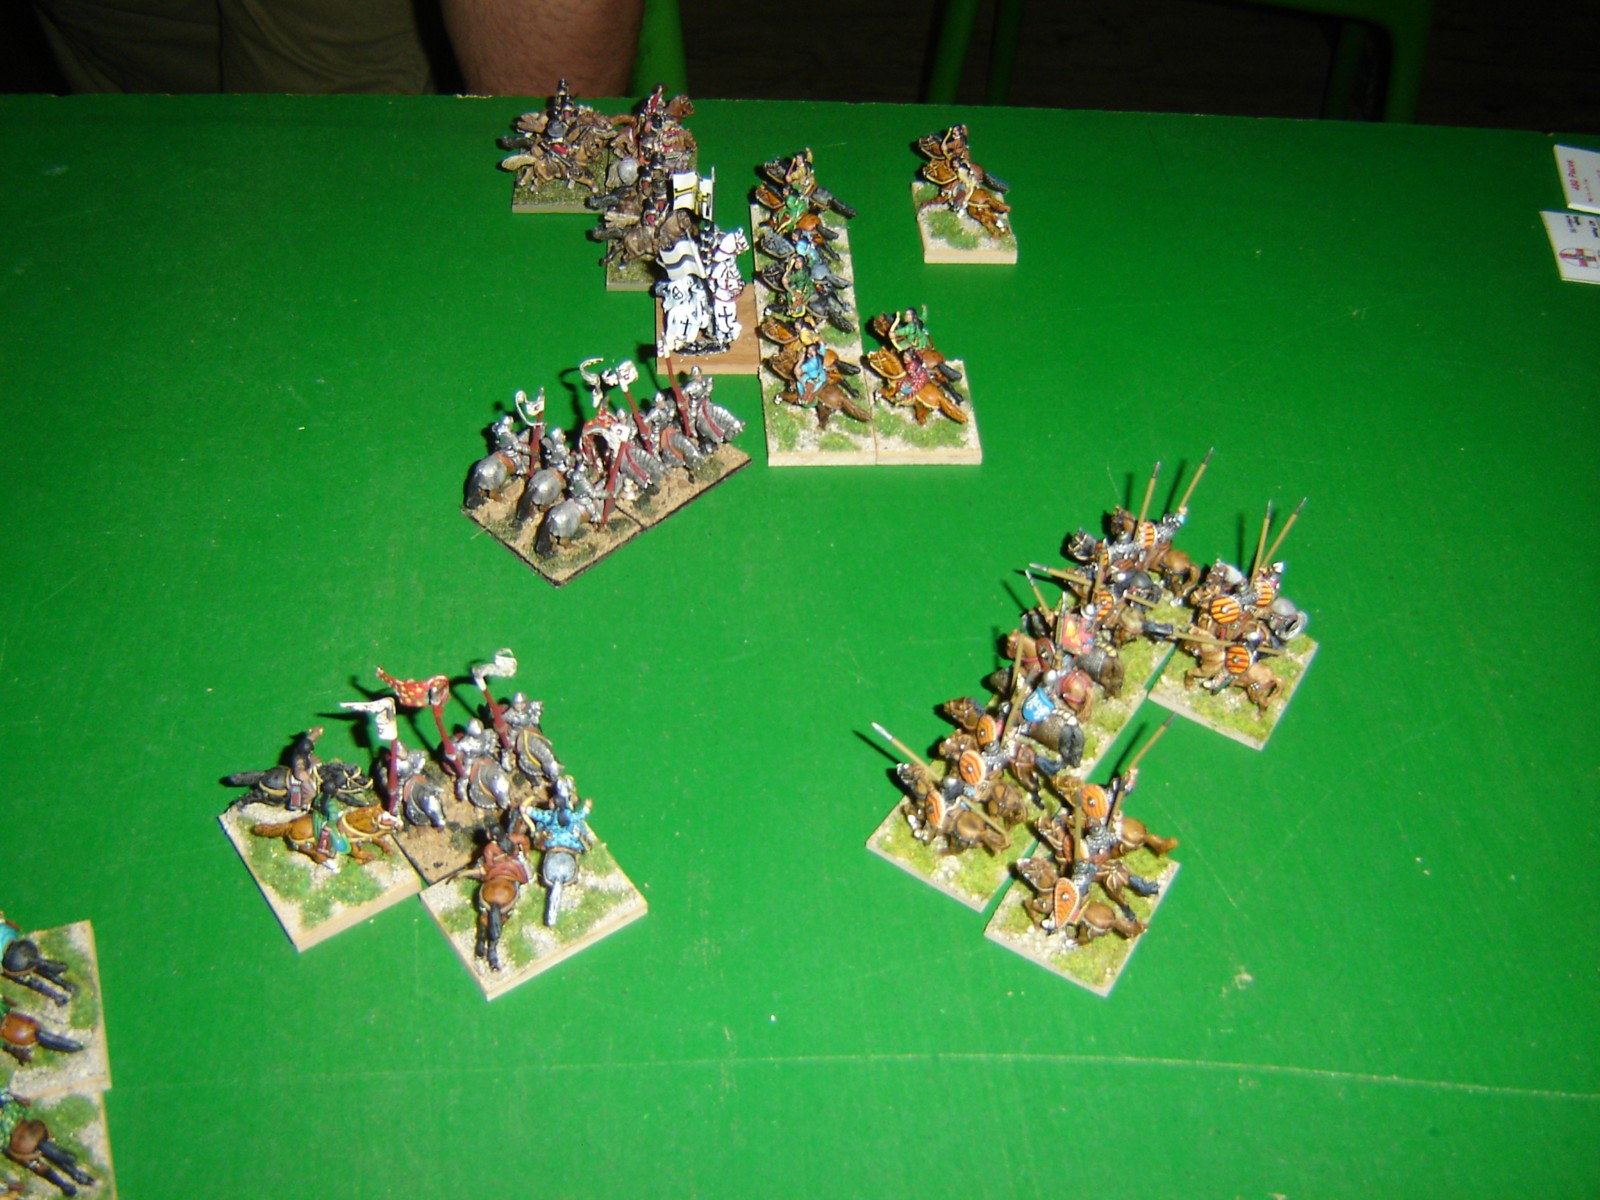
No rest for the turks. They attacked Order reserves engaging the Master CiC
Teutonic formation was disintegrating. A wild melee started
On the left Byzantines advanced again, ready to charge
Teutonic CiC survived a flank attack and kept fighting, but knechte failed to resiste. The reserve corps broke and the army fled
Armies final position at game end.
The game was interesting for we realized how dangerous can be march to contact. The combat factors were 2-1 or 2-2, so low CF resulted in easy kills. Teutonic was unlucky in that charge, and risked a lot for he had very few reserves.