
Later Visigoths vs Seleucids
Later Visigothic is an interesting barbarian army: it has the combo of a Wb center and mounted wings, but it differentiates from other barbarians because can field its cavalry both as IKnF and as ICvO. This means that has somewhat less punch on wings, but much better control and manouver. Furthermore it has low aggressivity and this means that it can often set up the terrain and move first. The army list was thought to exploit these advantages
My opponent tested a new version of his Seleucid army, with 2 phalanxes, one superior and one ordinary, one wing with massed AxS and another one with mixed mounted supported by PsS (army list).
I defended and the the terrain was this:
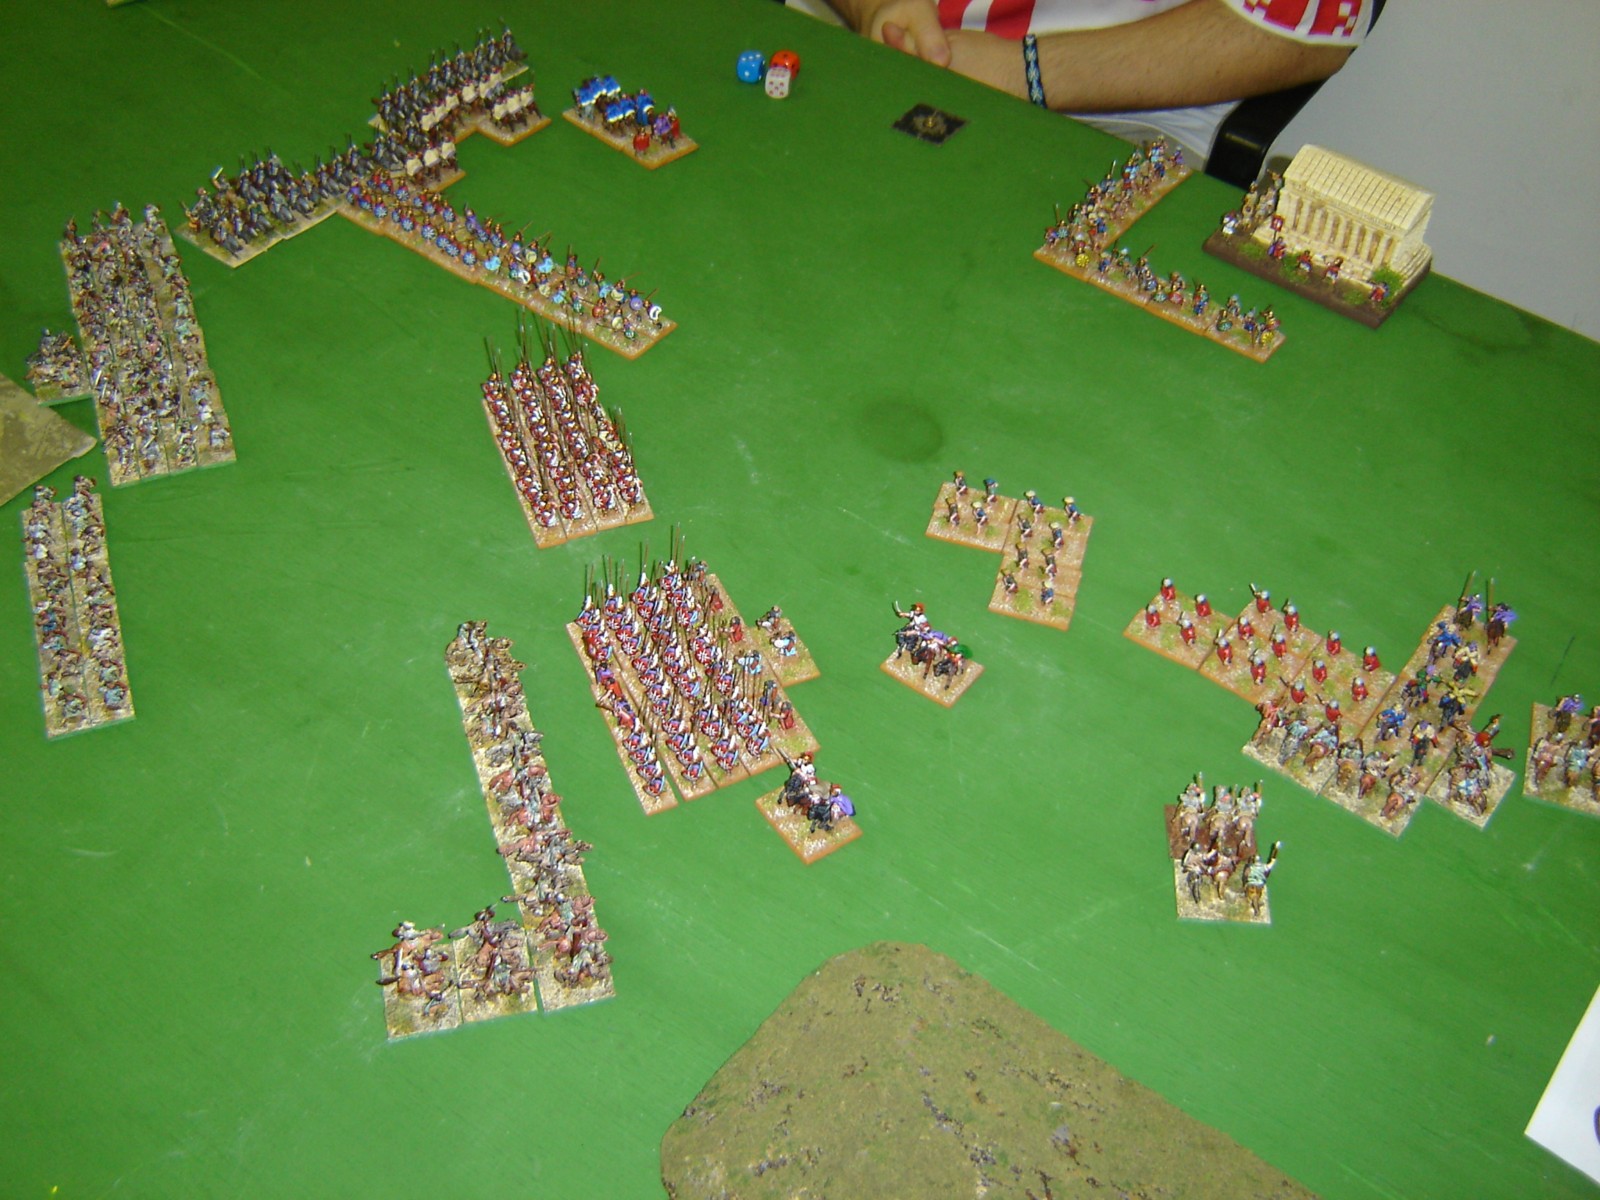
Terrain landed almost all to my side, on the left: there were two 1FE rough hills on my right, a brush in the center and a huge gentle hill on the far left. I decided to try to use at best my ambush stratagem.
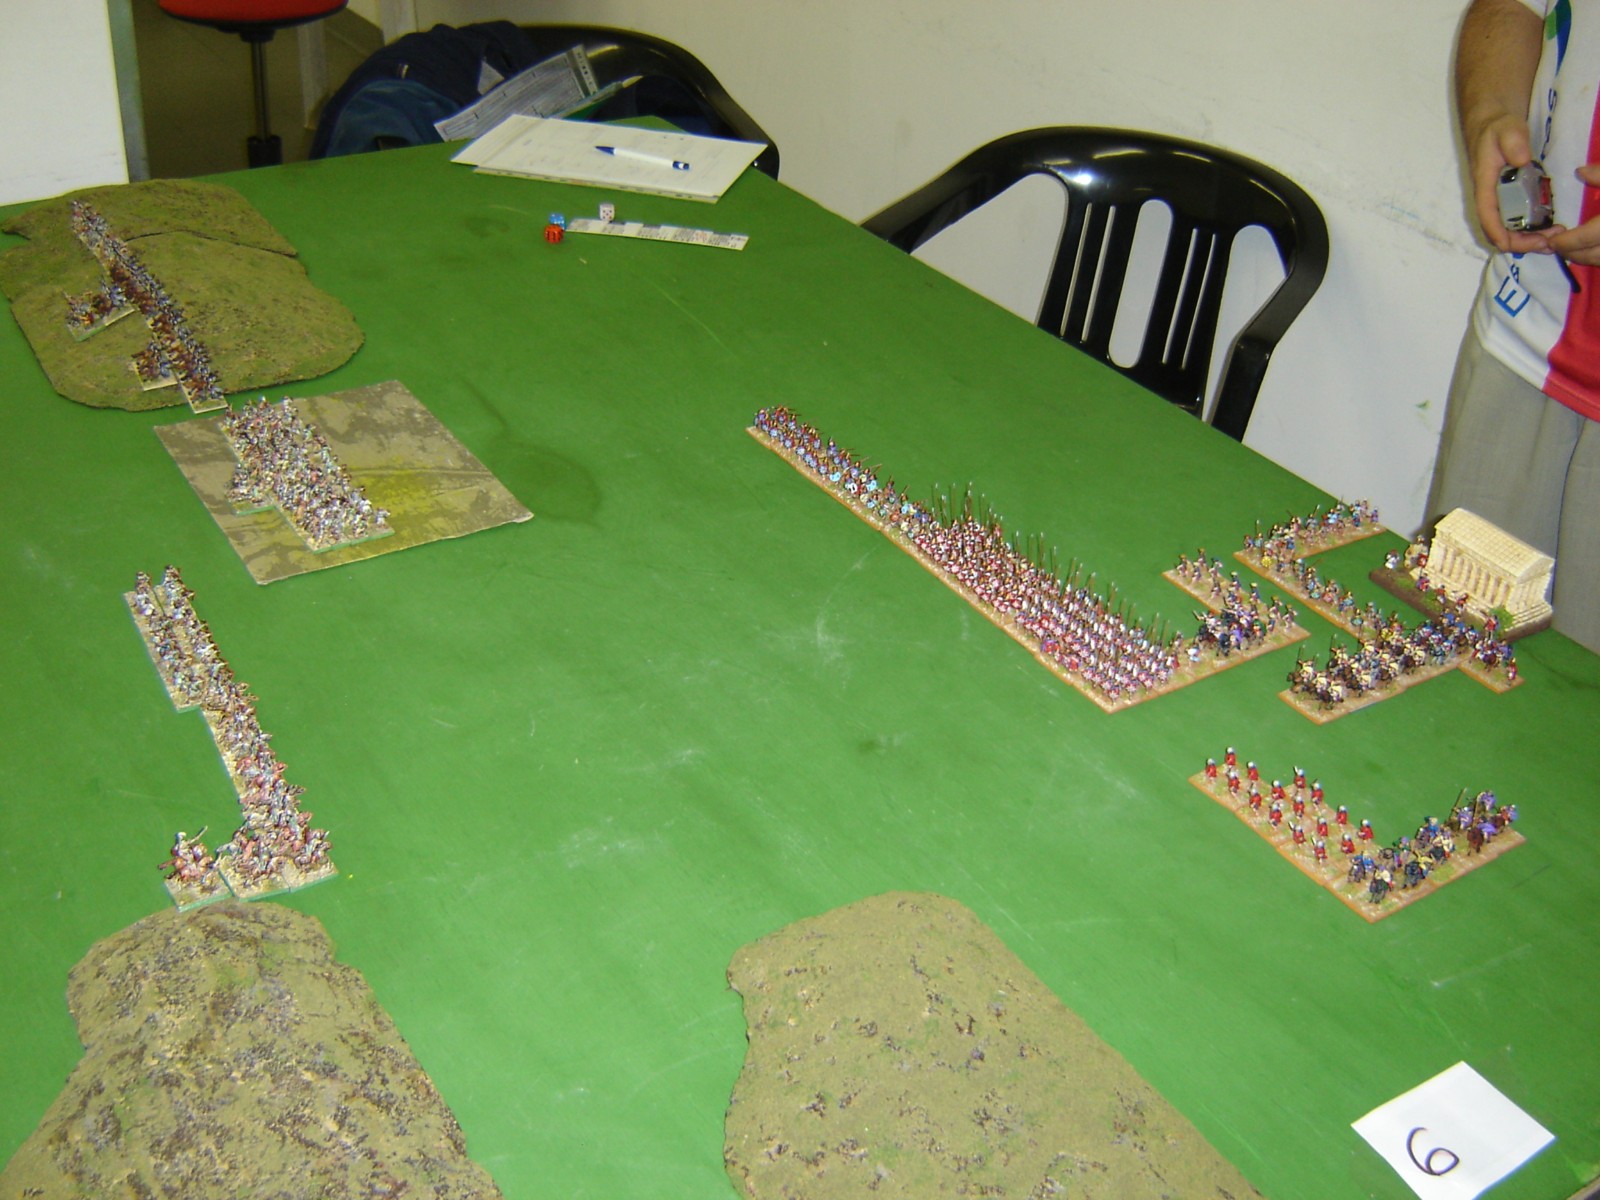
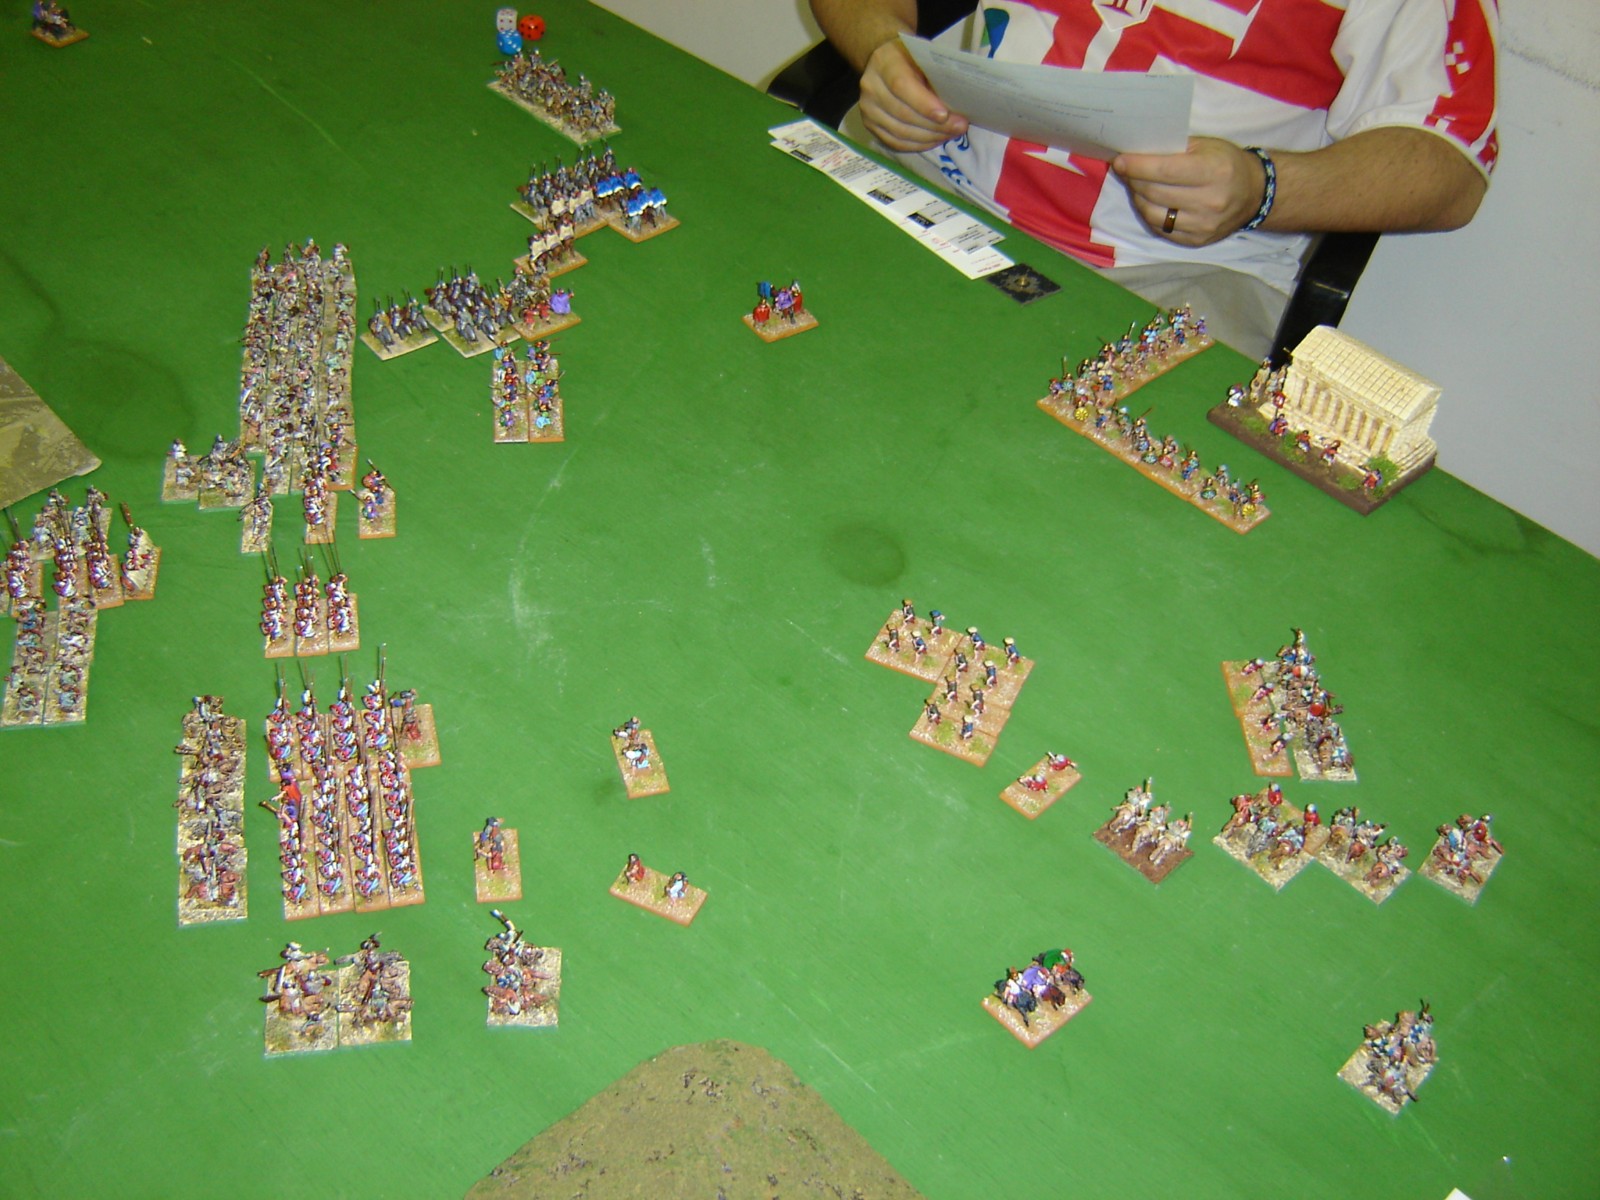
I deployed first and put my wb corps in the RgO, with IKnF on the left. The right wb flank was covered by IBwI and ICvO. I set 2 ambushes, on the far left 8 IBwI from the CiC corps, and on the right 8 ICvO behind the crest line of the more advanced RH hill. This was a bit risky, for I could be attacked in the terrain by enemy light troops, but moving first, I hoped to be able to come out and face just soft targets.
The seleucid deployed in the open, and decided for an offset position to better use his C3 advantage. There were 2 phalanxes in the center, with the ordinary one nearer to the Wb pack. On his right 12 AxS, on the left the cavalry arm with PsS, KnF wedges and Lh. I guess his plan was to use the mounted arm to sweep my right flank.
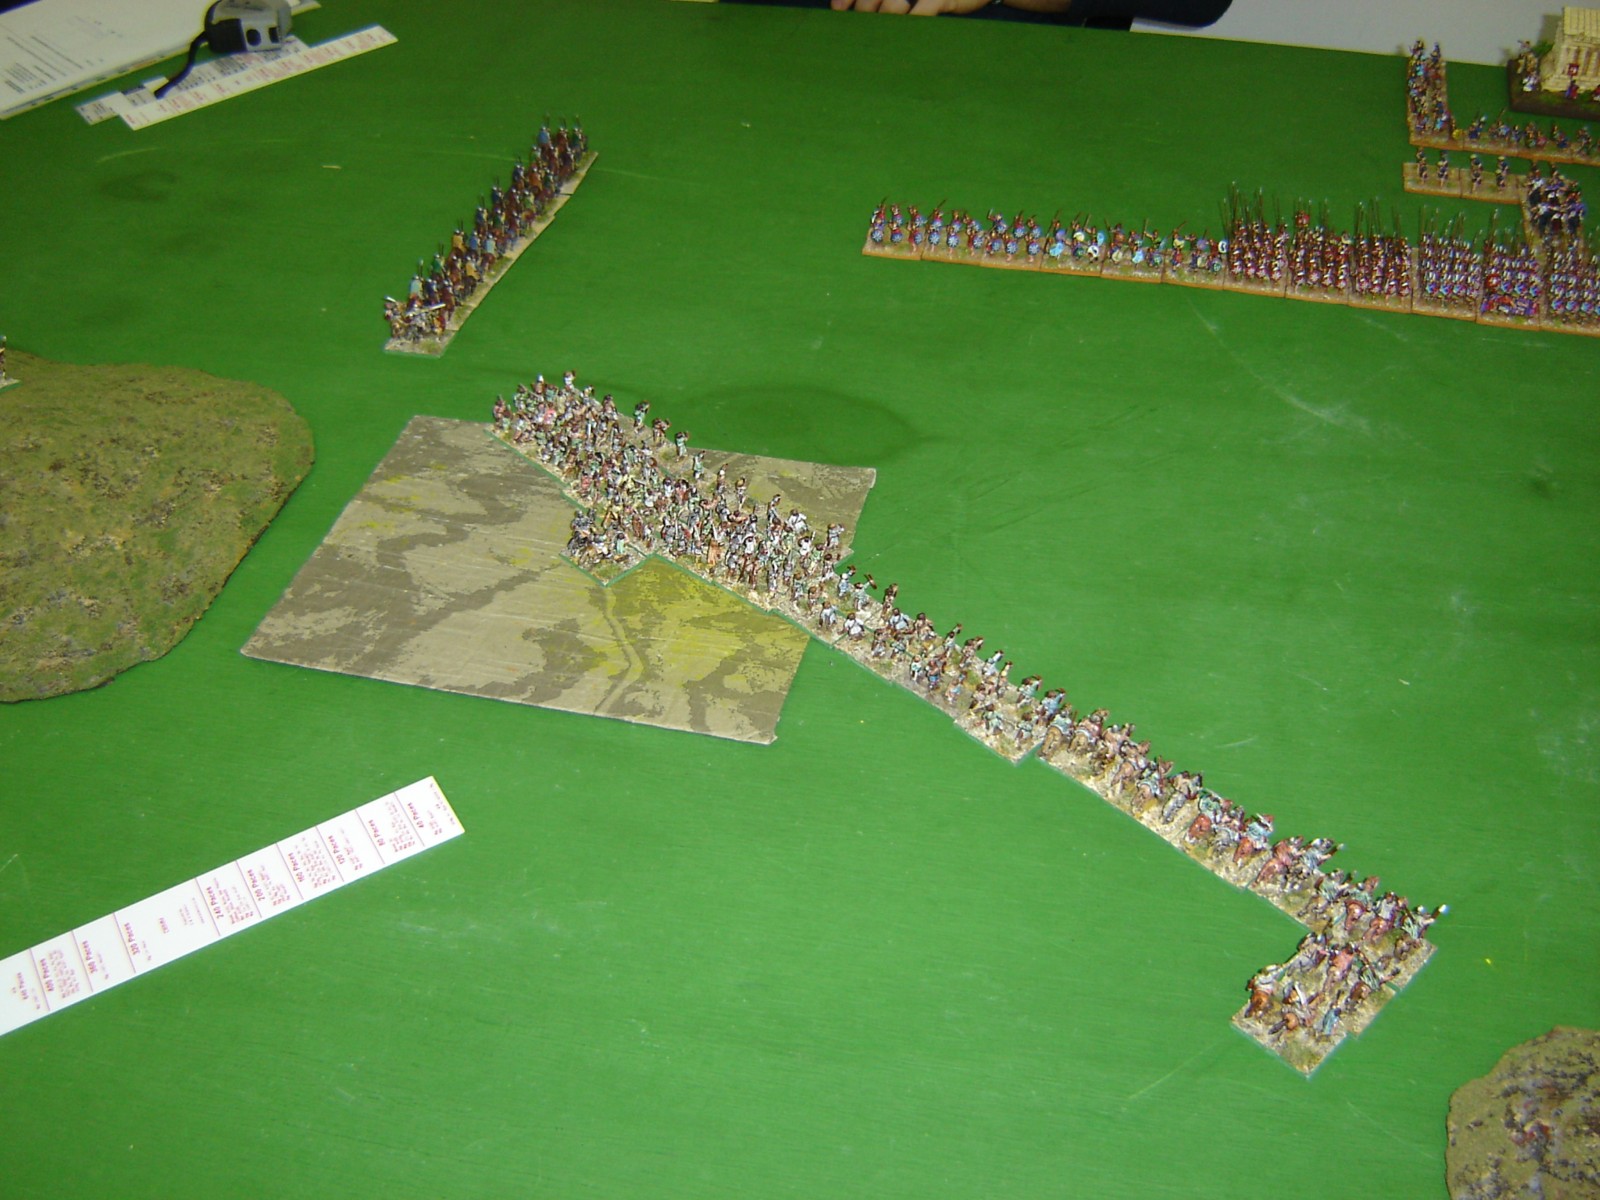
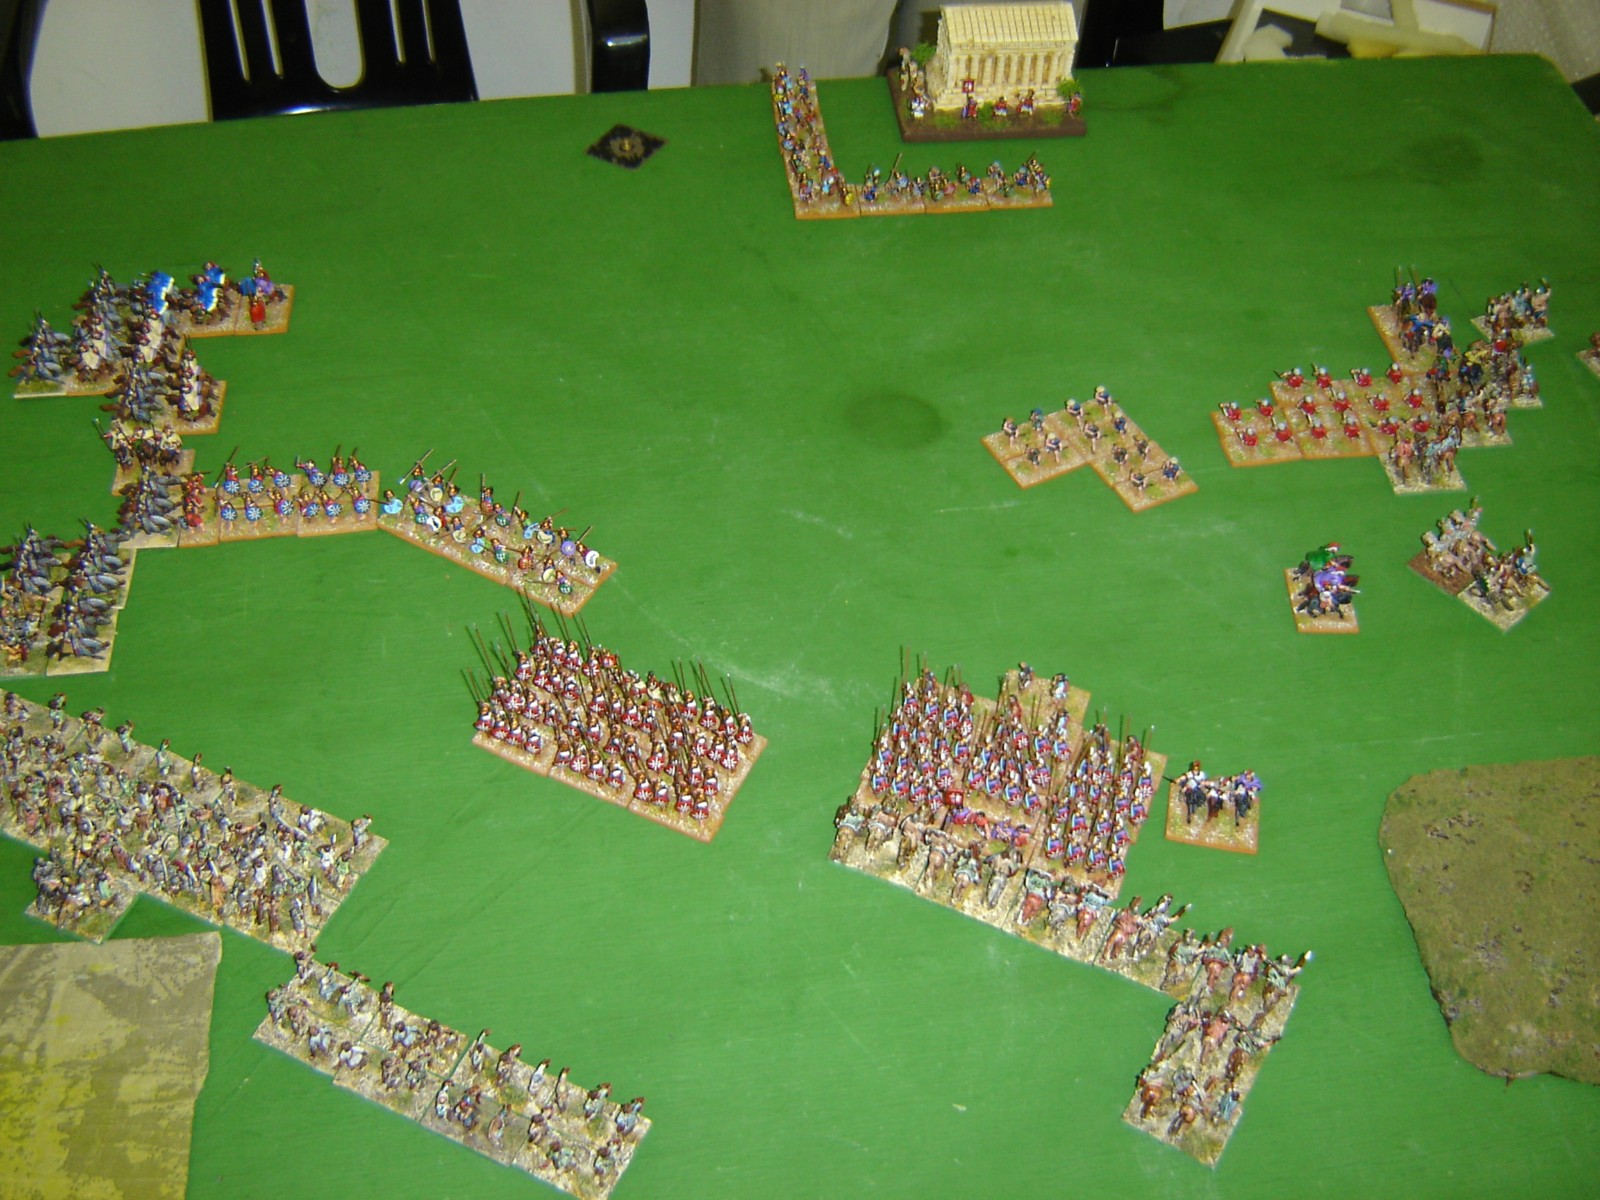
On my first bound I rolled very good pips, so I moved forward and immediately threatened the AxS marching the IKnF forward in column to expand later tunring to right. My Cv ambush stayed hidden, because the enemy on that wing was too strong and I would have been destroyed piecemal. I was a bit concerned to be caught in the RH by enemy Ps, and hoped that my opponent was distracted by his open flank under pressure.
The trick worked: his highest pip dice was given to the mounted corps and he sent all his heavy cavalry to counter my attack on the open flank. The cavalry column can be seen behind the AxS formation on the left. Just Ps and Lh stayed back, and ps would soon be out of command range.

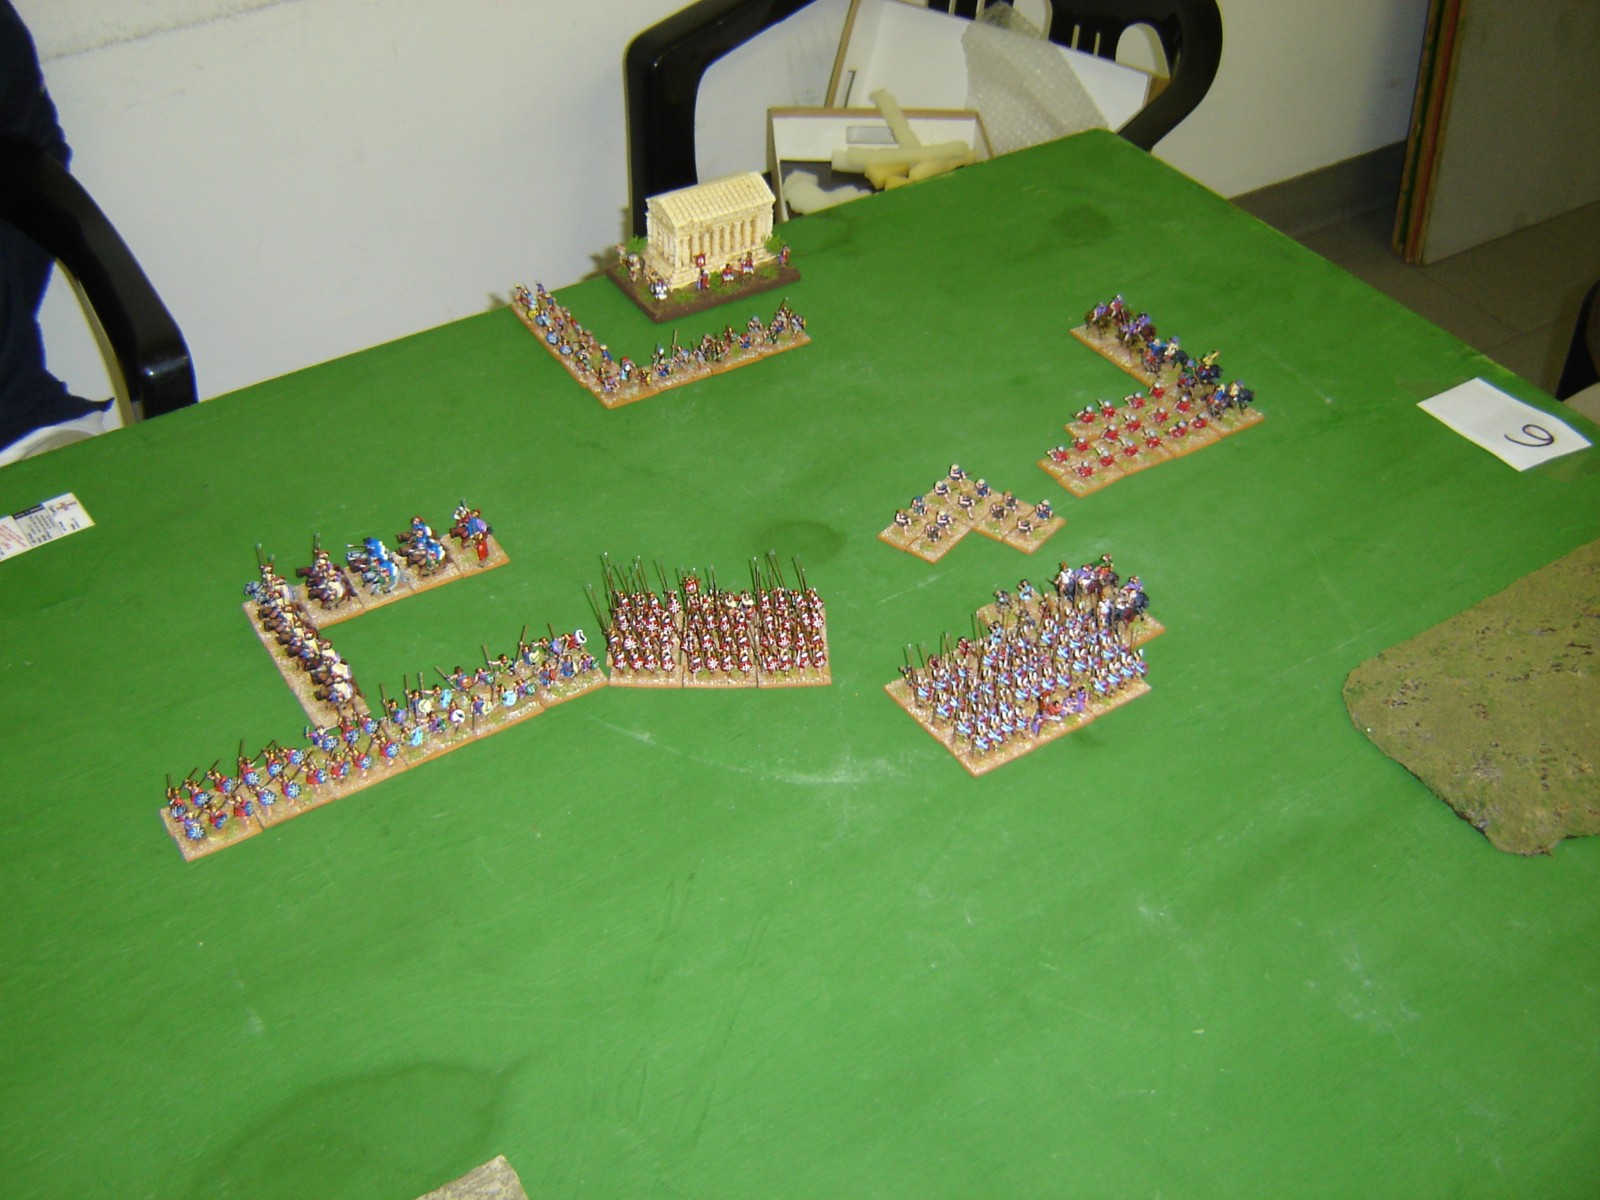
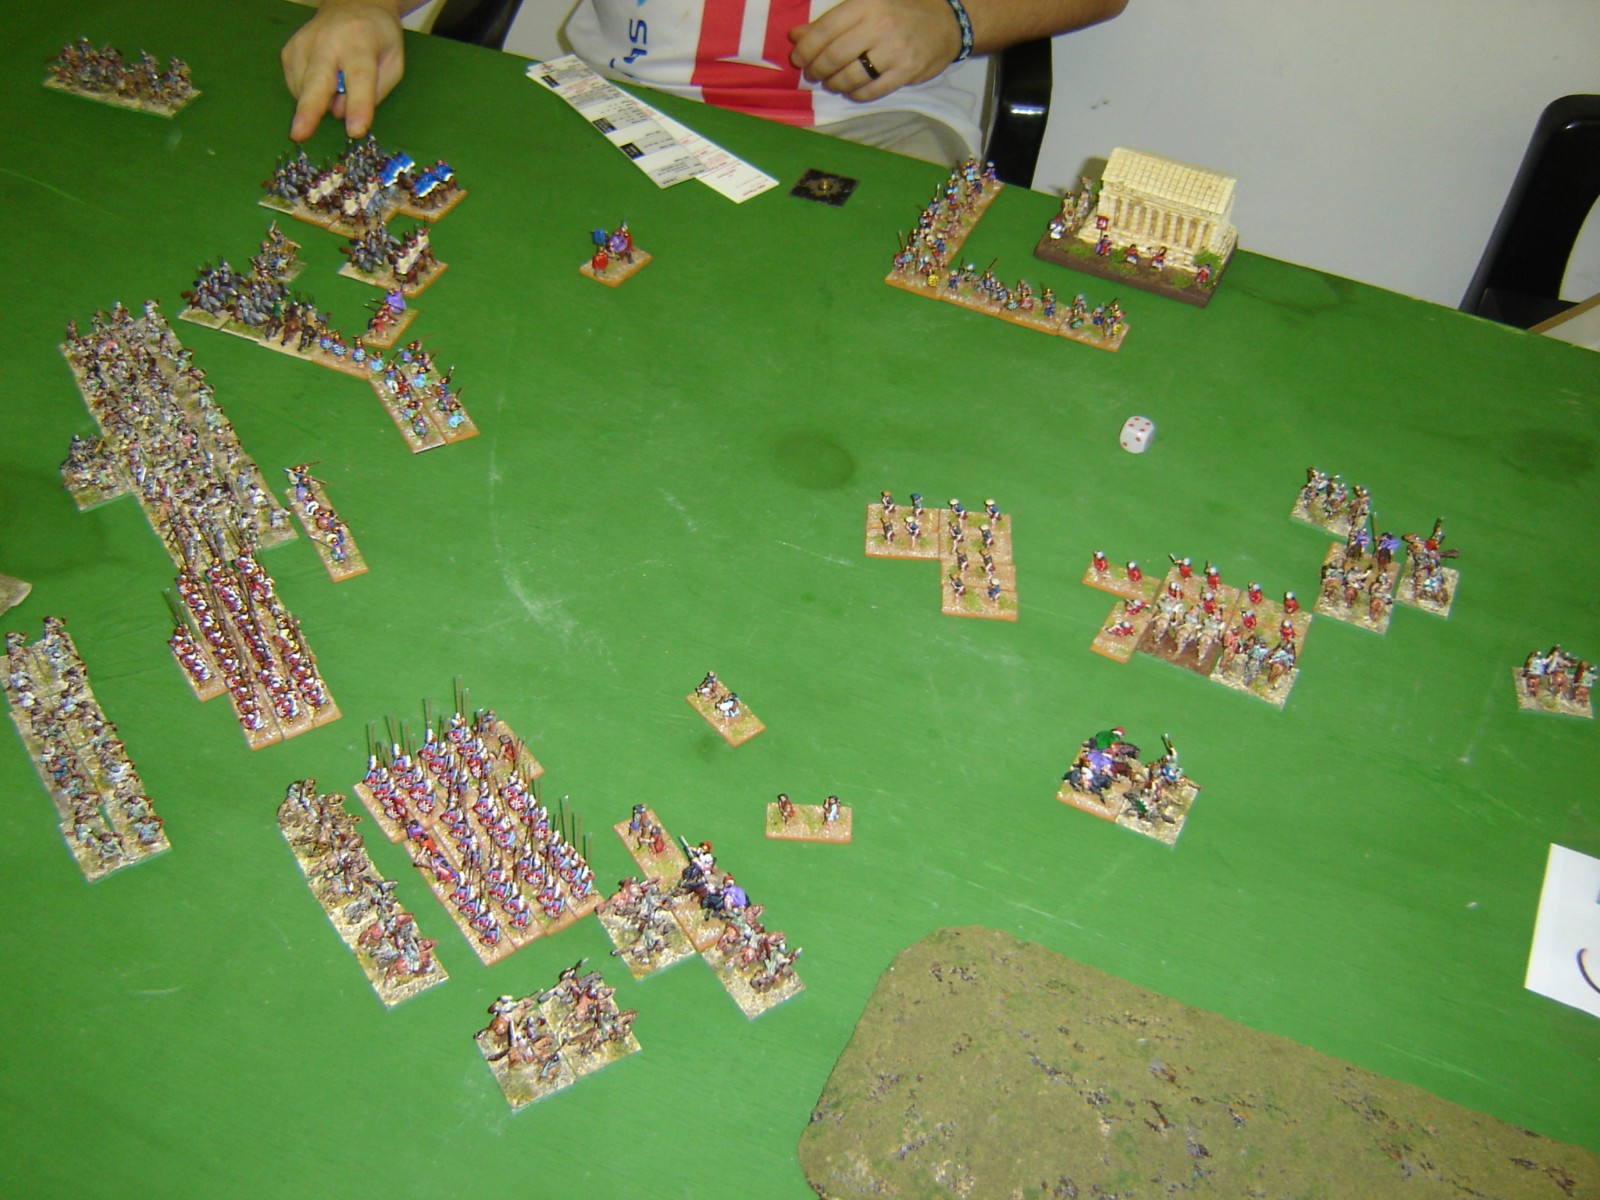
With the enemy reserve tactically engaged by my KnF, the ambush sprang advancing with march contact moves towards the seleucid lights troops. My center advanced to engage. I had a risky gap between the two cavalry unit on my right, but the PkS phalank facing me had the lower pip dice, so I took this minor risk, betting he would have rolled low PiP to use the 2 line RKnF and PsO he had as tactical reserve there.
Seleucid was plagued too by low pips. Murphy law.
I charged in. I was not very happy to engage enemy wedges with my IKnF, but I hoped to be able to use the feigned flight to hit, do some casualties and pull back, while the real damage to break the enemy mounted corps would have been done by the CvO on the opposite flank, where PsS were paralized by out of command pip penalty.
I started losing IKnF to the enemy reaction. Again the Seleucid had few pips, and choosed to not open his RKnF column on the far left of the picture (The blue cloak elements). This would prove important later
.
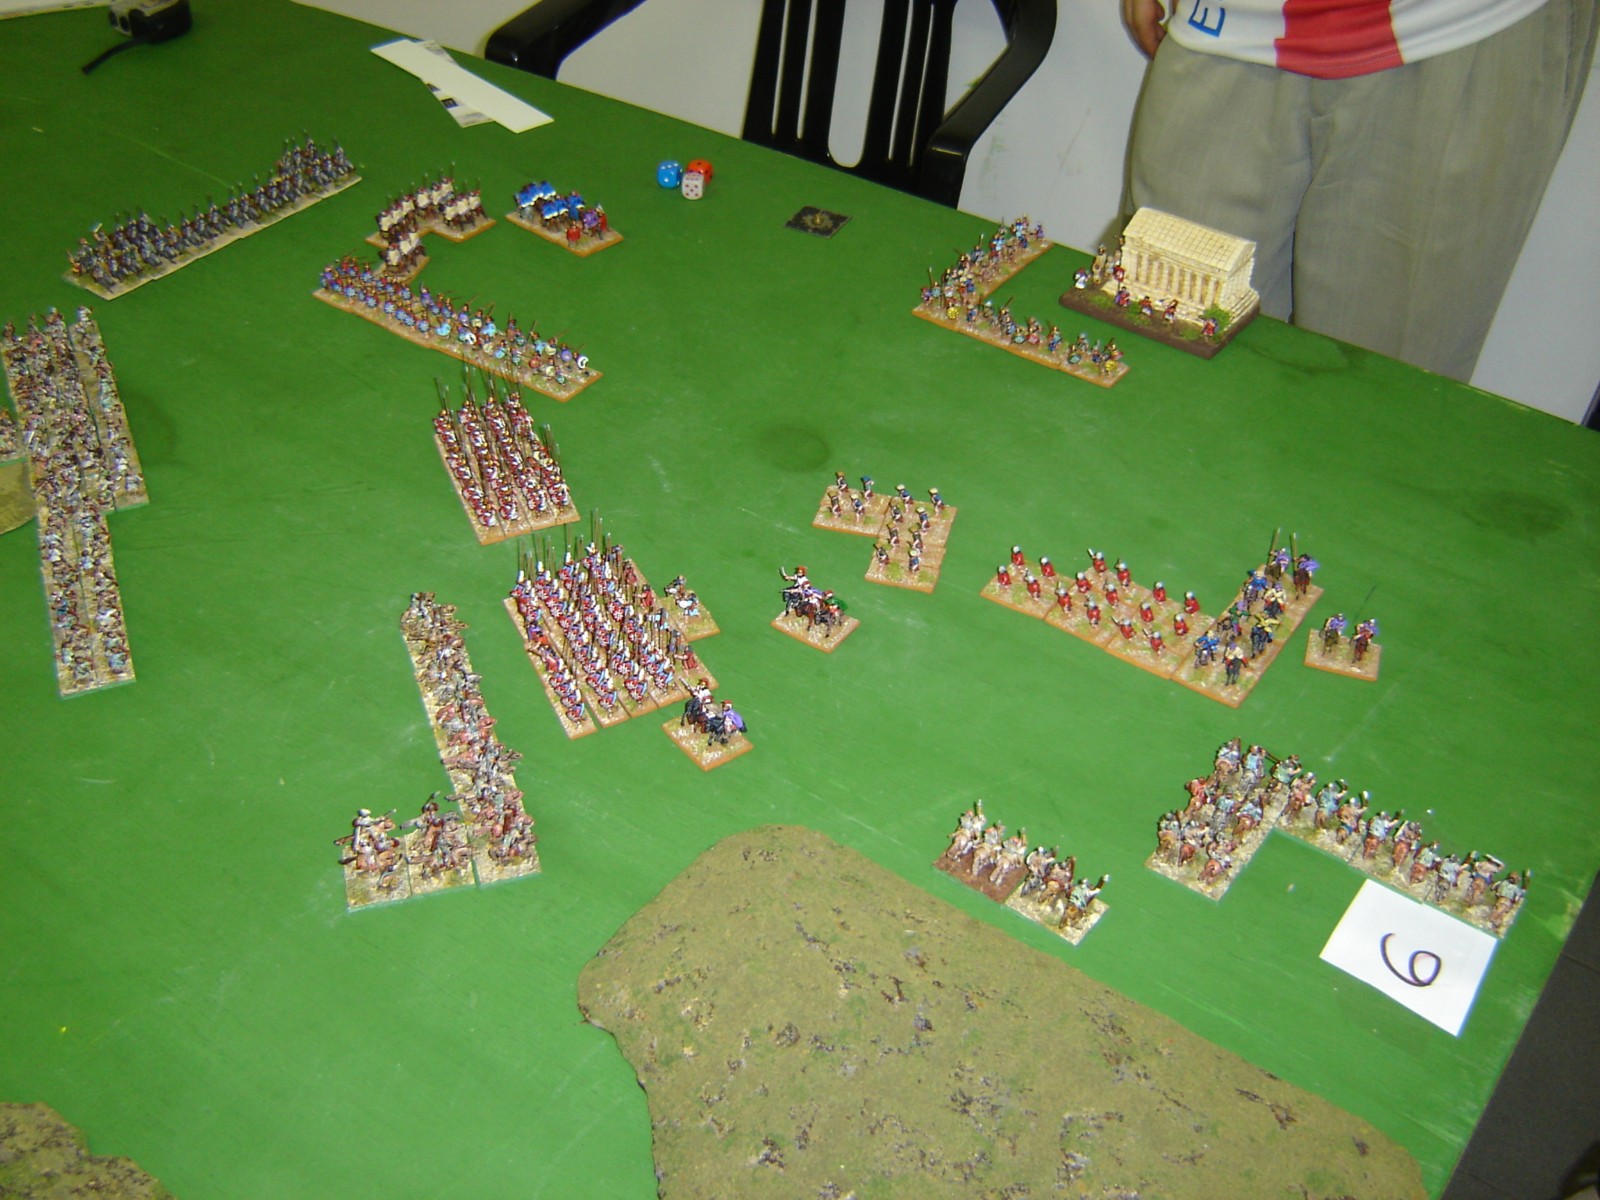
My IKnF losses mounted up and I decided was time to feign the flight, but rolling 1 pip I couldn't. So I used it just to call in the ICvO reserve that can be seen appear on the far left. The IKnF kept attacking being impetous. The seleucid AxS were mauled. On the right the enemy light troops took a lot of damage, while in the center one phalanx was advancing on my IBwI. The shooting made some casualties too, but the enemy formation was too deep to stop it. This round my pips were very low, so I couldn't do much more than attack straight forward.
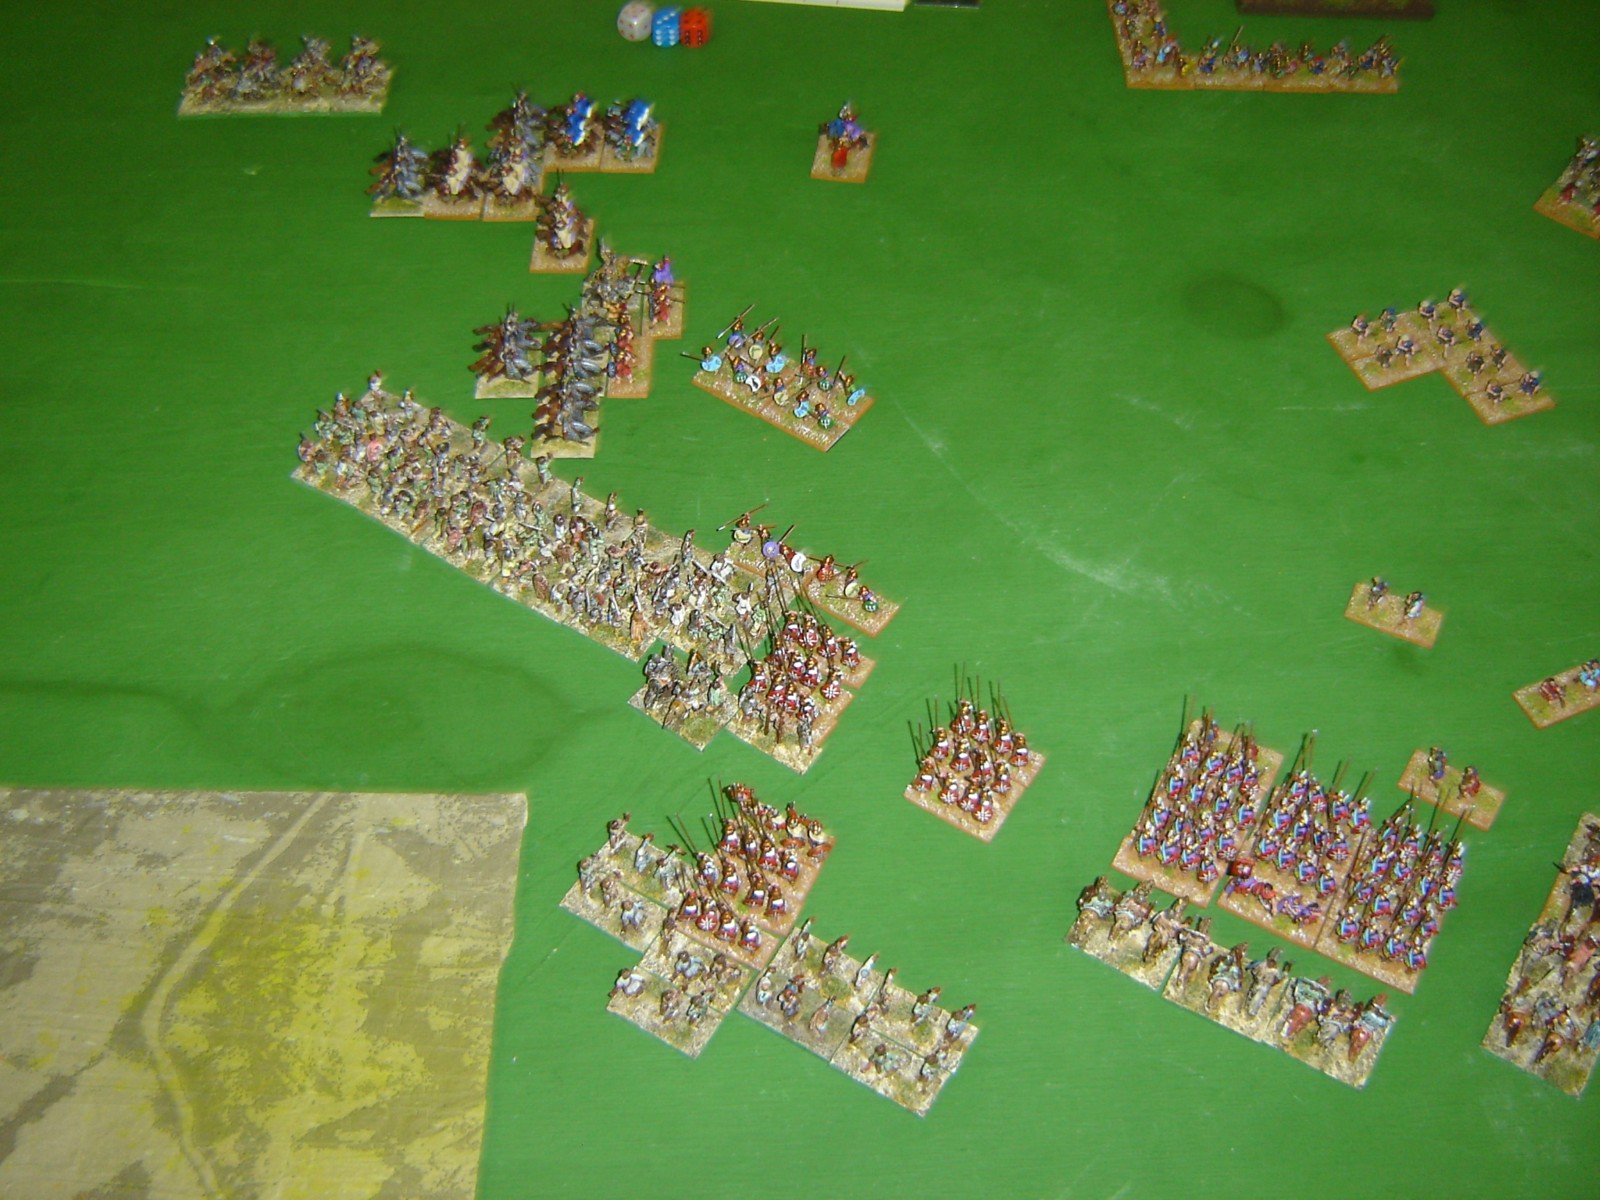
The Seleucid kept attacking hard my IKnF, and the Visigothic CiC corps was near the disheartening point. The pikes crashed in th BwI. At this point both the seleucid corps were on the verge of collapse too.
Visigoths were finally able to kill enough elements to break the cavalry corps, and the losses transmission broke the AxS command too.
The Seleucid was plagued by low PiPs, but he made a couple of mistakes: the terrain was too open, and this gave a big advantage to the barbarians. The deployment too was flawed, because the visigothic open inner flank had just unsupported AxS in the good going. The flank manouver never started, beacuse the heavy cavalry was sent to support the beleaguered Ax. It would be better to switch the wings position and use the AxS to swarm the flank, crossing the RH and using their speed to threaten the visigothic CvO flank.
The important lessons from this game were two: If an army has a strategic reserve, this should be in an autonomous corps, or be in the center corps. It's too costly send troops from one wing to the other, furthermore leaving other elements out of command range. Second interesting point is about ambushes: Troops appearing out of nowhere should be able to cause damage or to exert pip pressure to enemy by manouvering. Often I see the ambush stratagem used just to extend the battle line in the outer sectors. This is useful, but having troops appear in an enemy sector apparently quiet is the real advantage. In this battle it proved devastating.