Cuman vs Mongol Conquest
I'm a fan of LhS, but this time I tried to field an army with the most despised (by me) Lh kind: the fast one. Light horse are fast not just when moving but also to die, so I thought to need very high break point. I selected Cuman because I liked the very few support troops avalaible, PsS and ArtO, and also because I wanted to test them to decide if include them or not in a campaign in preparation.
My army list was:
C1- CiC ICvO, 12 ICvO, 14 ILhF - 32ME
C2- SG ICvO, 6 IPsS, 21ILhF - 30ME
C3- SG ICvO, 2 RArtO, 20 ILhF - 28ME
Stratagems: Feigned Flight
My opponent used a Mongol Conquest army, a good historical match up
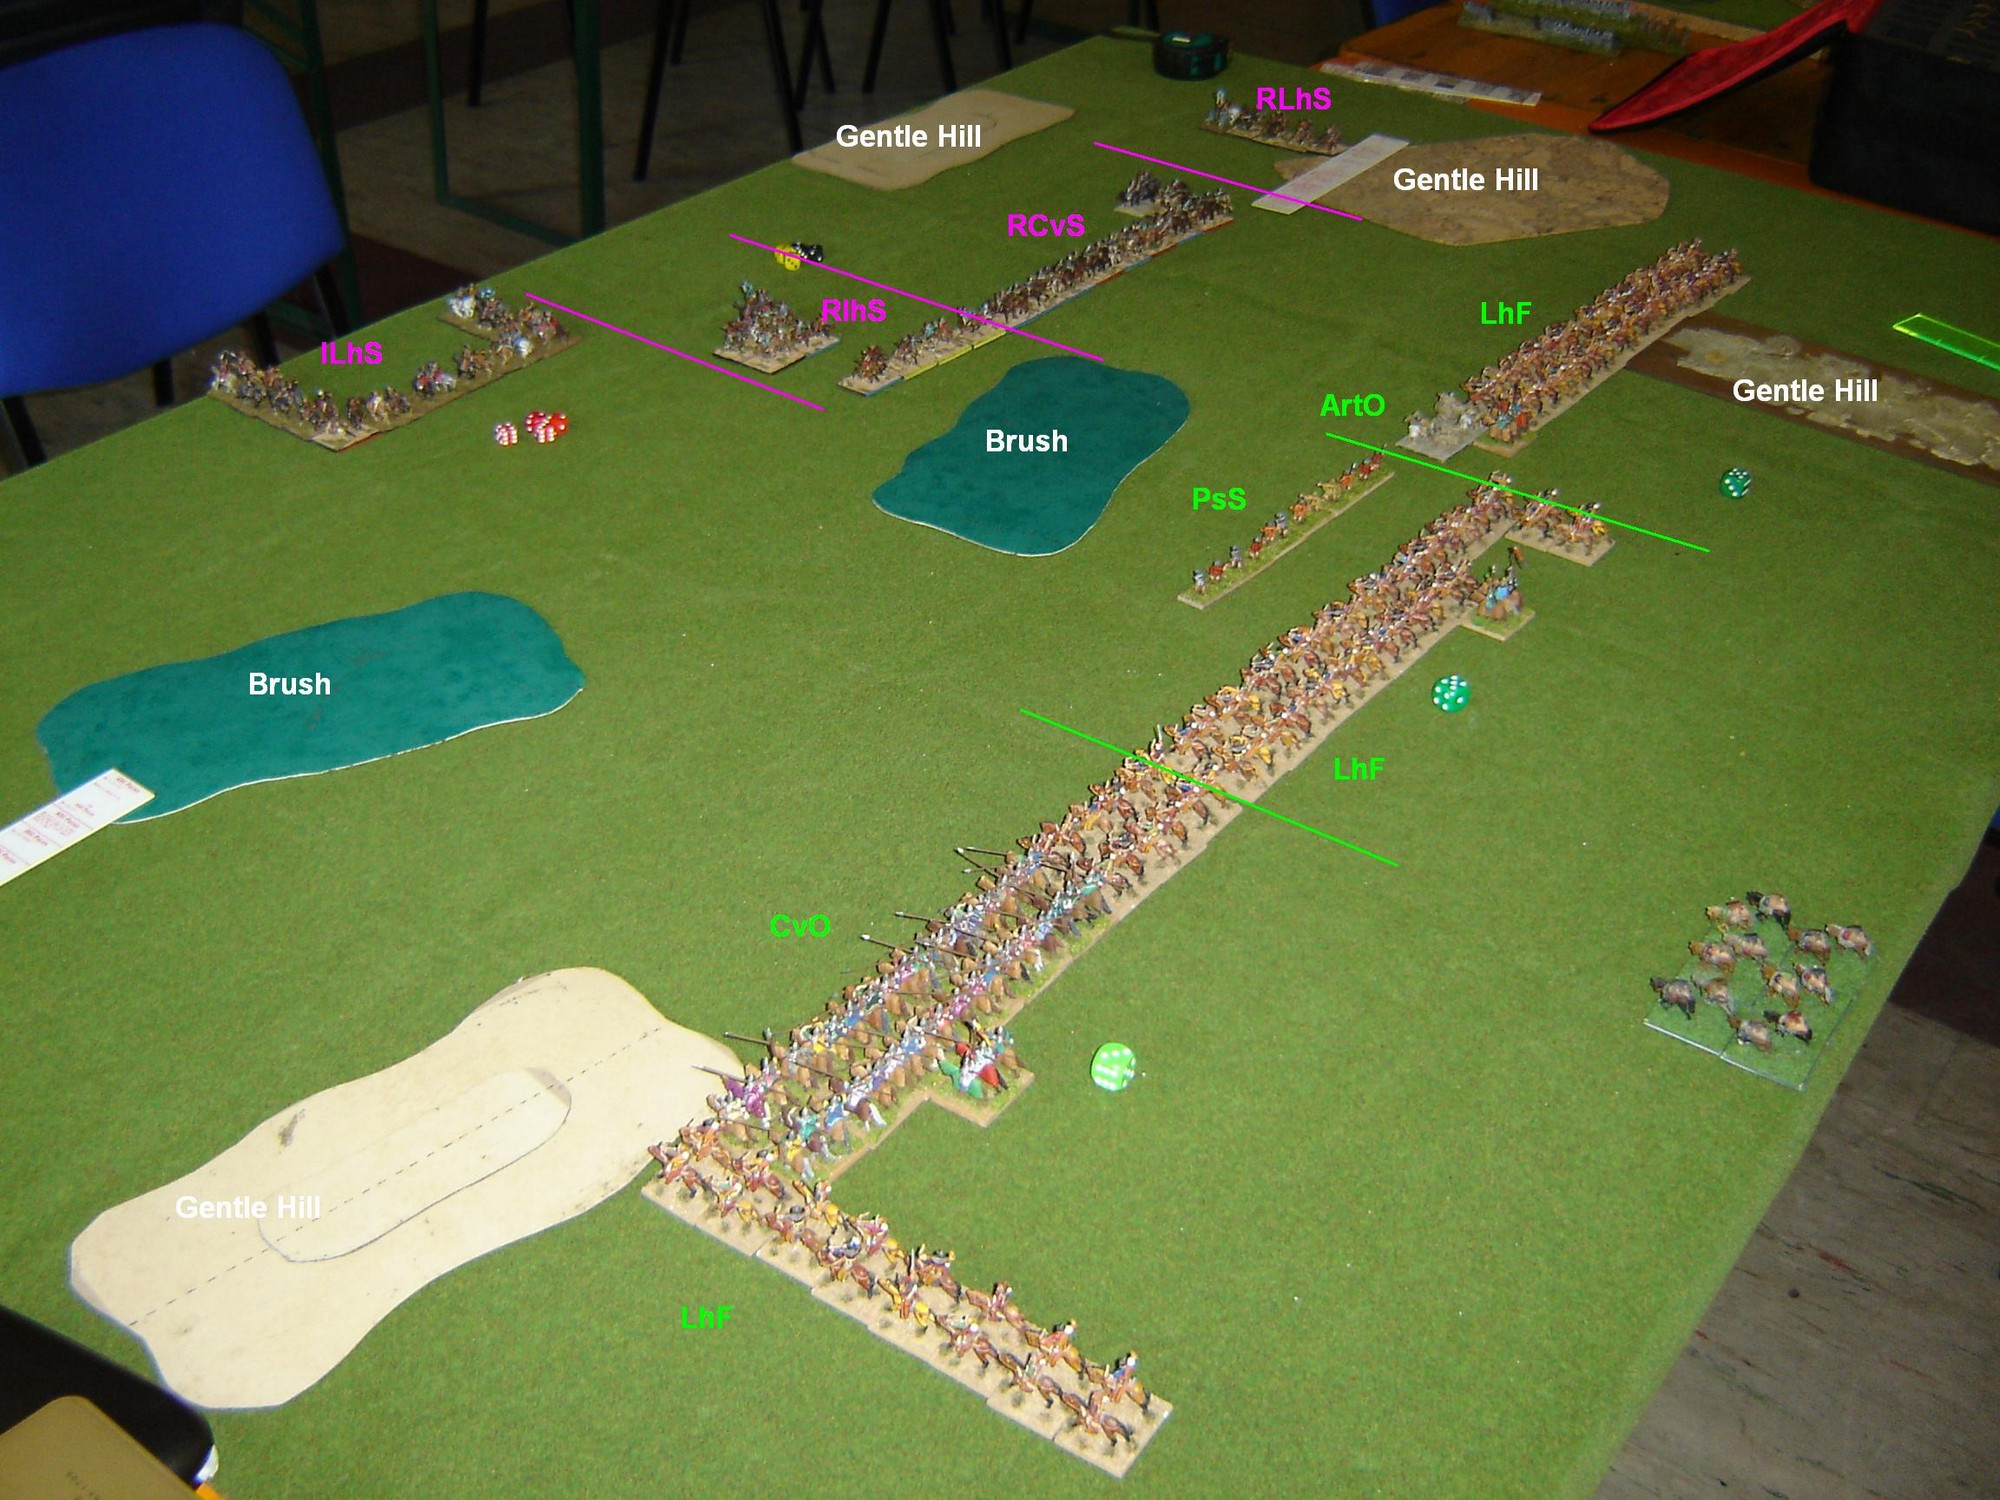
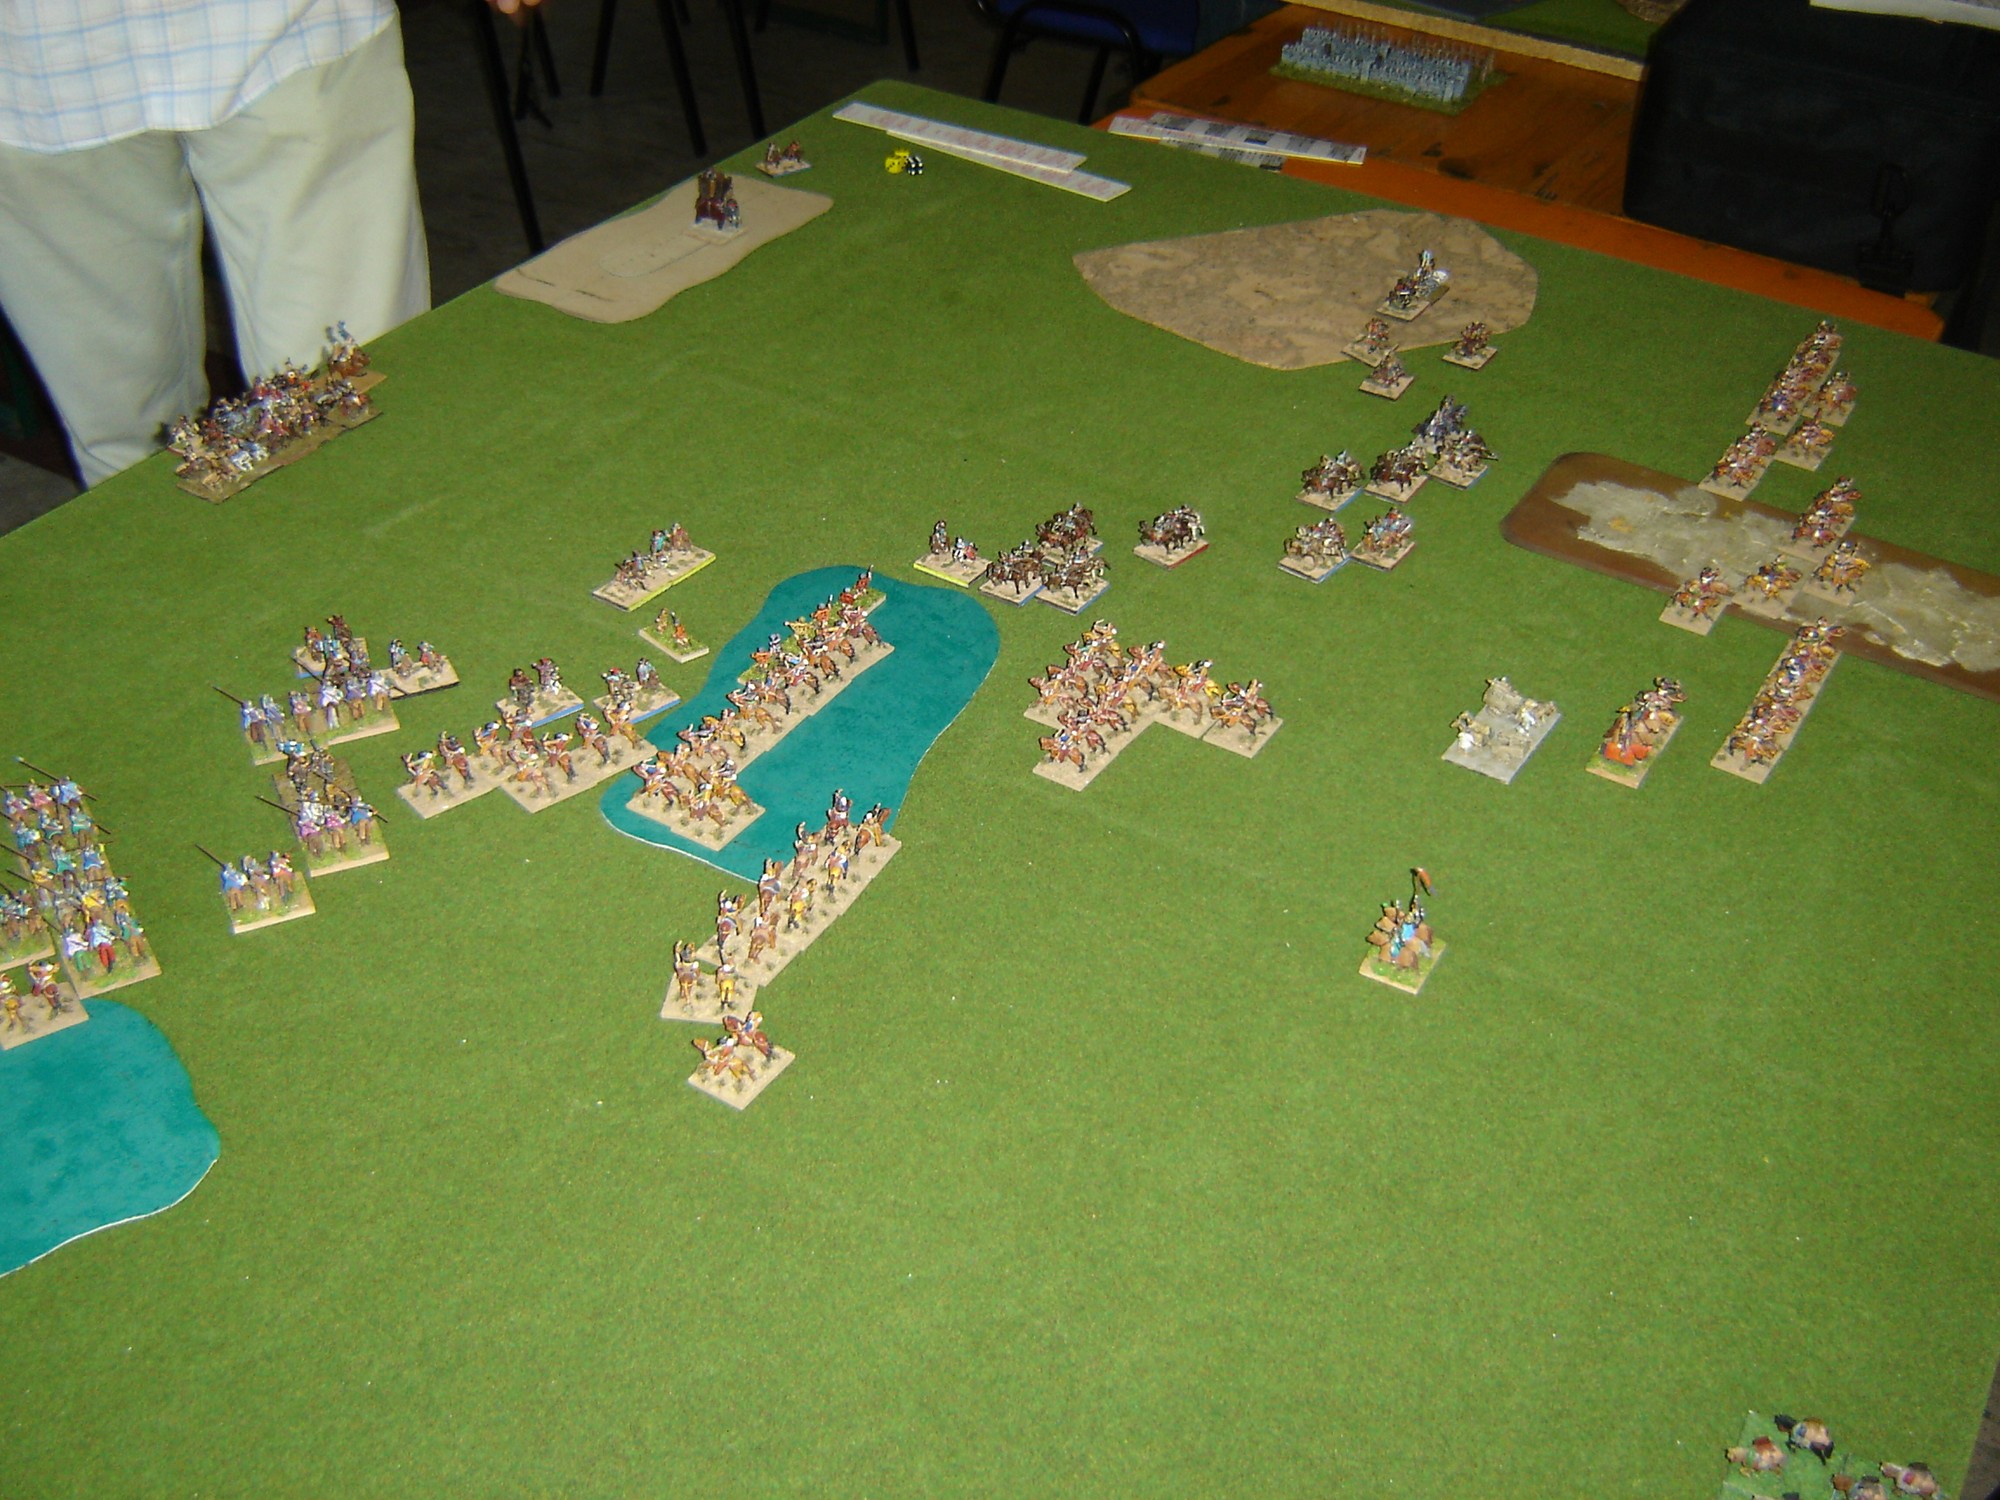
I was the defender and could use the excellent terrain avalaible to Cumans. Facing a cavalry army with no infantry at all I picked some brush to use my PsS.
The table was very open and I deployed in line with the idea to outflank my opponent. With hindsight, the deployment was wrong. It would have been better to set the CiC corps in he center, to be able to use my ICvO. The deployment I choosed was flawed because should have my opponent massed his cavalry on the right wing, I would have risked to not use my heavy cavalry. Looking at deployment this seemed the idea of the Mongol
My CiC corps pip wer excellent and I could advance towards the enemy. My Ps deployed inside the brush field pinning the enemy formations. My plan was to create a salient to threaten the flank of the massed enemy CvS. I needed to gain time on the right flank trying to win on the left.
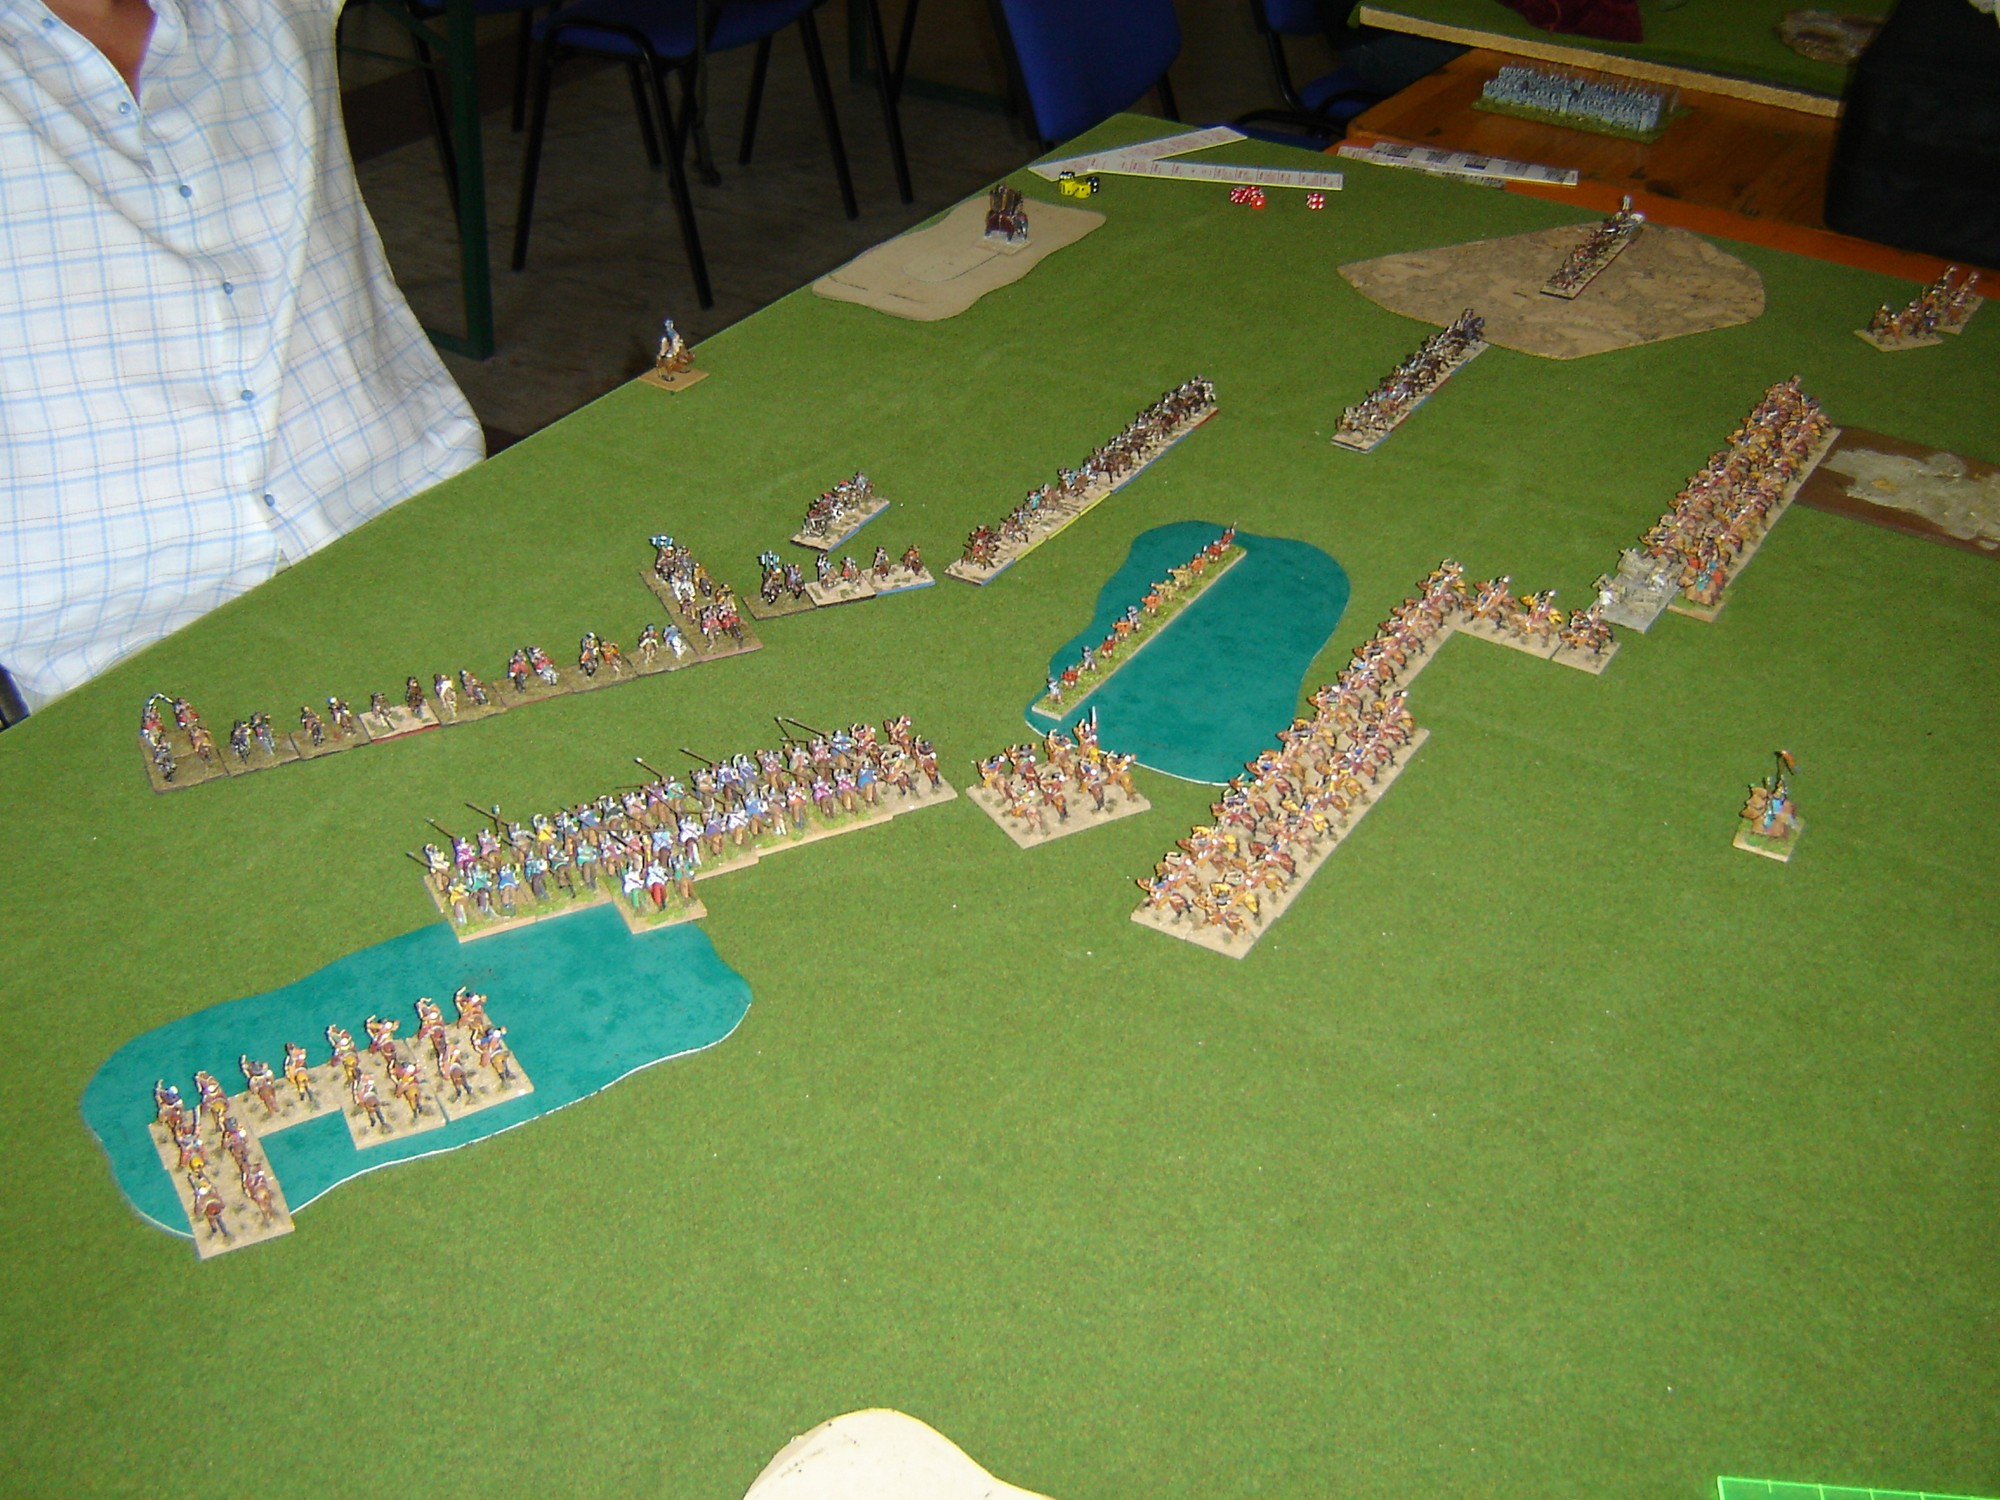
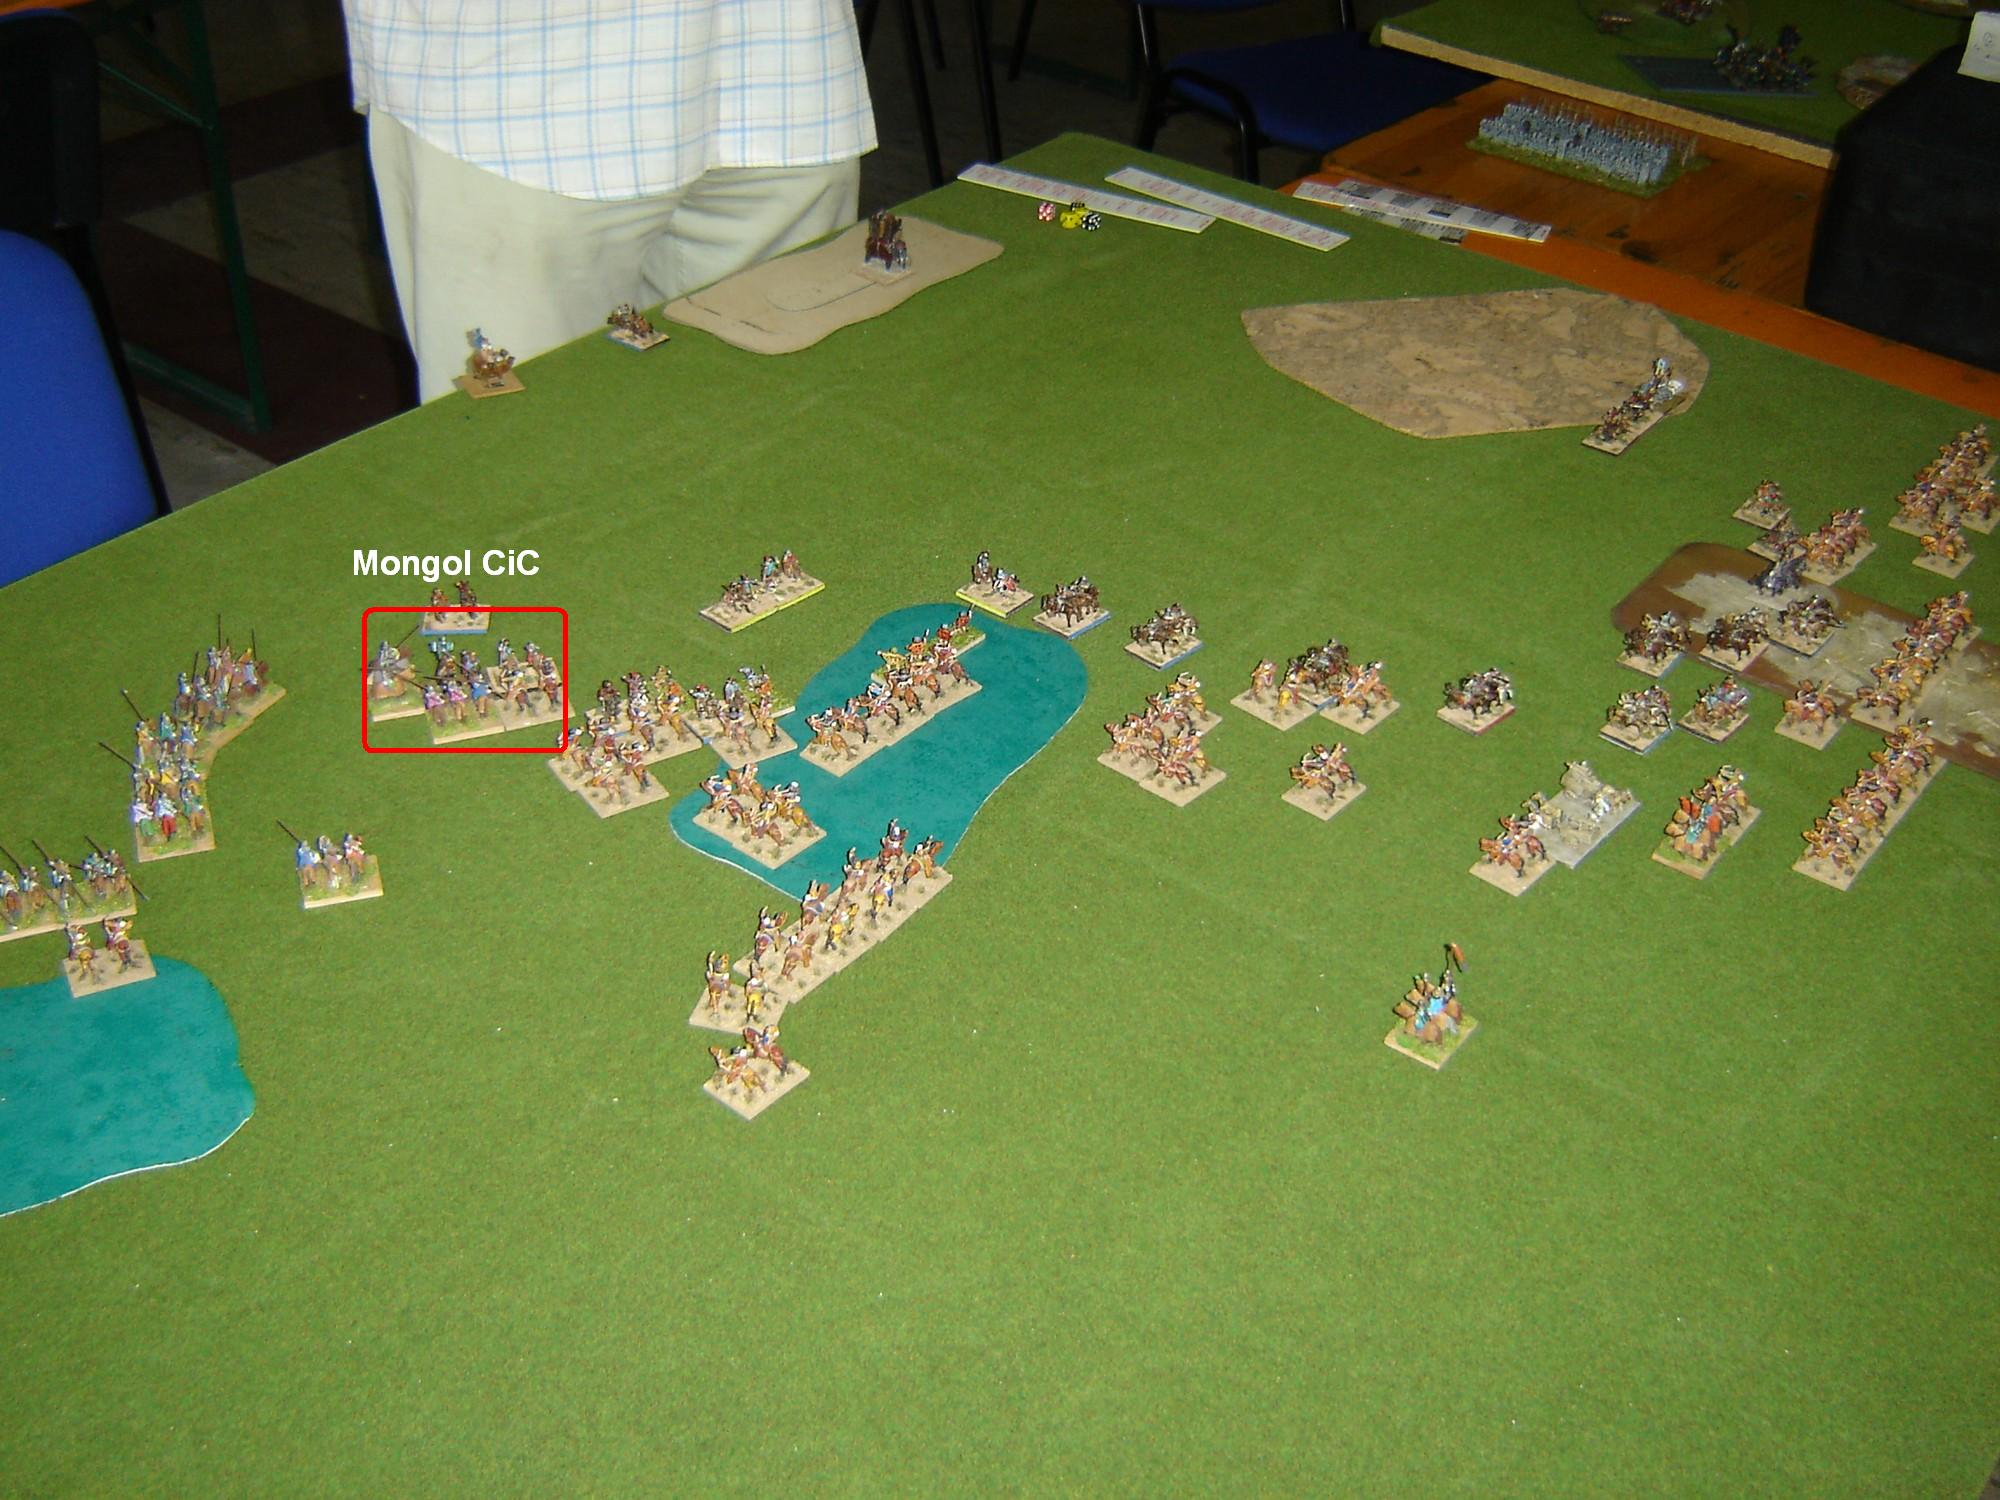
The mongol gave the higher pip dice to the turkomans corps, and I feared he wanted to redeploy them back. Looking at my CvO having just one recoil before to enter the brush, he decided instead to attack. His charge made some casualties, but created a gap in his LhS line and he had no reserves there. In my bound I exploited it killing enough LhS to break the enemy corps.
The attack was rash, because I had two lines of ICvO and much higher break points. Furthermore the Mongol did not activate the feigned flight and this sealed the fate of the turkoman corps.
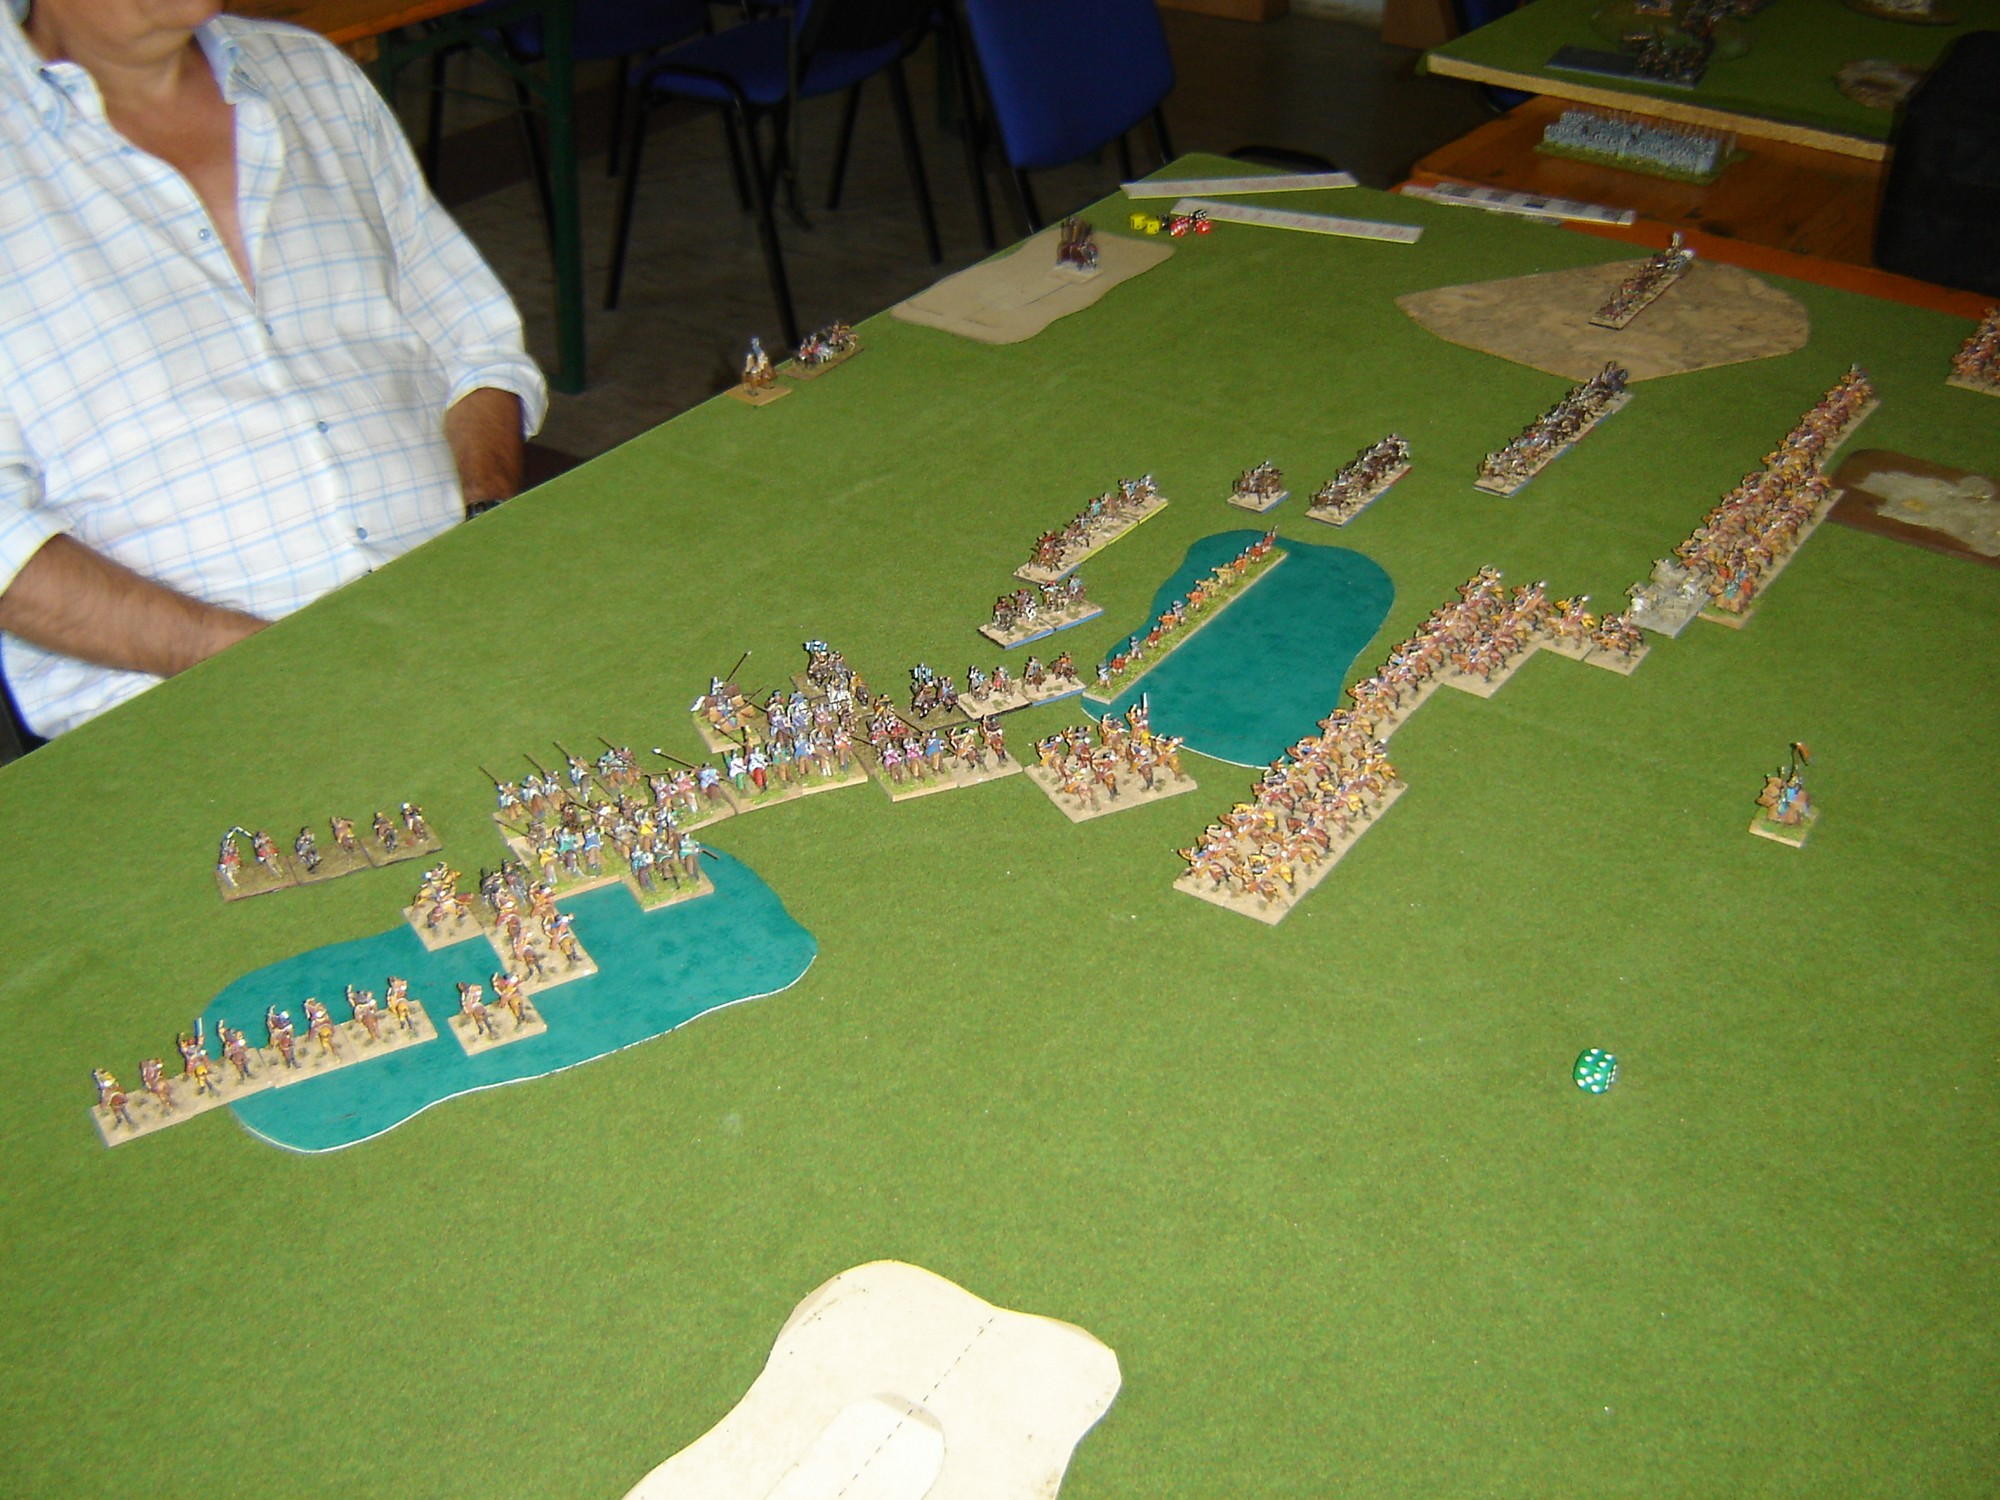
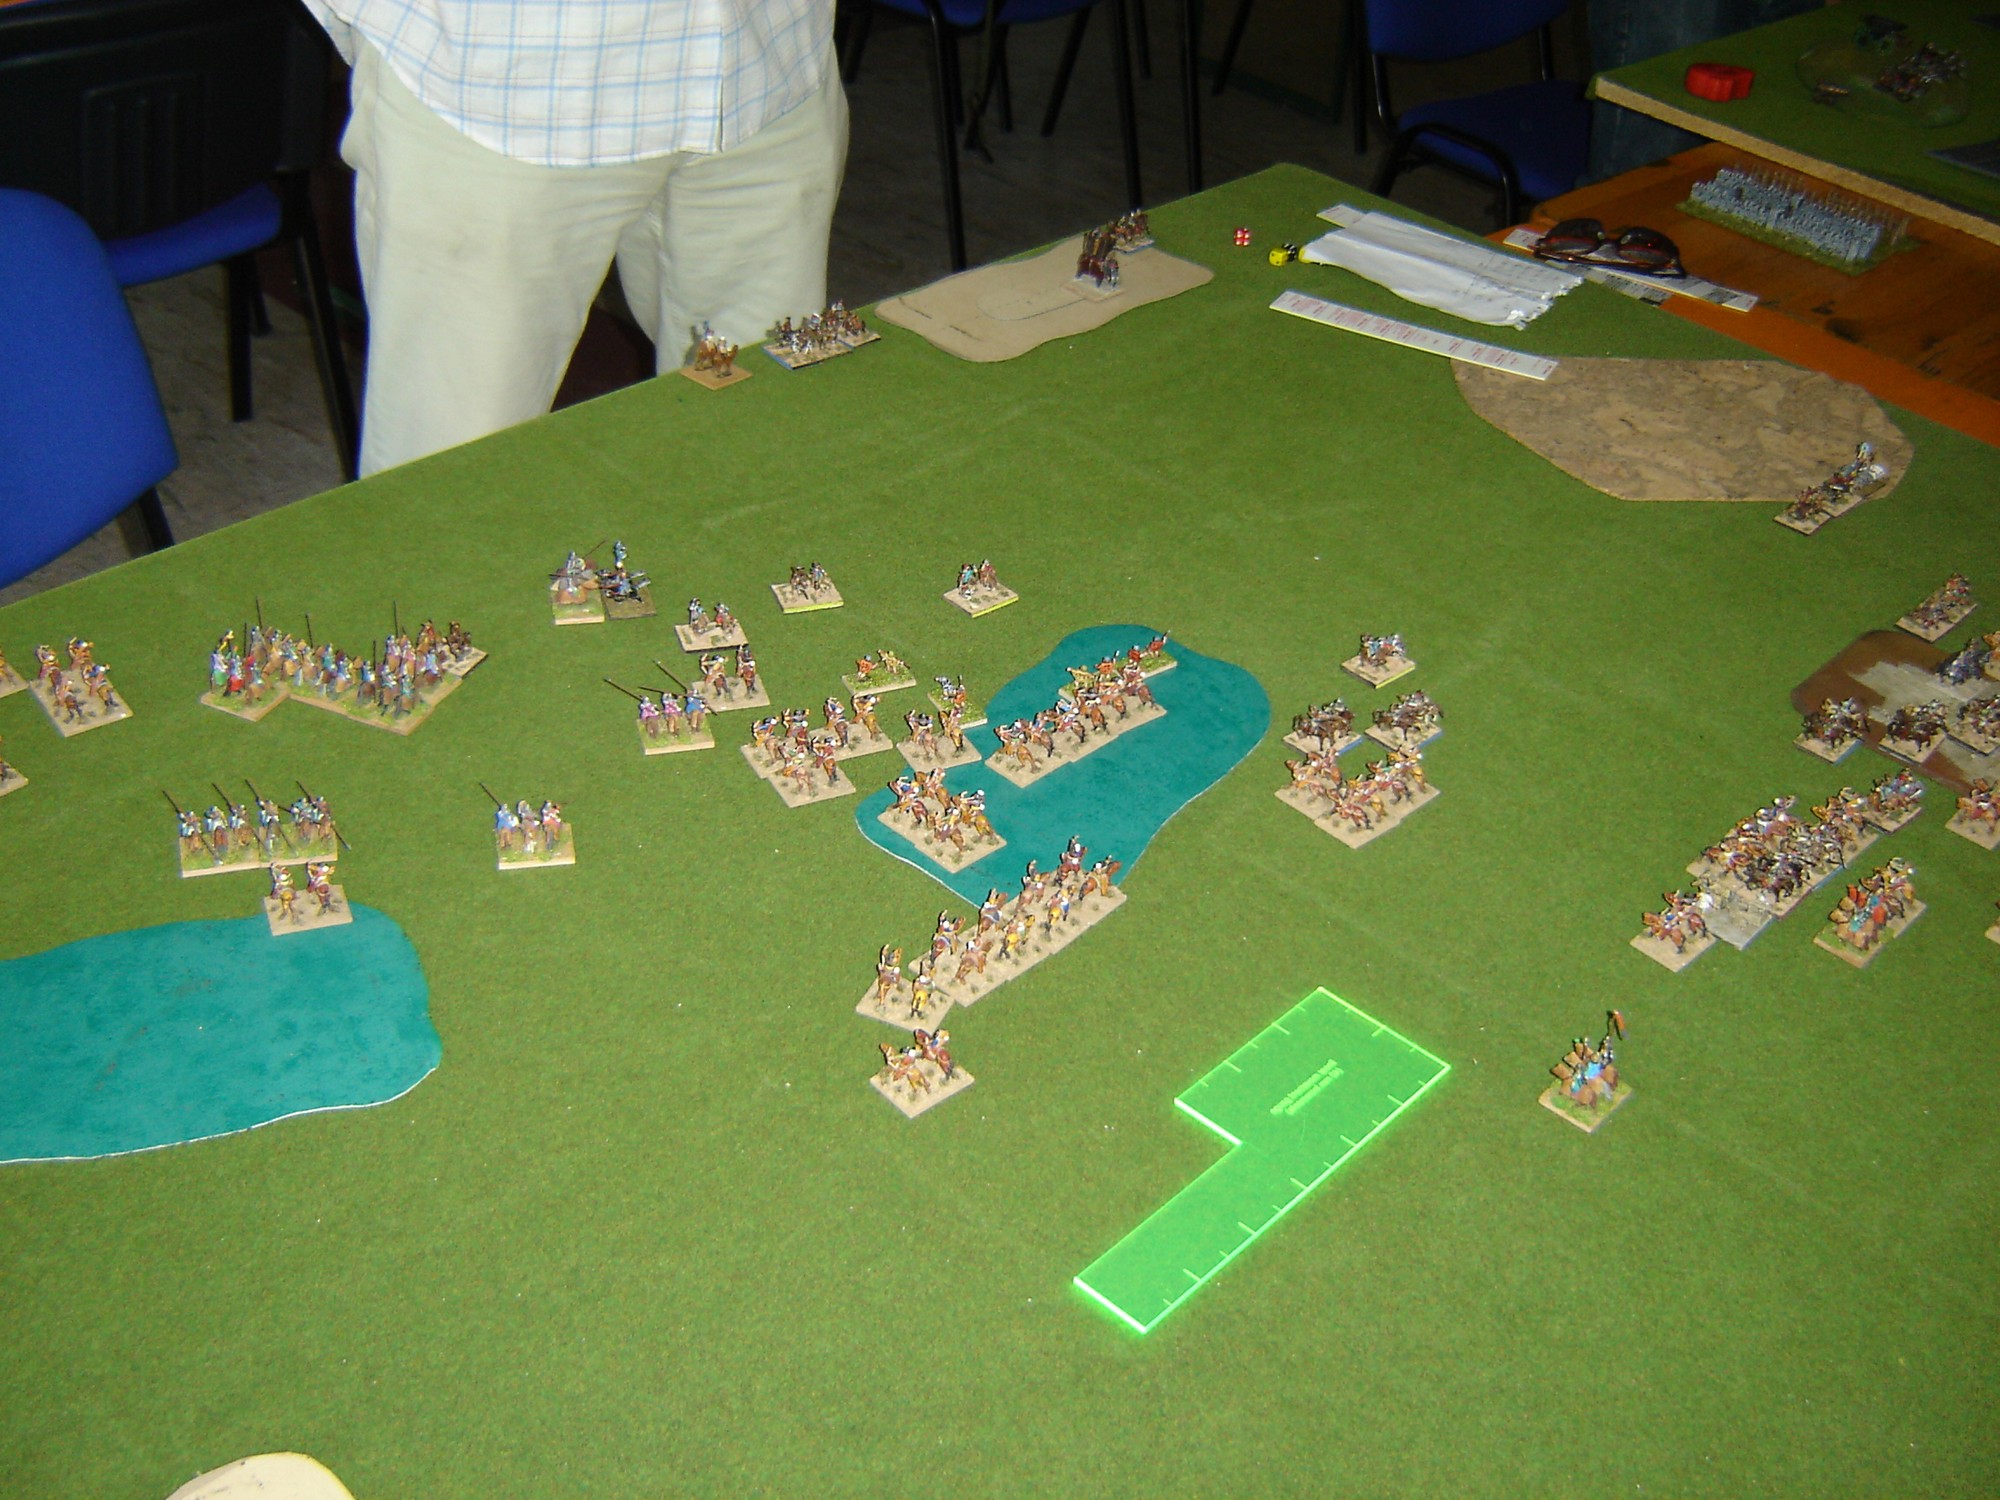
With one corps down, the Mongol attacked hard with the CvS command. My two Art disordered his line and once he was in charge range, I attacked with my LhF and feigned flight. The CiC corps regrouped and attacked the flank of the central enemy corps, now exposed.
This is the situation after my feigned flight. Behind the brush there is Cuman reserve from my central corps ready to attack flanks and rears of the enemy
The Mongol situation was very critical. He left the CvS impetous to close with as fast as possible, also because CiC was attacked and hard flanked
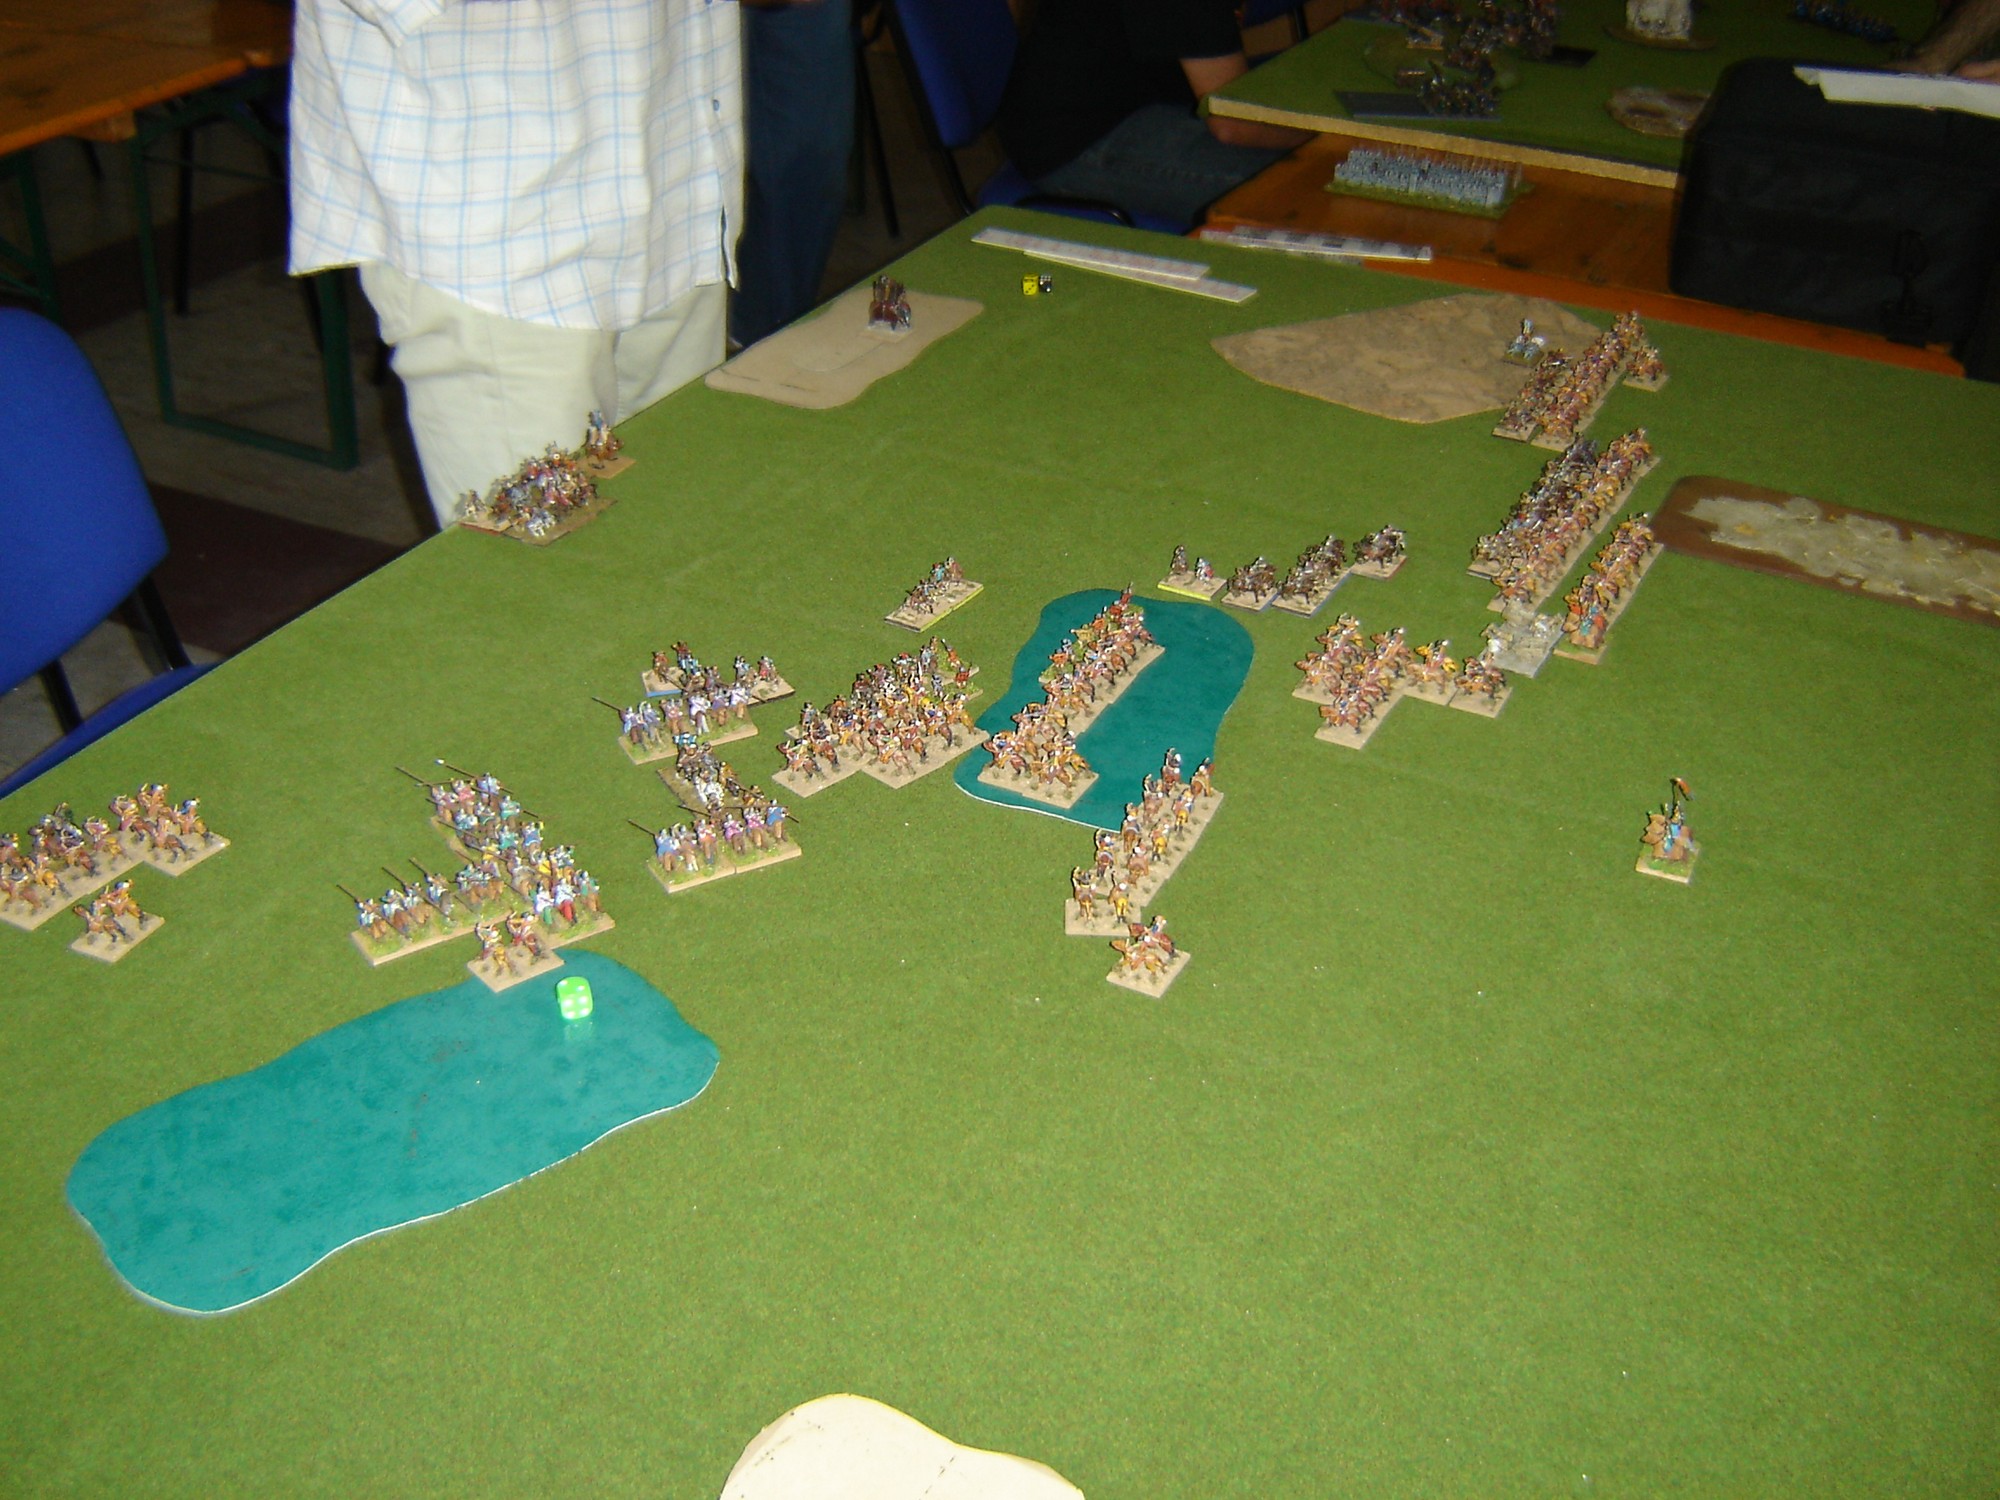
Mongol CiC survived the combat but his command was taking losses, being engaged by two enemy corps.
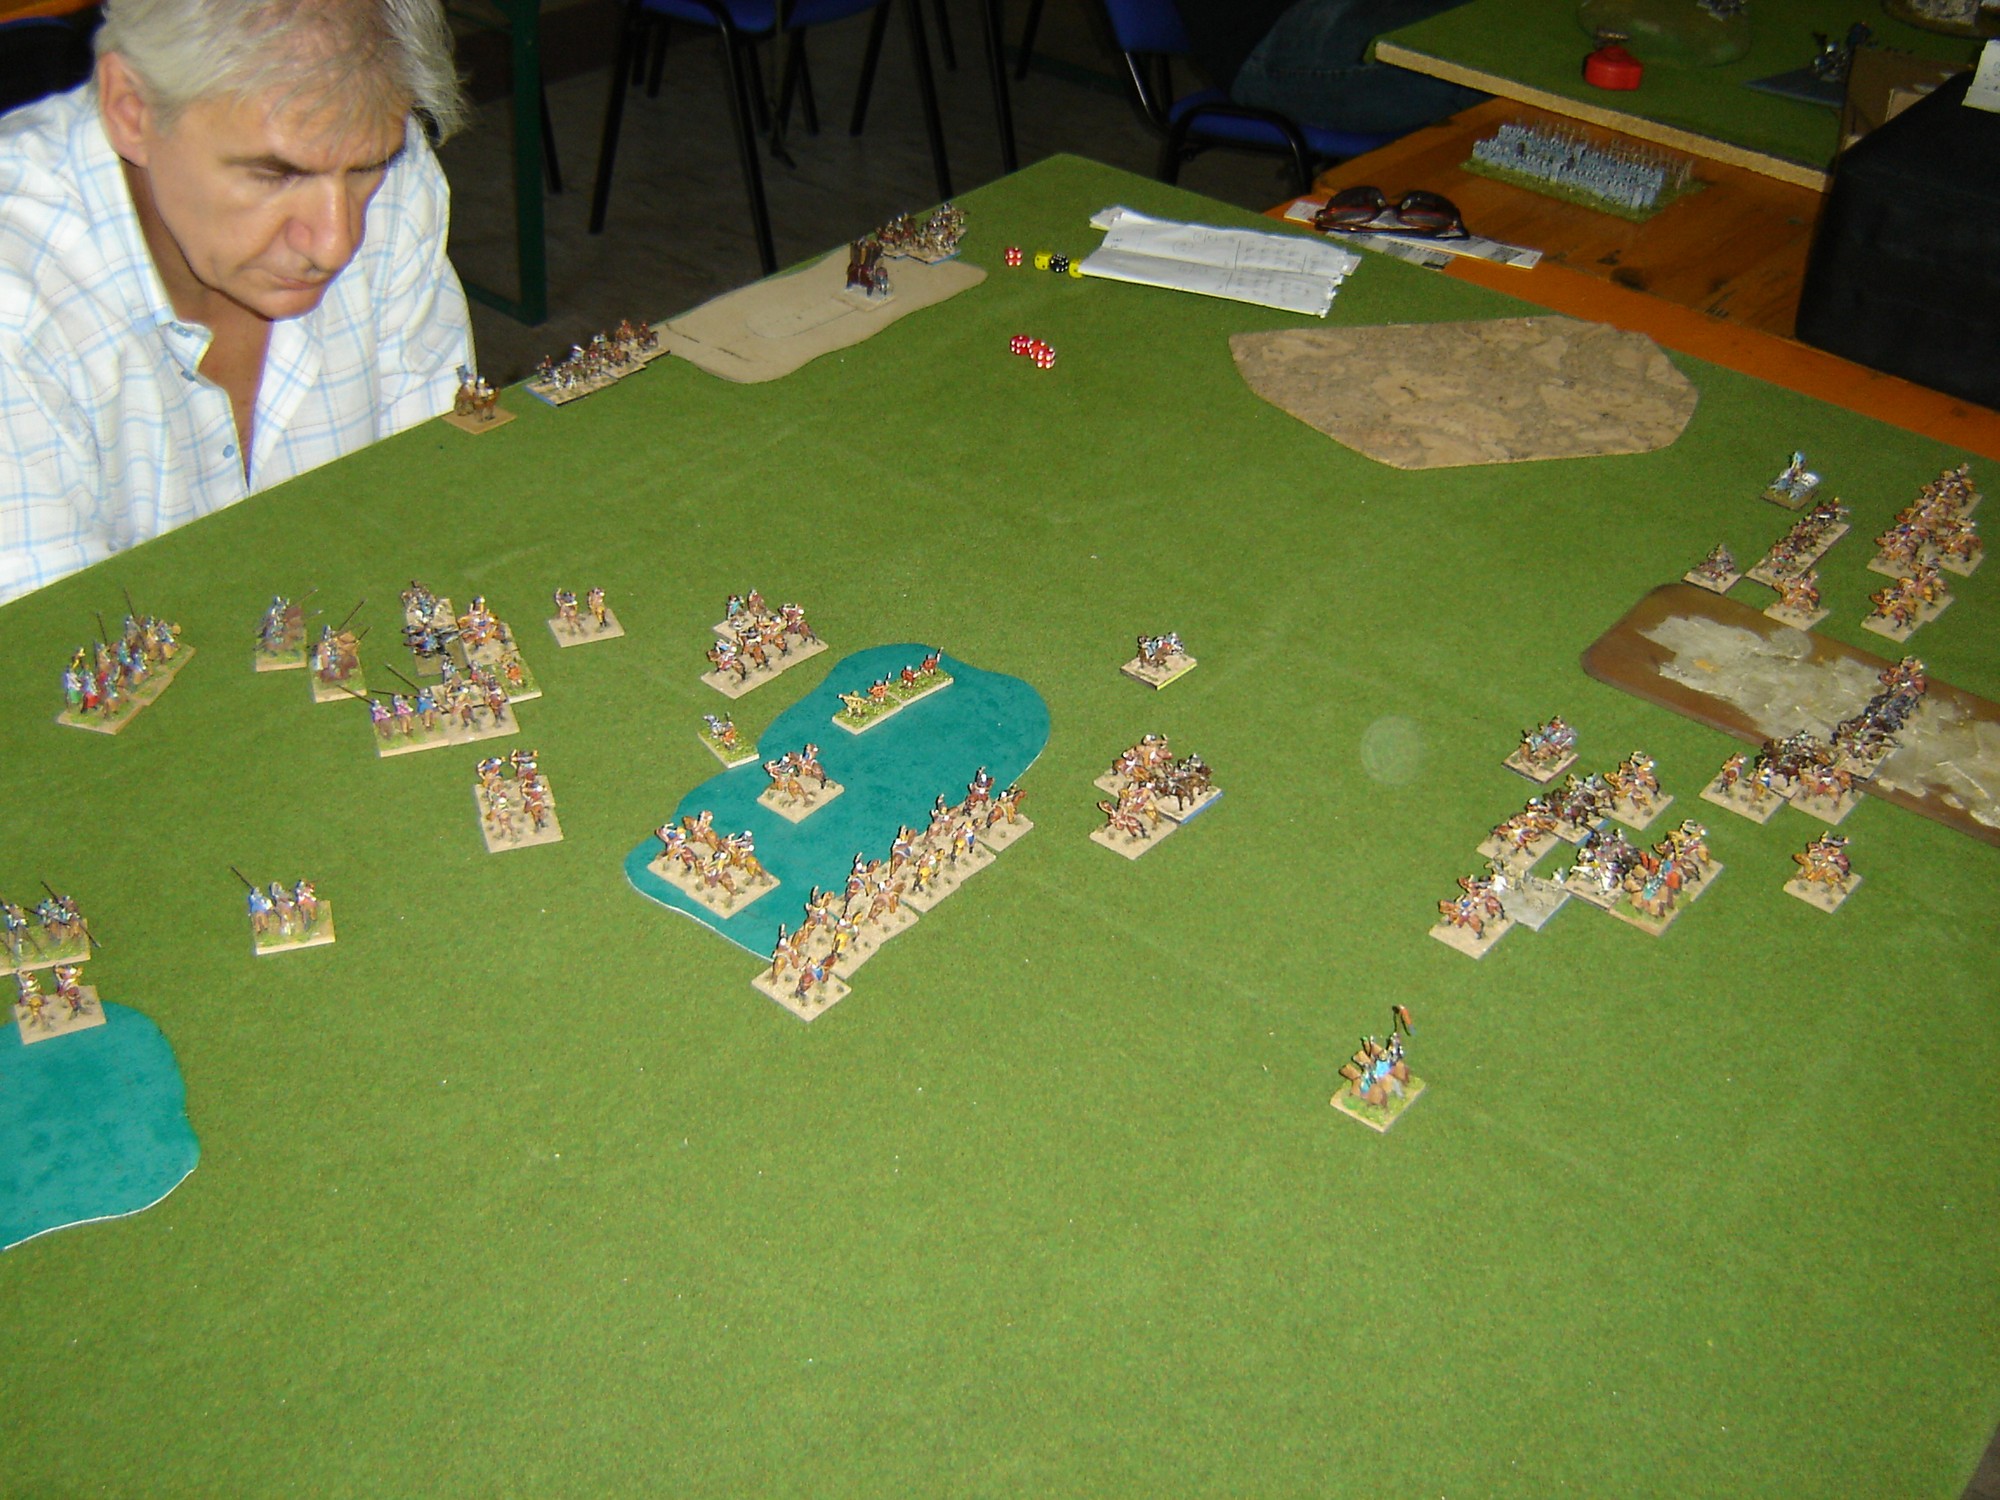
Mongol heavy cavalry finally engaged in combat the Cuman LhF, inflicting many losses but taking some in return, Mongol low break points were decisive, and after few combat bounds the enemy army broke: 23-2 for the Cumans
This game proved how important is to focus for an army that relies on manouver. The Mongol simply could not stand an attritional combat with such a larger foe.